The Ultimate School Snack Prep (Healthy) Guide: Save Time, Boost Nutrition, and Delight Your Kids
Are you tired of the morning scramble for something to toss in your child’s lunchbox—only to end up with processed granola bars and fruit pouches? You’re not alone. That’s why mastering School Snack Prep (Healthy) is a game-changer for busy parents. By dedicating just one hour on the weekend, you can create a stash of wholesome, kid-approved bites that make Healthy school snacks a no-brainer every day. Preparing these snacks at home means you control the ingredients, avoid hidden sugars, and save money—while giving your kids the energy they need to power through class and play.
—
Ingredients & Kitchen Tools
Ingredients (yields about 12 servings)
– Rolled oats (1½ cups) – Use gluten-free certified if needed; provides slow-release carbs.
– Peanut butter (½ cup) – Natural, unsweetened; adds protein and healthy fats. Substitute with almond or sunflower seed butter for nut-free classrooms.
– Honey or maple syrup (⅓ cup) – Natural sweetener; swap with mashed banana for lower sugar.
– Dark chocolate chips (¼ cup) – Optional; choose sugar-free or dairy-free as needed.
– Chia seeds (2 tbsp) – Adds omega-3s and fiber; can replace with ground flax.
– Vanilla extract (1 tsp) – Enhances flavor; omit or use cinnamon.
– Pinch of salt – Balances sweetness.
Kitchen Tools
– Large mixing bowl – For combining dry ingredients.
– Saucepan – For warming peanut butter and honey (low heat).
– Baking sheet – Lined with parchment paper for easy cleanup.
– Measuring cups and spoons – Accuracy is key for texture.
– Spatula – To fold ingredients evenly.
– Refrigerator – For setting the snack bars (2 hours minimum).
—
Prep Time & Cooking Schedule
| Stage | Time | Notes |
|——-|——|——-|
| Prep | 15 minutes | Gather ingredients, line pan, measure everything. |
| Cooking | 5 minutes | Warm peanut butter and honey on low heat; do not boil. |
| Assembly | 10 minutes | Mix, press into pan, add toppings. |
| Chilling | 2 hours (or overnight) | Refrigerate until firm. |
| Total (active) | ~30 minutes | Most time is hands-off chilling. |
Plan ahead: Make these on Sunday evening and they’ll be ready for Monday’s lunchboxes.
—
Step-by-Step Instructions
1. Prepare the base: In a large bowl, combine rolled oats, chia seeds, and a pinch of salt. Stir well.
2. Warm the wet ingredients: In a small saucepan over low heat, warm peanut butter and honey together, stirring constantly for 2–3 minutes until smooth and runny. Tip: Don’t overheat—if it bubbles, the texture will become crumbly.
3. Combine: Pour the warm peanut butter mixture into the dry ingredients. Add vanilla extract. Fold with a spatula until no dry patches remain. Expect a thick, sticky dough.
4. Press firmly: Transfer the mixture to a parchment-lined baking sheet (8×8 inch). Use a second piece of parchment or a spatula to press it down evenly and tightly. The tighter you press, the better the bars hold together.
5. Top with chocolate chips: Sprinkle dark chocolate chips on top and press them slightly into the surface.
6. Chill: Refrigerate for at least 2 hours (no skipping this step). When firm, cut into 12 equal rectangles.
7. Portion for the week: Wrap each bar individually in parchment paper or place in an airtight container. Grab one every morning for effortless School Snack Prep (Healthy). This batch of Healthy school snacks will stay fresh in the fridge for up to 10 days.
Temperature check: If the mixture feels too dry, add 1 tablespoon warm water; if too sticky, add a tablespoon more oats.
—
Nutritional Benefits & Advantages
– Protein & fiber: Each bar delivers about 5 g protein from peanut butter and 3 g fiber from oats and chia seeds, keeping kids full until lunch.
– No refined sugar: Sweetened only with honey—no high-fructose corn syrup or artificial additives.
– Energy-sustaining: Complex carbs from oats provide steady blood sugar without crashes.
– Healthy fats: Peanut butter and chia seeds support brain development and concentration in class.
– Portion control: Pre-portioned bars prevent overeating and are easy to pack.
—
Tips, Variations & Cooking Advice
– Nut-free version: Swap peanut butter for sunflower seed butter (add a pinch of baking soda to neutralize green color).
– Gluten-free: Use certified gluten-free oats and double-check chocolate chips.
– Flavor swaps: Add ¼ cup unsweetened shredded coconut, or 2 tbsp cocoa powder for a chocolate twist.
– Baking option: For a firmer texture, bake at 350°F for 10 minutes after pressing, then chill.
– Small bites: Make into energy balls (roll 1 tbsp mixture) instead of bars for quick grab-and-go snacks.
– Extra fiber: Mix in 1 tbsp psyllium husk or ground flax, but add 2 tbsp water to balance moisture.
—
Common Mistakes to Avoid
| Mistake | Solution |
|———|———-|
| Bars fall apart | Press mixture extremely firmly; chill full time before cutting. |
| Too sticky/dry | Adjust moisture gradually—add warm water drop by drop if dry, or extra oats if too sticky. |
| Chocolate doesn’t stick | Sprinkle chips immediately after pressing while mixture is still slightly warm. |
| Burned peanut butter | Use low heat and remove pan immediately when smooth. |
| Uncuttable after chilling | Let bars sit at room temp for 5 minutes to soften slightly, then cut with a sharp knife. |
—
Storage & Meal Prep Tips
– Refrigeration: Store in an airtight container in the fridge for up to 10 days. Layer bars between parchment to prevent sticking.
– Freezing: Wrap individually in plastic wrap, then place in a freezer bag. Freeze for up to 3 months. Thaw overnight in the fridge or at room temp for 20 minutes.
– Reheating: No need—enjoy cold or at room temp. If you prefer softer texture, microwave for 10 seconds.
– Meal prep plan: Double the recipe and freeze one batch. Rotate with other Healthy school snacks like yogurt tubes, apple slices, or cheese sticks.
—
Conclusion
By dedicating a small block of time on the weekend, you can revolutionize your morning routine with dependable School Snack Prep (Healthy) . These no-bake peanut butter oat bars prove that Healthy school snacks don’t have to be complicated or expensive—you control the ingredients, the sweetness, and the portions. Try this recipe this week, then share your creations on social media with #SchoolSnackPrep. And if you love it, explore our other lunchbox-friendly recipes like baked veggie muffins or yogurt bark.
—
FAQs
1. Can I use quick oats instead of rolled oats?
Yes, but the texture will be softer and less chewy. Add 1 extra tablespoon of oats to compensate for the finer grind.
2. My bars are too crumbly – how do I fix them?
Make sure you press the mixture very firmly into the pan and chill the full 2 hours. If still crumbly after chilling, re-warm the entire batch in a bowl, add 1–2 tbsp peanut butter, mix, and press again.
3. Are these safe for nut-allergy classrooms?
Only if you use a nut-free alternative like sunflower seed butter and check all other ingredients for cross-contamination. Label clearly.
4. Can I skip the honey for a sugar-free version?
Yes. Replace honey with ¼ cup mashed ripe banana and 2 tbsp unsweetened applesauce. Reduce oats by 2 tbsp to balance moisture.
5. How long do they last at room temperature in a lunchbox?
They are safe for up to 4 hours without refrigeration (no dairy, whole grains don’t spoil quickly). Use an ice pack on hot days to keep them firmer.
Quick way to grow: 5 School Snack Prep (Healthy) Ideas
Ingredients
Equipment
Method
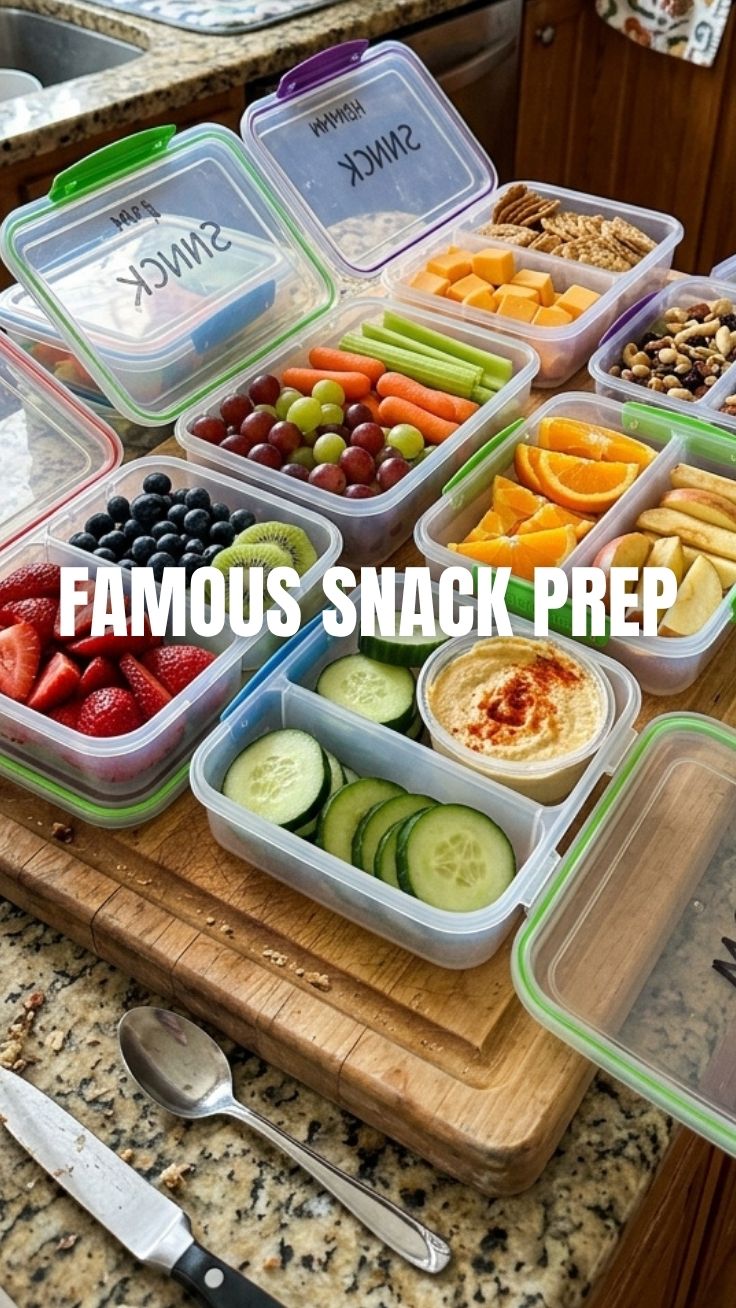
- For apple slices, wash and slice 2 medium apples, then divide them into separate containers.
- Portion 4 tablespoons of peanut butter into small, individual containers.
- For veggie sticks, wash and cut 2 carrots, 2 celery stalks, and half a cucumber into snack-friendly sticks.
- Divide 4 tablespoons of hummus into small, individual containers.
- For yogurt and berries, combine 1 cup of plain yogurt with 0.5 cups of mixed berries and divide into portions.
- For cheese and crackers, slice 2 ounces of cheddar cheese and count out 10 whole-wheat crackers, then portion them.
- For hard-boiled eggs, boil 4 large eggs until fully cooked, then cool and peel.
- Assemble each snack combination into separate, airtight containers, ensuring each child receives one of each snack type.