Celebrate with Flavor: Your Ultimate Guide to a Perfect Juneteenth Red Velvet Cake
Are you ready to elevate your Juneteenth celebration with a dessert that’s as rich in history as it is in flavor? Few treats capture the spirit of festivity and heritage quite like a perfectly baked Juneteenth Red Velvet Cake. This iconic crimson confection, with its velvety texture and cream cheese frosting, offers a beautiful way to honor the significant occasion of Juneteenth. Preparing this decadent dessert at home isn’t just about baking; it’s an act of love, tradition, and a delicious way to bring people together. Imagine the joy of sharing slices of this magnificent cake, each bite a testament to culinary artistry and cultural commemoration. It’s truly a centerpiece for any gathering, embodying the essence of Juneteenth celebration desserts.
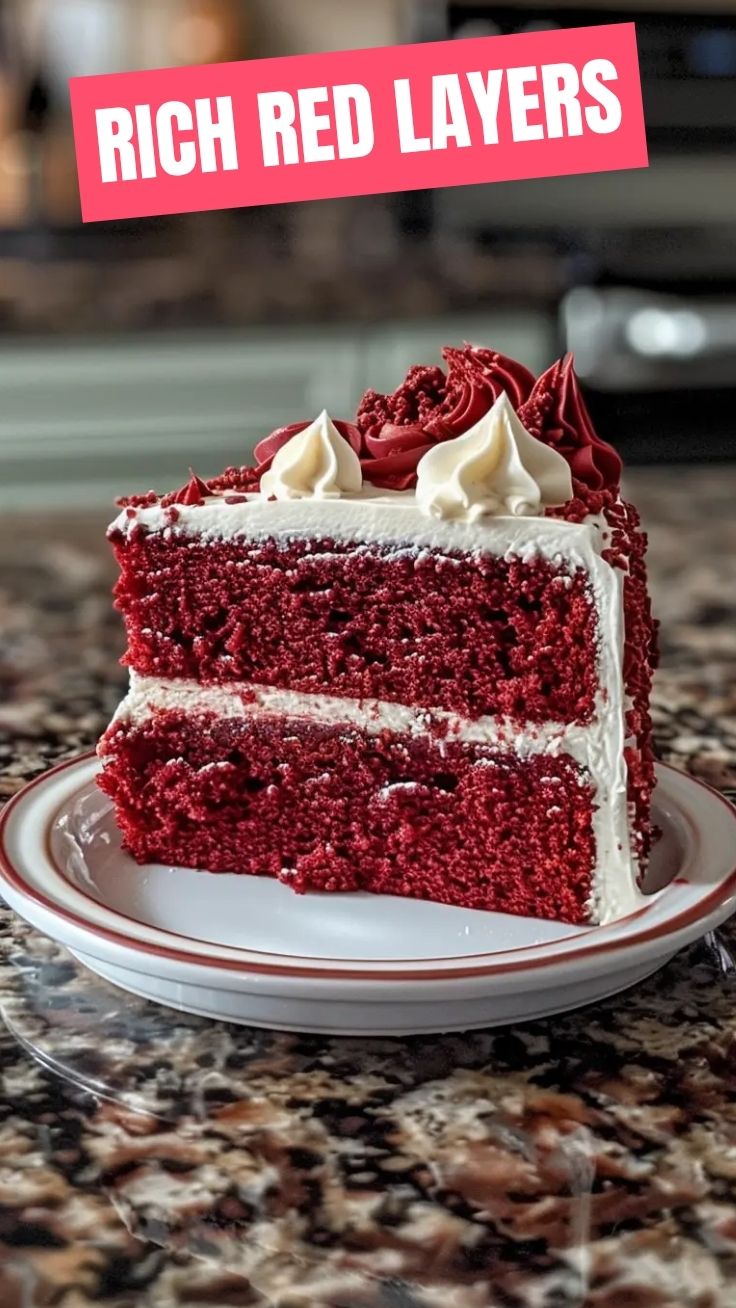
The vibrant red hue of this cake is striking, making it not just a treat for the palate but also a feast for the eyes. It’s a recipe that transcends simple baking, becoming a symbol of resilience and joy. By mastering this classic, you’re not just creating a dessert; you’re crafting an experience.
Ingredients & Kitchen Tools
Gather your culinary arsenal! Here’s what you’ll need to create this show-stopping dessert:
For the Cake:
- 2 ½ cups all-purpose flour: The base for our cake’s structure.
- 1 tsp baking soda: Our leavening agent, creating a tender crumb.
- 1 tsp salt: Balances sweetness and enhances flavor.
- 2 tablespoons unsweetened cocoa powder: Provides that subtle chocolate note and enriches the red color.
- 1 cup buttermilk: Adds tanginess and moisture; crucial for classic red velvet.
- 1 tsp white vinegar: Reacts with baking soda and buttermilk for lift and tenderness.
- 1 tsp vanilla extract: Essential for warmth and aroma.
- 1 cup (2 sticks) unsalted butter, softened: For richness and a tender texture.
- 2 cups granulated sugar: Our primary sweetener.
- 2 large eggs: Binds ingredients and adds structure.
- 2 oz red food coloring (liquid or gel): The star for that vivid red hue. (Gel coloring yields a more intense color with less liquid).
For the Cream Cheese Frosting:
- 16 oz cream cheese, softened: The tangy, creamy heart of the frosting.
- 1 cup (2 sticks) unsalted butter, softened: Adds richness and body.
- 4-5 cups powdered sugar, sifted: For sweetness and a smooth, lump-free texture.
- 1 tsp vanilla extract: Enhances the overall flavor profile.
- Pinch of salt: To balance the sweetness.
Kitchen Tools:
- Three 8-inch round cake pans: For baking even layers. Greased and floured or lined with parchment.
- Electric mixer (stand or hand-held): Essential for creaming butter and sugar, and whipping frosting.
- Mixing bowls (large and medium): For combining ingredients separately.
- Whisk: For dry ingredients.
- Rubber spatula: For scraping bowls and folding.
- Measuring cups and spoons: For precise ingredient amounts.
- Wire rack: For cooling the cake layers.
- Offset spatula or butter knife: For spreading frosting smoothly.
- Parchment paper: Optional, but highly recommended for easy cake release.
- Small bowl: For combining buttermilk, vinegar, and vanilla.
Prep Time & Cooking Schedule
- Prep time: 30 minutes
- Cook time: 25-30 minutes per cake layer
- Cooling time: 1-2 hours (crucial for frosting)
- Total Time: Approximately 2.5 – 3 hours
To plan your baking day, start by ensuring your butter and cream cheese are at room temperature – this is key for a smooth batter and frosting. You can bake the layers a day in advance, wrap them tightly, and refrigerate them to save time on the main event day. Just be sure to bring them back to room temperature before frosting for the best results.
Step-by-Step Instructions
Let’s dive into creating your magnificent Juneteenth Red Velvet Cake:
1. Prepare Your Pans: Preheat your oven to 350°F (175°C). Grease and flour three 8-inch round cake pans, or line the bottoms with parchment paper. This prevents sticking and ensures easy removal.
2. Combine Dry Ingredients: In a medium bowl, whisk together the flour, baking soda, salt, and cocoa powder. Set aside.
3. Mix Wet Ingredients: In a separate small bowl, combine the buttermilk, white vinegar, and vanilla extract. Stir well and set aside.
4. Cream Butter and Sugar: In a large mixing bowl (using an electric mixer), cream the softened butter and granulated sugar together until light and fluffy, about 2-3 minutes. This incorporates air, making the cake tender.
5. Add Eggs and Color: Beat in the eggs one at a time, mixing well after each addition. Then, add the red food coloring and mix until fully incorporated and the batter is a vibrant red.
6. Alternate Dry and Wet: Gradually add the dry ingredient mixture to the wet ingredients, alternating with the buttermilk mixture, beginning and ending with the dry ingredients. Mix on low speed until just combined. Be careful not to overmix, as this can lead to a tough cake.
7. Bake the Layers: Divide the batter evenly among the prepared cake pans. Bake for 25-30 minutes, or until a wooden skewer inserted into the center comes out clean.
8. Cool Completely: Let the cake layers cool in the pans for 10-15 minutes before inverting them onto a wire rack to cool completely. Do not try to frost warm cakes!
9. Prepare the Frosting: While the cakes cool, make your cream cheese frosting. In a large bowl, beat the softened cream cheese and butter with an electric mixer until smooth and creamy.
10. Add Powdered Sugar: Gradually add the sifted powdered sugar, 1 cup at a time, beating until smooth after each addition. Stir in the vanilla extract and a pinch of salt. Beat until the frosting is light and fluffy.
11. Assemble and Frost: Once the cake layers are completely cool, place one layer on your serving plate or cake stand. Spread a generous layer of cream cheese frosting over the top. Repeat with the second and third layers. Frost the top and sides of the cake, using an offset spatula for a smooth finish. This magnificent dessert is a perfect example of Juneteenth celebration desserts, ready to be enjoyed!
Nutritional Benefits & Advantages
While a Juneteenth Red Velvet Cake is undeniably an indulgent treat, it does offer some minor nutritional contributions. The eggs provide protein, while the buttermilk contributes calcium and probiotics, aiding in digestion. Real cocoa powder offers antioxidants, and the modest amounts found in red velvet cake still impart some benefits. Primarily, the advantage of homemade versions lies in controlling ingredient quality and reducing artificial additives often found in store-bought options. This recipe emphasizes fresh ingredients, making it a wholesome choice for a celebratory dessert.
Tips, Variations & Cooking Advice
- Don’t Overmix: Overmixing develops gluten, leading to a tough, dry cake. Mix until just combined.
- Gel Food Coloring: For a deeper, richer red with less liquid, opt for gel food coloring over liquid.
- Cocoa Powder Quality: Use a good quality unsweetened cocoa powder for better chocolate depth without adding extra sweetness.
- Buttermilk Substitute: If you don’t have buttermilk, you can make your own by adding 1 tablespoon of white vinegar or lemon juice to a measuring cup, then filling the rest with regular milk until it reaches 1 cup. Let it sit for 5 minutes before using.
- Gluten-Free Version: Substitute all-purpose flour with a 1:1 gluten-free baking blend that contains xanthan gum.
- Dairy-Free Version: Use dairy-free buttermilk (plant-based milk with vinegar), vegan butter, and dairy-free cream cheese.
- Citrus Zest: For a brighter flavor, add a teaspoon of orange or lemon zest to the frosting.
- Decorations: Garnish with fresh berries (especially red ones like raspberries or strawberries), edible glitter, or chocolate shavings for an extra festive touch.
Common Mistakes to Avoid
- Under-baking: Leads to a soggy, sunken cake. Always test with a skewer.
- Over-baking: Results in a dry, crumbly cake. Remove from oven as soon as the skewer comes out clean.
- Warm Cake Frosting: Frosting a warm cake will cause the frosting to melt and slide off. Patience is key!
Lumpy Frosting: Ensure your cream cheese and butter are very* soft to avoid lumps. Sift your powdered sugar for maximum smoothness.
- Incorrect Pan Preparation: Skimping on greasing and flouring (or parchment) can lead to stuck cake layers, a baker’s nightmare!
Storage & Meal Prep Tips
Leftover Juneteenth Red Velvet Cake, due to its cream cheese frosting, should be stored in an airtight container in the refrigerator for up to 3-4 days. To maintain freshness, you can also wrap individual slices tightly in plastic wrap before placing them in the container. For longer storage, slices can be frozen for up to 2-3 months. Thaw frozen cake in the refrigerator overnight or at room temperature for a few hours before serving. Reheating is not recommended, as it can alter the texture of the cake and frosting.
Conclusion
Baking a homemade Juneteenth Red Velvet Cake is a rewarding experience that culminates in a truly spectacular dessert perfect for any celebration. This guide has provided you with all the insights, from precise measurements to crucial baking tips, ensuring your cake is not just delicious but also a beautiful representation of your efforts. As you gather to commemorate Juneteenth, sharing this iconic dessert makes the occasion even sweeter, embodying the spirit and warmth of Juneteenth celebration desserts. We encourage you to try this recipe and share your creations! What are your favorite ways to celebrate Juneteenth with food?
FAQs
Q1: Can I make this cake ahead of time?
A1: Yes, absolutely! You can bake the cake layers up to two days in advance. Once cooled, wrap them tightly in plastic wrap and store them at room temperature or in the refrigerator. The frosting can also be made a day in advance and stored in the fridge; just bring it to room temperature and re-whip before frosting the cake.
Q2: My cake stuck to the pan! What went wrong?
A2: This usually happens if your pans weren’t adequately greased and floured. Ensure generous application, or use parchment paper rounds on the bottom of the pans for easy release.
Q3: Why is my cream cheese frosting lumpy?
A3: Lumpy frosting is often due to cold cream cheese or butter. Make sure both are at proper room temperature (soft but not melted) before beating. Also, sifting your powdered sugar helps prevent lumps.
Q4: Can I halve the recipe?
A4: Yes, you can halve the recipe to make a smaller, two-layer cake or a single-layer sheet cake. Adjust baking time accordingly.
Q5: What’s the best way to get a vibrant red color?
A5: Using a high-quality gel food coloring is key. Gel colors are more concentrated than liquid food coloring and will give you a deeper, richer red without thinning out the batter too much.
Proven way to grow Juneteenth Red Velvet Cake in 5
Ingredients
Equipment
Method
- Preheat oven to 350°F (175°C) and prepare two 9-inch round cake pans by greasing and flouring them.
- In a medium bowl, whisk together the flour, sugar, cocoa powder, baking soda, and salt.
- In a large bowl, beat the eggs, then mix in buttermilk, oil, red food coloring, vinegar, and vanilla extract until well combined.
- Gradually add the dry ingredients to the wet ingredients, mixing until just combined and smooth.
- Divide the batter evenly between the prepared cake pans and bake for 25-30 minutes, or until a toothpick inserted into the center comes out clean.
- Let the cakes cool in the pans for 10 minutes before transferring them to a wire rack to cool completely.
- In a large bowl, beat the softened cream cheese and butter until light and fluffy.
- Gradually add the confectioners' sugar, beating until smooth, then stir in the vanilla extract.
- If the frosting is too thick, add milk one tablespoon at a time until desired consistency is reached.
- Once the cakes are completely cool, spread a layer of frosting on top of one cake layer, then place the second cake layer on top.
- Cover the entire cake with the remaining frosting, decorating as desired.