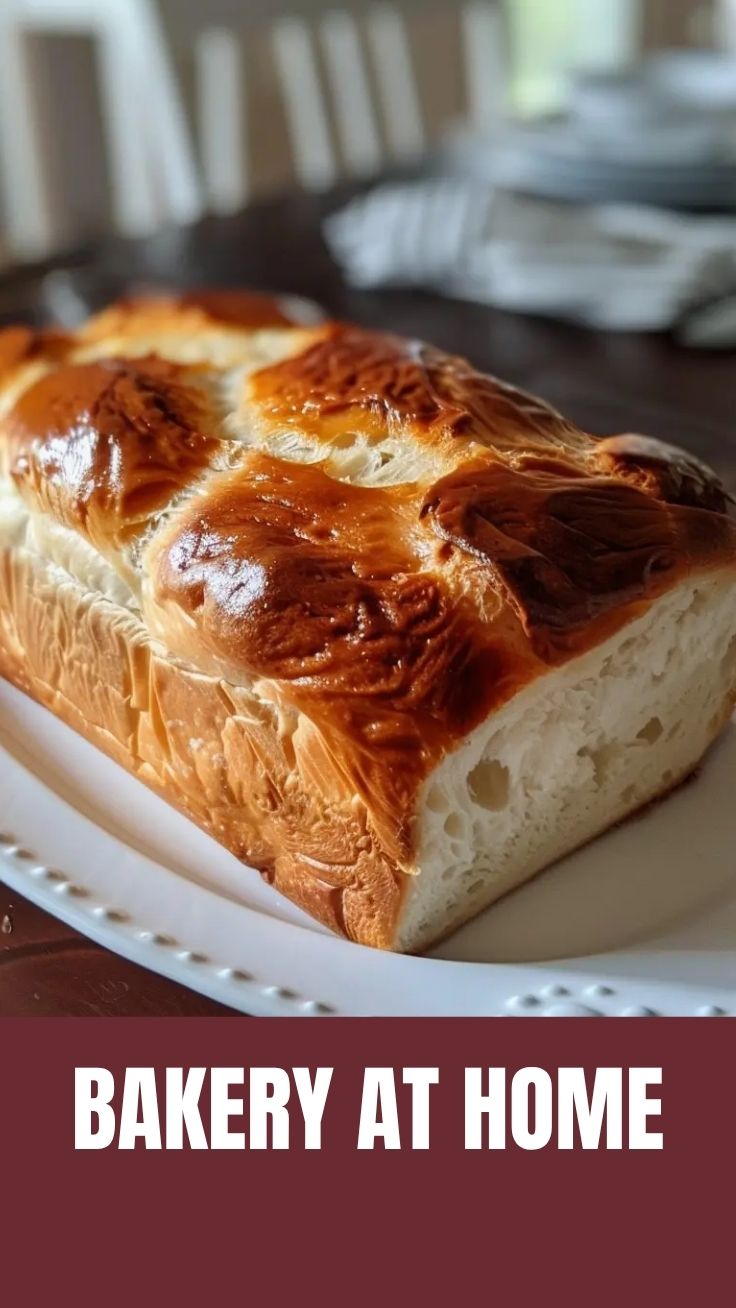
Master the Art of Homemade White Bread: Your Ultimate Guide
Ever wondered if you could recreate that irresistible aroma of freshly baked bread right in your own kitchen? The answer is a resounding yes! There’s an undeniable satisfaction that comes from pulling a warm, golden loaf of Homemade White Bread from the oven. Beyond the delightful scent, baking your own bread offers unparalleled freshness, allows you to control ingredients, and frankly, tastes infinitely better than anything store-bought. This comprehensive guide will walk you through everything you need to know to bake a perfect loaf, proving that an Easy White Bread Recipe is truly within reach for every home baker.
Ingredients & Kitchen Tools
Crafting the perfect loaf begins with the right ingredients and tools. Here’s what you’ll need:
- All-Purpose Flour (5-6 cups): The backbone of your bread. Ensure it’s fresh for best results. You might need slightly more or less depending on humidity.
- Active Dry Yeast (2 ¼ teaspoons or 1 packet): The magic leavening agent that gives bread its airy texture. Check the expiration date!
- Warm Water (1 ½ cups): Crucial for activating the yeast. Aim for 105-115°F (40-46°C) – warm to the touch but not scalding.
- Granulated Sugar (2 tablespoons): Feeds the yeast, helping it become active, and adds a touch of sweetness to the bread.
- Salt (1-2 teaspoons): Enhances flavor and controls yeast activity. Adjust to your preference, but don’t omit entirely.
- Unsalted Butter (3 tablespoons, melted): Adds richness, tenderness, and a beautiful golden crust. Optional: a little extra for greasing the bowl.
- Large Mixing Bowl: For combining ingredients and the first rise.
- Measuring Cups & Spoons: For precise ingredient measurements.
- Dough Scraper or Spatula: Helps in handling sticky dough and cleaning the bowl.
- Loaf Pan (9×5 inches): The mold for your bread. Greasing is essential.
- Clean Kitchen Towel or Plastic Wrap: For covering the dough during rising.
- Wire Rack: For cooling the bread to prevent sogginess.
- Optional Substitutions: For a slightly richer flavor, you can substitute a portion of the water with milk. For a chewier texture, consider bread flour.
Prep Time & Cooking Schedule
Baking Homemade White Bread is a process that requires a bit of patience, but the active work is minimal. Here’s a breakdown to help you plan your baking day:
- Prep Time: 15-20 minutes (activating yeast, mixing dough)
- First Rise: 60-90 minutes (until doubled)
- Shaping & Second Rise: 20 minutes (shaping) + 30-45 minutes (second rise)
- Bake Time: 30-35 minutes
- Cooling Time: 30-60 minutes (essential for best texture)
Allow approximately 3-4 hours from start to finish. This schedule makes it a perfect weekend project or a rewarding evening bake that can be ready for breakfast the next morning.
Step-by-Step Instructions
1. Activate the Yeast: In your large mixing bowl, combine the warm water, sugar, and yeast. Whisk gently and let it sit for 5-10 minutes until foamy. This bubbling indicates your yeast is active and ready to work its magic for your Homemade White Bread.
2. Mix the Dough: Add the melted butter and salt to the yeast mixture. Gradually add 4 cups of the flour, mixing with a wooden spoon or a stand mixer with a dough hook until a shaggy dough forms.
3. Knead the Dough: Turn the dough out onto a lightly floured surface. Knead for 8-10 minutes, gradually adding more flour, a tablespoon at a time, until the dough is smooth, elastic, and no longer sticky. It should spring back when gently poked. This crucial step develops the gluten, vital for a beautifully structured Easy White Bread Recipe.
4. First Rise: Lightly grease the mixing bowl with a little butter or oil. Place the dough in the bowl, turning it once to coat. Cover with plastic wrap or a clean kitchen towel and let it rise in a warm spot for 60-90 minutes, or until it has doubled in size.
5. Shape the Loaf: Gently punch down the risen dough to release the air. On a lightly floured surface, shape the dough into a rectangular loaf that fits your 9×5 inch loaf pan. You can flatten it into a rectangle, then roll it tightly from one end to the other, pinching the seam closed.
6. Second Rise: Place the shaped dough seam-side down in a greased loaf pan. Cover again and let it rise for another 30-45 minutes, or until it has nearly doubled in size and looks puffy.
7. Bake: Preheat your oven to 375°F (190°C) during the last 15 minutes of the second rise. Bake for 30-35 minutes, or until the crust is golden brown and the internal temperature reaches 190-200°F (88-93°C). If the top browns too quickly, you can loosely tent it with foil.
8. Cool: Immediately remove the bread from the pan and place it on a wire rack to cool completely before slicing. This prevents the bottom from becoming soggy.
Nutritional Benefits & Advantages
Baking your own white bread offers distinct advantages. While often perceived as less nutritious than whole wheat, homemade white bread, when prepared with quality ingredients, provides essential carbohydrates for energy. You have complete control over the amount of sugar and salt, avoiding the excessive additives often found in commercial breads. It’s also significantly fresher, retaining more of its natural flavors and texture.
Tips, Variations & Cooking Advice
- For a Richer Crust: Brush the top of the loaf with melted butter or an egg wash (one egg beaten with a tablespoon of water) before baking.
- Herb Bread: Add 1-2 tablespoons of dried herbs like rosemary, thyme, or oregano to the dough during mixing.
- Garlic Bread: Incorporate 1-2 cloves of minced garlic.
- Cheese Bread: Fold in ½ cup of shredded cheddar or Parmesan cheese during the shaping stage.
- Gluten-Free: Substitute with a high-quality gluten-free all-purpose flour blend, often requiring additional liquid and a binder like xanthan gum. (Note: results will vary significantly).
Common Mistakes to Avoid
- Water Too Hot/Cold: Water that is too hot will kill the yeast; too cold and it won’t activate. Use a thermometer.
- Not Kneading Enough: Insufficient kneading leads to a dense, brick-like loaf due to underdeveloped gluten.
- Not Letting it Rise Enough: Rushing the rise times results in a dense crumb. Patience is key!
- Opening the Oven Door Too Early: This can cause the bread to collapse. Wait at least 20 minutes before checking.
- Cutting While Hot: This can lead to a gummy texture. Always let the bread cool completely.
Storage & Meal Prep Tips
Your Homemade White Bread is best enjoyed fresh. Store it at room temperature in an airtight bread bag or container for 3-4 days. Avoid refrigeration, as it can dry out the bread quickly. For longer storage, slice the cooled bread and freeze it in a freezer-safe bag for up to 2-3 months. You can toast slices directly from frozen.
Conclusion
Baking your own Homemade White Bread is a rewarding and surprisingly accessible culinary adventure. With this step-by-step guide, you’ve unlocked the secrets to creating a warm, tender, and delicious loaf from scratch. The satisfaction of a successful Easy White Bread Recipe is immense, filling your home with an aroma that signals comfort and good food. Don’t hesitate – gather your ingredients and start baking today! Share your beautiful loaves and culinary triumphs with us in the comments below!
FAQs
Q1: My dough isn’t rising. What went wrong?
A1: The most common culprit is inactive yeast. Ensure your water temperature is correct (105-115°F) and your yeast isn’t expired. A cold environment can also hinder rising; find a warm spot for your dough.
Q2: Can I use instant yeast instead of active dry yeast?
A2: Yes, you can. Instant yeast can generally be mixed directly with the dry ingredients and often requires only one rise, reducing overall proofing time slightly. Use the same amount.
Q3: How do I know if my bread is fully baked?
A3: The crust should be golden brown, and when tapped on the bottom, it should sound hollow. For precision, an internal temperature of 190-200°F (88-93°C) indicates doneness.
Q4: My bread is dense. What caused this?
A4: Density often results from insufficient kneading (underdeveloped gluten), not enough rising time, or using too much flour, which makes the dough too stiff.
Q5: Can I add whole wheat flour for a healthier version?
A5: Absolutely! You can start by substituting 1 cup of all-purpose flour with whole wheat flour. Note that whole wheat flour absorbs more liquid, so you might need to add a tablespoon or two more water. The texture will be slightly denser.
How to grow 3 Homemade White Bread loavesHomemade White Bread
Ingredients
Equipment
Method
- In a small bowl, dissolve the yeast in warm water and let it stand until foamy, about 5 minutes.
- In a large bowl, combine the yeast mixture with sugar, salt, oil, and 3 cups of flour and mix well.
- Gradually add the remaining flour, mixing until a soft dough forms.
- Turn the dough onto a floured surface and knead for 8-10 minutes, until smooth and elastic.
- Place the dough in a greased bowl, turning once to coat, then cover and let rise in a warm place for 1 hour or until doubled.
- Punch down the dough and divide it into three equal portions.
- Shape each portion into a loaf and place them into greased loaf pans.
- Cover and let rise for another 30-45 minutes, or until doubled in size.
- Preheat oven to 375 degrees F (190 degrees C).
- Bake for 25-30 minutes, or until golden brown and the loaves sound hollow when tapped.