Savory Balsamic Chicken: A Restaurant-Quality Meal Made Easy
Have you ever craved that perfect balance of tangy sweetness and tender, juicy poultry but thought it was too complicated to replicate at home? You’re not alone. Many home cooks avoid classic Italian-inspired dishes because they assume they require hours of simmering or hard‑to‑find ingredients. But preparing a show‑stopping Balsamic Chicken from scratch is not only simpler than you think, it also lets you control every ingredient for a healthier, more flavorful result. The secret weapon? A rich, syrupy balsamic glaze that caramelizes beautifully and elevates the entire dish. In this guide, we’ll walk through every step so you can serve a meal that tastes like it came from a Tuscan trattoria—right from your own kitchen.
—
Ingredients & Kitchen Tools
For the chicken:
– 4 boneless, skinless chicken breasts (about 1½ lbs) – pound to even thickness for uniform cooking.
– 2 tbsp olive oil – use extra‑virgin for better flavor.
– 3 cloves garlic, minced – fresh is best; jarred works in a pinch.
– ½ cup chicken broth – low‑sodium preferred to control salt.
– ¼ cup balsamic vinegar – choose a quality aged vinegar for depth.
– ¼ cup balsamic glaze (store‑bought or homemade) – adds sweetness without reducing more liquid.
– 1 tbsp honey or brown sugar – balances acidity.
– Salt & black pepper – to taste.
– Fresh thyme or rosemary – 2 sprigs for aromatics.
– 2 tbsp unsalted butter – for finishing, creates a silky sauce.
Kitchen tools:
– Large skillet (12‑inch, non‑stick or stainless steel)
– Meat mallet or rolling pin (for pounding)
– Tongs
– Measuring spoons
– Sharp knife & cutting board
– Small whisk or fork
Optional substitutions:
– Chicken thighs instead of breasts – juicier, cook slightly longer.
– Maple syrup in place of honey – for a deeper caramel note.
– Gluten‑free: ensure broth and vinegar are certified GF (most are).
– Dairy‑free: skip the butter or use a plant‑based alternative.
—
Prep Time & Cooking Schedule
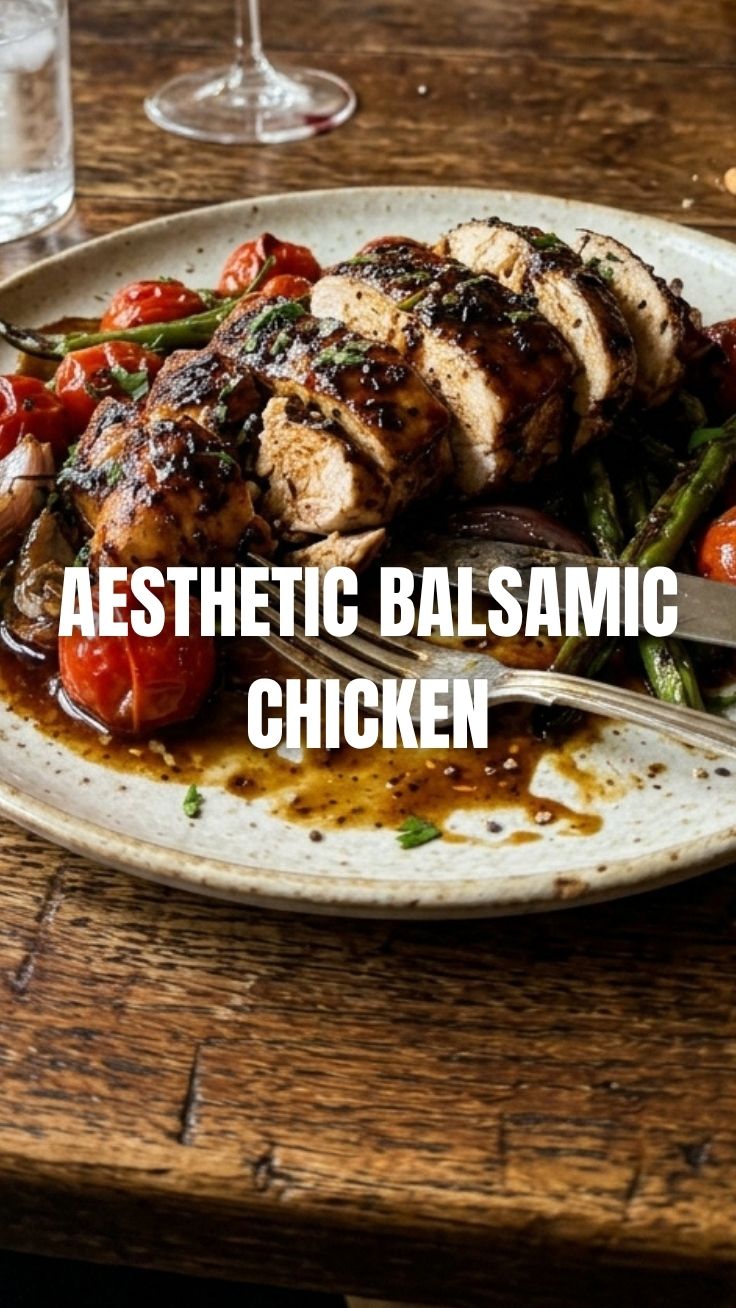
– Prep time: 15 minutes (pounding, mincing garlic, measuring liquids)
– Marinating time: optional, 30 minutes – recommended for deeper flavor.
– Cook time: 15–18 minutes total
– Resting time: 5 minutes after cooking – allows juices to redistribute.
Plan ahead: If you’re serving with sides (e.g., roasted vegetables, rice, or crusty bread), start those before cooking the chicken so everything finishes together.
—
Step-by-Step Instructions
1. Prep the chicken. Place each breast between two sheets of plastic wrap and pound to an even ½‑inch thickness. Season both sides generously with salt and pepper.
2. Heat the skillet. Over medium‑high heat, add 2 tbsp olive oil. When the oil shimmers (not smoking), lay the chicken in a single layer. Do not overcrowd; cook in batches if needed.
3. Sear for color. Cook 4–5 minutes per side until golden brown. A good crust locks in moisture. Internal temperature should reach 165°F (74°C). Transfer to a plate and tent with foil.
4. Build the sauce. Reduce heat to medium. Add minced garlic and sauté 30 seconds until fragrant. Pour in chicken broth, balsamic vinegar, and the balsamic glaze. Stir in honey and fresh herbs.
5. Simmer and thicken. Bring to a gentle boil, then lower to a simmer. Cook for 3–4 minutes, stirring occasionally, until the sauce reduces by about one‑third and becomes syrupy.
6. Finish with butter. Remove from heat, whisk in butter until melted and glossy. Return the chicken to the skillet, spooning sauce over each piece.
7. Rest and serve. Let the Balsamic Chicken rest 5 minutes before slicing. Garnish with extra thyme or fresh parsley.
Chef’s tip: For a thicker sauce, mix 1 tsp cornstarch with 2 tsp cold water and stir into the simmering liquid.
—
Nutritional Benefits & Advantages
This dish is not only delicious but also nutritionally smart:
– Chicken breast is a lean protein, helping with muscle repair and satiety.
– Balsamic vinegar contains antioxidants (polyphenols) that may support heart health.
– The modest amount of honey and butter keeps the sugar and fat in check compared to cream‑based sauces.
– A serving (one breast with sauce) provides roughly 280 calories, 35g protein, and only 8g carbohydrates – making it suitable for low‑carb or keto diets when paired with non‑starchy sides.
—
Tips, Variations & Cooking Advice
– Flavor twist: Add a splash of heavy cream at the end for a creamy balsamic sauce.
– Herb swap: Use oregano or basil instead of thyme for a different Italian profile.
– Make it dairy‑free: Omit butter or use coconut cream (thinned).
– Grill option: Sear on a hot grill, then simmer the sauce in a pan separately.
– Portion change: Double the sauce recipe for extra dipping, or cut chicken into strips for quick one‑pan meals.
– Dietary adaptation: For gluten‑free, verify broth and vinegar labels; for vegan, replace chicken with firm tofu or portobello mushrooms and use vegan butter.
—
Common Mistakes to Avoid
– Overcooking the chicken. Use an instant‑read thermometer; remove at 160°F (carry‑over cooking brings it to 165°F).
– Skipping the glaze. The reduction thickens the sauce; without it, the liquid stays too watery.
– Cooking on too high heat. Garlic burns quickly; keep the flame at medium.
– Not seasoning the chicken beforehand. Salting in advance helps flavor penetrate.
– Using cold chicken straight from fridge. Let it sit at room temperature 10 minutes before searing for even cooking.
—
Storage & Meal Prep Tips
– Refrigerator: Place cooled chicken and sauce in an airtight container. Keeps for 3–4 days.
– Freezer: Freeze in a ziplock bag (remove as much air as possible) for up to 3 months. Thaw overnight in the fridge.
– Reheating: Warm slowly in a skillet over medium‑low heat, adding a splash of broth to loosen the sauce. Avoid microwaving – it can dry out the chicken.
– Meal prep: Cook a double batch on Sunday; serve with roasted vegetables for quick lunches or dinners.
—
Conclusion
Mastering Balsamic Chicken at home unlocks a world of robust, sweet‑and‑sour flavors that rival any restaurant dish. The key is that glossy balsamic glaze – it concentrates the vinegar’s natural sweetness without extra sugar. With the simple techniques and variations shared here, you can confidently adapt this recipe to your taste and dietary needs. I encourage you to try it tonight, then come back and share your results in the comments. Have you experimented with a unique herb or swap? Let’s inspire each other to make every dinner extraordinary.
—
FAQs
1. Can I use bone‑in chicken thighs instead?
Yes, but increase cook time by 8–10 minutes and adjust seasonings accordingly. Thighs are more forgiving and stay juicy.
2. My sauce turned out too thin. How can I fix it?
Remove the chicken and simmer the sauce uncovered for 2–3 more minutes, or stir in a cornstarch slurry (1 tsp cornstarch + 2 tsp cold water).
3. What if I don’t have balsamic glaze?
Make your own by simmering ½ cup balsamic vinegar with 2 tbsp honey or brown sugar until reduced by half (about 8–10 minutes). Let cool; it thickens further.
4. Can I make this ahead of time?
Yes, prepare up to step 6, cool, and refrigerate. Reheat gently, adding broth if needed. Resting time is not required after reheating.
5. Is this recipe low‑carb / keto friendly?
Yes, each serving has about 8g net carbs. Pair with steamed broccoli or cauliflower rice for a complete low‑carb meal.
Best way to grow 5-Star Balsamic Chicken
Ingredients
Equipment
Method
- In a bowl, whisk together balsamic vinegar, olive oil, minced garlic, honey, oregano, salt, and pepper to create the marinade.
- Place the chicken breasts in a shallow dish, pour the marinade over them, and ensure all sides are coated. Marinate for at least 30 minutes, or longer for more flavor.
- Preheat your oven to 400°F (200°C) and heat a large oven-safe skillet over medium-high heat.
- Sear the marinated chicken breasts in the hot skillet for 3-4 minutes per side, until nicely browned.
- Transfer the skillet to the preheated oven and bake for 15-20 minutes, or until the chicken is cooked through and reaches an internal temperature of 165°F (74°C).
- Remove the chicken from the oven and let it rest for a few minutes before serving. You can also reduce the remaining pan juices on the stovetop to create a thicker sauce to pour over the chicken.