The Ultimate Guide to a Classic Homemade Apple Pie: Tips, Tricks, and Baking Success
Have you ever bitten into a store-bought pie and felt something was missing—that warm, nostalgic aroma of cinnamon and butter that only comes from a home kitchen? There’s a reason why a classic Apple Pie remains the gold standard of comfort desserts. Preparing this iconic dessert from scratch isn’t just about following a recipe; it’s about crafting memories, controlling every ingredient, and achieving that perfect flaky crust and tender, spiced filling. Whether you’re a novice or a seasoned baker, mastering this staple will elevate your culinary confidence. Let’s dive into the art of Apple Pie and explore how proper Baking techniques can transform simple ingredients into a masterpiece.
Ingredients & Kitchen Tools
Required Ingredients
– 6–7 medium apples (mix of Granny Smith and Honeycrisp for tart-sweet balance)
– 3/4 cup granulated sugar (adjust based on apple sweetness)
– 2 tablespoons all-purpose flour (thickens the filling)
– 1 teaspoon cinnamon (warm spice essential for depth)
– 1/4 teaspoon nutmeg (adds earthy complexity)
– 1 tablespoon lemon juice (prevents browning and brightens flavor)
– 2 tablespoons butter (cut into small cubes for richness)
– 1 egg + 1 tablespoon water (egg wash for golden crust)
Kitchen Tools
– 9-inch pie dish (glass or ceramic for even heat distribution)
– Rolling pin (wood or silicone preferred)
– Pastry cutter (for blending butter into flour)
– Sharp knife or mandoline (for uniform apple slices)
– Parchment paper (easy cleanup and prevents sticking)
Optional Substitutions
– Swap flour with cornstarch for a gluten-free thickener
– Use coconut sugar instead of granulated sugar for a lower glycemic option
– Replace butter with vegan butter for a dairy-free version
Prep Time & Cooking Schedule
Prep Time: 30 minutes (peeling, slicing, and assembling)
Chill Time: 1 hour (for dough and assembled pie)
Cook Time: 50–60 minutes at 375°F (190°C)
Resting Time: 2 hours (critical for set filling)
Context: Plan your Baking schedule around your day. The dough can be made the night before and refrigerated. The filling benefits from sitting 15 minutes after mixing to release juices. The pie must cool completely to avoid a runny slice—tempting as it is, patience pays off.
Step-by-Step Instructions
1. Prepare the Crust
Combine 2 1/2 cups all-purpose flour, 1 teaspoon salt, and 1 tablespoon sugar. Cut in 1 cup cold butter until pea-sized crumbs form. Add 6–8 tablespoons ice water, one at a time, until dough holds together. Divide in half, flatten into discs, wrap in plastic, and refrigerate for at least 1 hour.
2. Make the Filling
Peel, core, and slice apples 1/4-inch thick. Toss with sugar, flour, cinnamon, nutmeg, and lemon juice. Let sit 15 minutes—this draws out moisture, preventing a soggy bottom. For the best Apple Pie texture, use a mix of firm and soft apples to maintain structure after cooking.
3. Assemble and Bake
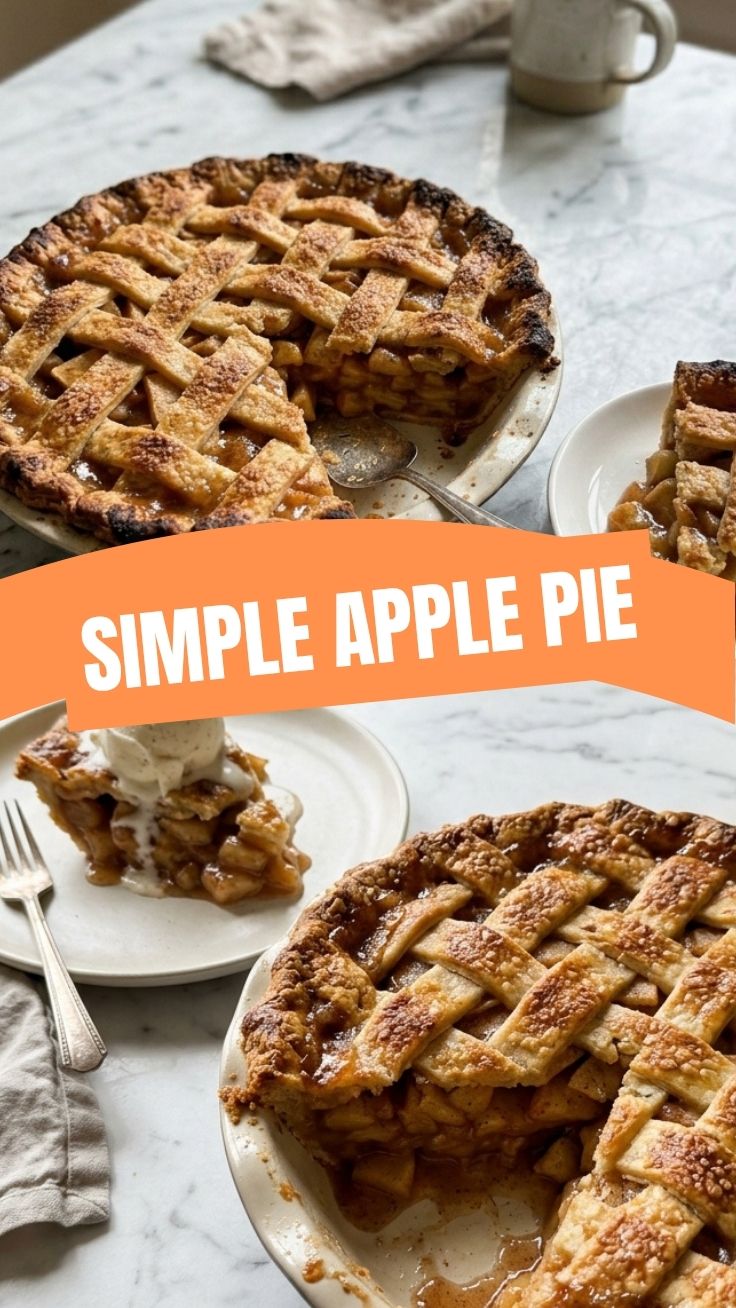
Roll out one dough disc to 12-inch circle and line the pie dish. Add filling, mounding slightly in the center. Dot with butter. Roll out top crust, place over filling, crimp edges, and cut 4–5 steam vents. Brush with egg wash and sprinkle with coarse sugar. Bake at 375°F for 50–60 minutes, covering edges with foil if browning too fast. The pie is done when juices bubble through vents and crust is golden.
Pro Tip: If the edges darken early, tent loosely with foil. Use a Baking sheet underneath to catch drips—this keeps your oven clean.
Nutritional Benefits & Advantages
Apples are rich in fiber (especially pectin) and vitamin C, supporting digestion and immunity. Cinnamon offers anti-inflammatory properties and helps regulate blood sugar. Using moderate sugar keeps this dessert balanced. A single slice provides 250–300 calories, making it a reasonable indulgence when portioned. The homemade version avoids preservatives and high-fructose corn syrup found in store-bought pies. Pair with a scoop of vanilla ice cream for protein, or serve with Greek yogurt for a lower-fat alternative.
Tips Variations & Cooking Advice
Flavor Twists:
– Add 1/2 cup dried cranberries or raisins for chewy sweetness
– Incorporate 2 tablespoons bourbon or dark rum into the filling for depth
– Top with a streusel crumble (butter, flour, brown sugar, oats) for extra crunch
Dietary Adaptations:
– Gluten-free: Use a 1:1 gluten-free flour blend and increase xanthan gum by 1/4 teaspoon
– Dairy-free: Substitute butter with coconut oil or vegan shortening
– Lower sugar: Reduce sugar to 1/2 cup and rely on apple sweetness—use sweeter varieties like Fuji or Gala
Cooking Methods:
– Air fryer: Assemble in a smaller dish and cook at 340°F for 25–30 minutes (check doneness early)
– Mini pies: Use a muffin tin for individual portions; reduce baking time to 20–25 minutes
Common Mistakes to Avoid
1. Overworking the Dough
Kneading develops gluten, resulting in tough crust. Mix until just combined; cold butter chunks create flakiness.
2. Soggy Bottom Crust
Blind bake the bottom crust for 10 minutes before adding filling. Alternatively, sprinkle a thin layer of breadcrumbs or cornmeal on the bottom.
3. Overfilling the Pie
Apples shrink during baking, but too many can cause boil-over. Leave 1/2 inch of space between filling and crust rim.
4. Cutting Vents Too Small
Small vents trap steam, making the crust pale. Cut at least 4 slits measuring 2–3 inches long.
5. Skipping the Rest
Cutting into a hot pie leads to liquid filling. Let cool 2 hours on a wire rack for clean slices.
Storage & Meal Prep Tips
Refrigeration: Wrap cooled pie tightly in plastic wrap or foil. Store at 40°F for up to 4 days. Reheat slices in a 350°F oven for 10 minutes to restore flakiness.
Freezing: Freeze unbaked or baked pies. For unbaked, assemble without egg wash, wrap in plastic plus foil, and freeze up to 3 months. Bake directly from frozen, adding 15–20 minutes to cook time. For baked pies, cool completely, wrap well, and freeze up to 2 months. Thaw overnight in fridge before reheating.
Reheating: Avoid microwaving—it softens the crust. Use a 300°F oven for 15–20 minutes for whole pies, or 5 minutes for individual slices. Serve warm with ice cream or whipped cream.
Conclusion
Mastering a classic Apple Pie is more than following a recipe—it’s about understanding the delicate dance of flour, butter, and fruit. With the right techniques, you can avoid common pitfalls and create a dessert that’s both comforting and impressive. Remember that proper Baking isn’t rushed; it’s a process of patience and precision. Start with quality ingredients, trust your instincts, and don’t be afraid to adapt. Share your results with friends and family—they’ll appreciate the effort, and you’ll enjoy the praise. If you’re inspired, try our [apple pie variations](#) or explore more seasonal recipes. Happy baking!
FAQs
1. Can I use pre-made crust to save time?
Yes, but pre-made crusts often lack the flakiness of homemade. If using store-bought, brush with egg wash and bake at 400°F for a crisper result.
2. Why is my pie filling runny?
You likely didn’t let the apples sit after tossing with sugar—this step releases excess liquid. Also, ensure you use enough thickener (flour or cornstarch). For a fix, simmer leftover filling with 1 tablespoon cornstarch slurry.
3. How do I prevent the crust edges from burning?
Use a pie shield or tent edges with foil strips halfway through baking. Remove the cover for the last 10 minutes to brown evenly.
4. Can I make this pie gluten-free?
Absolutely. Use a gluten-free all-purpose flour blend with added binders like xanthan gum. The texture will be slightly more delicate, but the flavor remains delicious.
5. How long does apple pie last at room temperature?
Up to 2 days if covered. However, refrigeration extends freshness to 4–5 days. Always check for mold or off smells before serving leftovers.
Best way to grow Apple Pie from scratchApple Pie
Ingredients
Equipment
Method
- In a large bowl, combine flour and salt; cut in cold, cubed butter until the mixture resembles coarse crumbs.
- Gradually add ice water, mixing until a dough forms; divide the dough in half, flatten into discs, wrap, and chill for at least 30 minutes.
- In a separate large bowl, combine sliced apples with sugar, flour, cinnamon, nutmeg, and lemon juice; toss gently to coat evenly.
- Preheat oven to 425°F (220°C); roll out one dough disc and carefully transfer it to a 9-inch pie plate.
- Pour the apple filling into the pie crust; roll out the second dough disc and place it over the filling.
- Trim and crimp the edges of the crust; create vents on top, brush with beaten egg, and sprinkle with sugar.
- Bake for 15 minutes at 425°F (220°C); reduce oven temperature to 375°F (190°C) and continue baking for 45-50 minutes, or until the crust is golden brown and apples are tender.
- Let the pie cool completely on a wire rack before slicing and serving.