Unlock the Secret to Irresistible Fluff: Baking Your Own Dinner Rolls
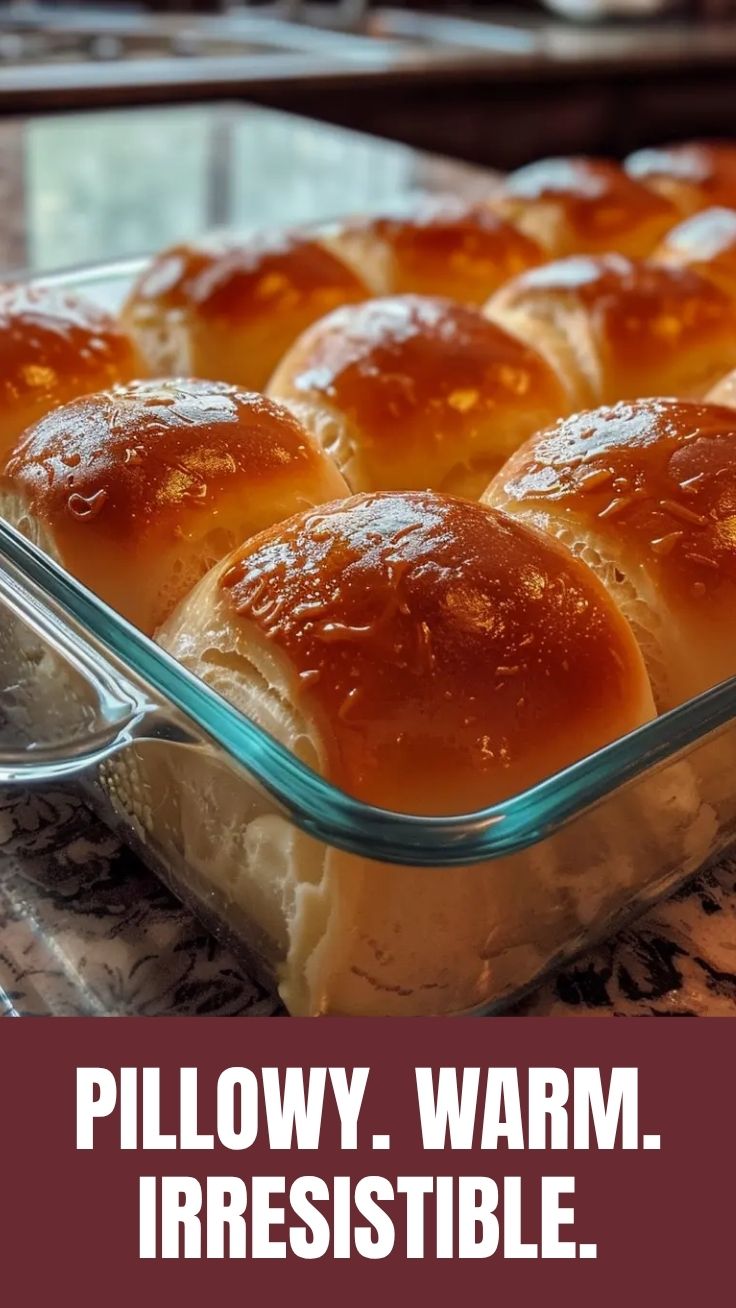
Ever dreamt of biting into a warm, unbelievably soft dinner roll, fresh from your own oven? That moment of pure culinary bliss, where the aroma fills your kitchen and the delicate crust gives way to a pillowy interior, is more achievable than you think. There’s an unparalleled satisfaction in creating something so comforting and delicious from scratch, especially when it comes to the humble yet essential Dinner Rolls (Soft). Forget store-bought imitations; mastering these at home allows for a level of freshness and flavor that simply can’t be replicated. Today, we’re diving deep into crafting the perfect batch of Homemade Dinner Rolls that will elevate any meal, from a casual family dinner to a special holiday feast.
Ingredients & Kitchen Tools
Crafting these delightful rolls requires a few simple ingredients and common kitchen tools.
- Active Dry Yeast (2¼ teaspoons, or one packet): The leavening agent that makes our rolls light and airy. Ensure it’s fresh for optimal rise.
- Warm Water (½ cup, approximately 105-115°F/40-46°C): Activates the yeast. Too hot will kill it, too cold won’t activate it.
- Granulated Sugar (¼ cup + 1 teaspoon): Feeds the yeast and adds a touch of sweetness to the dough.
- Milk (1 cup, warm): Adds richness and contributes to a tender crumb. Whole milk is recommended for the best texture.
- Unsalted Butter (½ cup, melted): Provides flavor, moisture, and aids in the softness of the rolls.
- Large Egg (1, room temperature): Enhances richness, color, and helps bind the dough.
- All-Purpose Flour (4½ – 5 cups, approximately): The main structural component. You might need slightly more or less depending on humidity.
- Salt (1½ teaspoons): Balances flavor and strengthens the gluten structure.
- Optional for brushing: Melted butter or egg wash for a golden, glossy finish.
Kitchen Tools:
- Large Mixing Bowl: For combining ingredients and dough rising.
- Measuring Cups and Spoons: For accurate ingredient quantities.
- Whisk: For combining dry ingredients.
- Stand Mixer with Dough Hook (optional, but highly recommended): Speeds up kneading and ensures consistent dough development. Manual kneading is also perfectly fine!
- Rolling Pin: For shaping the dough.
- 9×13 inch Baking Pan: For baking your rolls.
- Pastry Brush: For applying melted butter or egg wash.
- Kitchen Towel or Plastic Wrap: For covering the dough during rising.
Prep Time & Cooking Schedule
- Prep Time: 25 minutes
- Rise Time (First Proof): 60-90 minutes
- Rise Time (Second Proof): 30-45 minutes
- Bake Time: 15-20 minutes
- Total Time: Approximately 2 hours 10 minutes – 2 hours 50 minutes
This recipe involves two distinct rising periods, crucial for achieving that characteristic light and airy texture. Plan your baking session accordingly, perhaps starting the first rise while preparing other aspects of your meal. The dough is quite forgiving, allowing for a slight delay if needed.
Step-by-Step Instructions
1. Activate the Yeast: In your large mixing bowl (or stand mixer bowl), combine the warm water, 1 teaspoon of granulated sugar, and active dry yeast. Stir gently and let it sit for 5-10 minutes until foamy. This indicates the yeast is alive and active.
2. Combine Wet Ingredients: Once the yeast is active, stir in the warm milk, melted butter, ¼ cup granulated sugar, and the room temperature egg.
3. Add Dry Ingredients: Gradually add in 2 cups of the all-purpose flour and the salt. Mix on low speed (if using a stand mixer) or with a wooden spoon until just combined.
4. Knead the Dough: Continue adding the remaining flour, ½ cup at a time, until a soft, slightly sticky dough forms. If using a stand mixer, switch to the dough hook and knead on medium-low speed for 8-10 minutes until the dough is smooth, elastic, and pulls away from the sides of the bowl. If kneading by hand, turn the dough out onto a lightly floured surface and knead for 10-15 minutes. The dough should be soft but not overly sticky. This dedicated kneading time is essential for developing the gluten structure that gives
Dinner Rolls (Soft) their signature chewy-tender texture.
5. First Rise: Lightly grease your large mixing bowl. Place the dough in the bowl, turning it once to coat. Cover the bowl with plastic wrap or a clean kitchen towel and let it rise in a warm place for 60-90 minutes, or until doubled in size.
6. Shape the Rolls: Gently punch down the risen dough to release the air. Turn it out onto a lightly floured surface. Divide the dough into 12-15 equal pieces, then gently shape each piece into a smooth ball. For truly perfect Homemade Dinner Rolls, ensure consistent shaping for even baking.
7. Second Rise: Arrange the shaped rolls in your greased 9×13 inch baking pan, leaving a small space between each. Cover the pan loosely with plastic wrap or a kitchen towel and let them rise again in a warm place for 30-45 minutes, or until noticeably puffy.
8. Bake: Preheat your oven to 375°F (190°C) during the last 15 minutes of the second rise. If desired, brush the tops of the risen rolls with melted butter or an egg wash for a golden sheen. Bake for 15-20 minutes, or until golden brown on top and cooked through.
9. Cool and Serve: Once baked, remove the pan from the oven. For extra shine and softness, brush the hot rolls with a little more melted butter immediately after baking. Let them cool in the pan for a few minutes before serving warm.
Nutritional Benefits & Advantages
These rolls, while a comforting indulgence, also offer some nutritional value. Made with milk and eggs, they provide protein and essential vitamins like B-vitamins and Vitamin D. The whole wheat flour option (see variations) significantly boosts fiber content, aiding digestion and promoting satiety. Plus, baking at home gives you complete control over ingredients, allowing you to reduce preservatives often found in store-bought alternatives.
Tips, Variations & Cooking Advice
- For a Chewier Roll: Substitute up to half of the all-purpose flour with bread flour.
- Whole Wheat Version: Replace half of the all-purpose flour with whole wheat flour. You might need a little more liquid as whole wheat absorbs more.
- Garlic & Herb Rolls: Before the second rise, brush the rolls with melted butter mixed with minced garlic and dried herbs like parsley or oregano.
- Sweet Rolls: Add an extra ¼ cup of sugar to the dough and consider a simple glaze (powdered sugar and milk) after baking.
- Make Ahead: Unbaked rolls can be covered tightly and refrigerated overnight after the first rise. Let them come to room temperature and rise for 30-60 minutes before baking.
- Freezing Dough: After the first rise, shape the rolls and place them on a baking sheet. Freeze until solid, then transfer to a freezer-safe bag. Thaw overnight in the refrigerator, then let them rise and bake as usual.
Common Mistakes to Avoid
- Inactive Yeast: Always check your yeast by allowing it to foam in warm water and sugar. If it doesn’t foam, it’s dead, and your rolls won’t rise.
- Too Much Flour: Over-flouring makes the dough dry and dense. Aim for a soft, slightly sticky dough that’s pliable. Add flour gradually.
- Not Enough Kneading: Undernourished dough will result in a crumbly texture. Ensure the dough is smooth and elastic.
- Over-Rising: Dough that rises too long can collapse in the oven, leading to a flatter, sometimes sour-tasting roll. Watch for doubling in size, not triple.
- Oven Temperature Fluctuations: Use an oven thermometer to ensure accurate temperature for even baking.
- Opening Oven Door Too Soon: Avoid opening the oven door frequently, especially in the first 10 minutes of baking, as it can cause the rolls to deflate.
Storage & Meal Prep Tips
Once baked, these rolls are best enjoyed warm and fresh. Store any leftover Dinner Rolls (Soft) in an airtight container at room temperature for up to 2-3 days. For longer storage, freeze baked and cooled rolls in a freezer-safe bag for up to 3 months. To reheat, simply warm them in a preheated oven at 300°F (150°C) for 5-10 minutes, or microwave briefly until heated through.
Conclusion
There you have it – your comprehensive guide to baking the most ethereal and delectable Dinner Rolls (Soft) right in your own kitchen! The process of creating these from scratch, from the initial activation of the yeast to the golden-brown finish, is incredibly rewarding. With a little patience and these detailed instructions, you’ll soon be delighting your family and friends with warm, fluffy Homemade Dinner Rolls that are far superior to anything you can buy. Don’t hesitate to give this recipe a try; the aroma alone is worth the effort, and the taste is simply unforgettable. Share your baking triumphs with us in the comments below!
FAQs
Q1: Can I make the dough ahead of time?
A1: Yes, after the first rise and shaping, you can refrigerate the unbaked rolls overnight. Let them come to room temperature and proof for 30-60 minutes before baking.
Q2: What if my dough isn’t rising?
A2: The most common culprit is inactive yeast or water that’s too hot or cold. Ensure your yeast is fresh and your water temperature is between 105-115°F (40-46°C). Your rising environment might also be too cold; try a slightly warmer spot.
Q3: Can I use different types of flour?
A3: While all-purpose flour is standard, you can substitute up to half with bread flour for a chewier roll, or whole wheat flour for a nuttier, healthier option. Adjust liquid slightly if using whole wheat.
Q4: How do I get a golden-brown top?
A4: Brushing the rolls with an egg wash (one egg beaten with 1 tablespoon water) before baking will give them a beautiful golden, glossy finish. Alternatively, melted butter also works well for shine and flavor.
Q5: My rolls came out dense. What went wrong?
A5: This usually points to either too much flour added during kneading, insufficient kneading time (preventing proper gluten development), or an issue with the yeast not activating fully. Ensure your dough is soft and elastic, and your yeast is active.
Best way to grow soft, fluffy dinner rolls in 45 minutes.
Ingredients
Equipment
Method
- In a large bowl, combine 1 cup of flour, yeast, sugar, and salt.
- In a separate bowl, whisk together warm milk, melted butter, and egg.
- Gradually add the wet ingredients to the dry ingredients, mixing until well combined.
- Stir in the remaining flour, 1/2 cup at a time, until a soft dough forms.
- Knead the dough on a lightly floured surface for 5-7 minutes until smooth and elastic.
- Place the dough in a lightly oiled bowl, cover, and let rise in a warm place for 15-20 minutes, or until doubled in size.
- Preheat your oven to 375°F (190°C) and lightly grease a baking sheet.
- Divide the dough into 12 equal pieces and shape each into a round roll.
- Arrange the rolls on the prepared baking sheet, leaving some space between them.
- Bake for 15-20 minutes, or until golden brown and cooked through.
- Brush with melted butter (optional) immediately after removing from the oven, then serve warm.