The Ultimate Guide to Baking the Perfect Apple Pie at Home
Have you ever wondered why store-bought pies never quite capture the magic of a homemade dessert? There’s something deeply satisfying about pulling a golden, bubbling pie from your own oven—the aroma of cinnamon and baked apples filling your kitchen. Preparing an apple pie from scratch isn’t just about following a recipe; it’s about creating memories, controlling ingredients, and achieving a level of freshness that no bakery can match. Whether you’re a seasoned baker or a curious beginner, mastering this classic dessert is a skill that pays dividends in comfort and flavor.
Ingredients & Kitchen Tools
For the Filling:
– 6-7 medium Granny Smith apples (or Honeycrisp for sweetness)—firm apples hold shape during baking
– 3/4 cup granulated sugar (adjust based on apple sweetness)
– 2 tablespoons all-purpose flour (thickens juices into a luscious syrup)
– 1 teaspoon ground cinnamon (the quintessential spice)
– 1/4 teaspoon nutmeg (freshly grated if possible)
– 1 tablespoon lemon juice (prevents browning and brightens flavor)
– 1 teaspoon vanilla extract (adds depth)
For the Crust:
– 2 1/2 cups all-purpose flour (plus extra for dusting)
– 1 cup cold unsalted butter (cut into cubes—temperature is critical here)
– 1/2 teaspoon salt
– 6-8 tablespoons ice water (adjust as needed)
Kitchen Tools:
– 9-inch pie dish (glass or ceramic works best for even heating)
– Rolling pin (essential for even crust thickness)
– Pastry cutter or food processor (for butter incorporation)
– Sharp knife or apple corer
– Baking sheet (to catch drips)
– Parchment paper (for easier cleanup)
Optional Substitutions:
– Replace 1 cup flour with almond flour for a nutty twist
– Use coconut oil instead of butter for a dairy-free crust (chill thoroughly)
– Substitute brown sugar for granulated for deeper caramel notes
Prep Time & Cooking Schedule
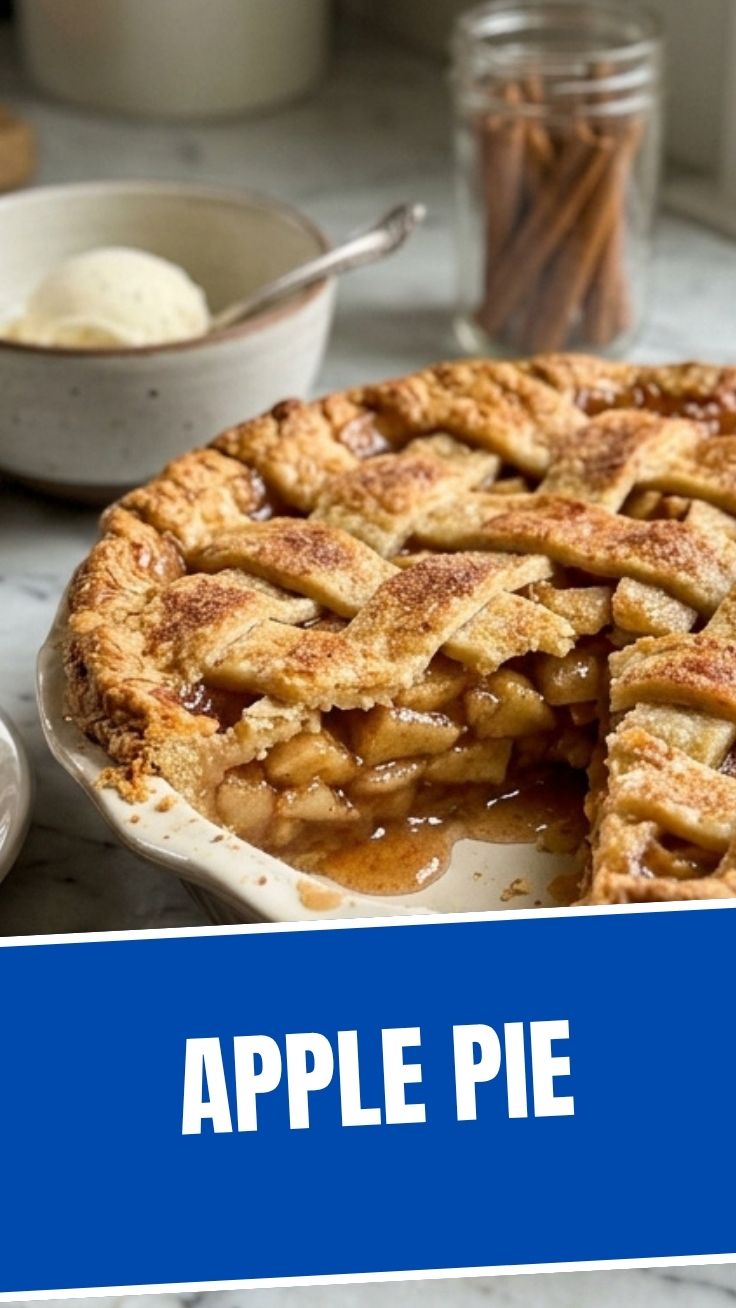
Planning is the secret to stress-free baking. Here’s your timeline:
– Prep Time: 45 minutes (includes making dough and filling)
– Chilling Time: 30 minutes (crucial for flaky crust)
– Baking Time: 50-60 minutes at 375°F (190°C)
– Cooling Time: At least 2-3 hours (do NOT skip this—the filling needs to set)
Pro tip: Prepare the dough the night before. Wrapped tightly in plastic, it keeps in the fridge for up to 48 hours, making next-day assembly a breeze.
Step-by-Step Instructions
1. Make the Crust: In a large bowl, combine flour and salt. Cut in cold butter using a pastry cutter until pea-sized crumbs form. Add ice water one tablespoon at a time, mixing until dough just holds together. Divide into two disks, wrap in plastic, and refrigerate for 30 minutes. This step ensures a flaky apple pie crust that shatters delicately with each bite.
2. Prepare the Filling: Peel, core, and slice apples into 1/4-inch thick pieces. Toss with sugar, flour, cinnamon, nutmeg, lemon juice, and vanilla. Let sit for 10 minutes—the sugar will draw out natural juices. A perfectly balanced apple pie relies on this resting period to prevent a watery bottom crust.
3. Assemble the Pie: Roll one dough disk to fit your pie dish. Transfer gently, pressing into corners. Add filling, mounding it slightly in the center. Roll out second disk and place on top. Crimp edges decoratively, then cut 4-5 steam vents.
4. Bake: Place pie on a baking sheet (to catch overflow). Bake at 375°F for 50-60 minutes. Cover edges with foil after 30 minutes to prevent burning. The pie is done when juices bubble through vents and crust is deep golden brown.
5. Cool Completely: Transfer to a wire rack. Wait at least 2 hours before slicing—warm pie will be runny, and patience here transforms good into glorious.
Nutritional Benefits & Advantages
While pie is an indulgence, it offers surprising perks when made from scratch. Apples are rich in dietary fiber (about 4 grams per medium fruit) and vitamin C, supporting digestive health and immunity. Cinnamon has anti-inflammatory properties and may help regulate blood sugar. By controlling sugar levels at home, you can reduce added sweeteners by 25-30% compared to commercial pies. Plus, homemade butter provides fat-soluble vitamins A, D, and E. The real advantage? Zero preservatives, artificial colors, or high-fructose corn syrup—just pure, recognizable ingredients.
Tips Variations & Cooking Advice
Flavor Twists: Add 1/2 cup dried cranberries or chopped walnuts to the filling for texture. Replace cinnamon with cardamom for a Scandinavian flair. For a savory-sweet version, sprinkle flaky sea salt on top before baking.
Dietary Adaptations:
– Gluten-Free: Use a 1:1 gluten-free flour blend (add 1 teaspoon xanthan gum if not included)
– Vegan: Substitute cold coconut oil for butter and use a flax egg (1 tablespoon ground flax + 3 tablespoons water) for the crust glaze
– Low-Sugar: Swap 1/4 cup sugar with monk fruit sweetener or erythritol—no need to adjust flour
Alternative Cooking: Try mini hand pies (bake 20 minutes) or a galette style (free-form, bakes 35-40 minutes). An air fryer works for individual portions at 350°F for 15 minutes.
Common Mistakes to Avoid
1. Overworking the dough leads to tough crust. Mix only until combined; visible butter chunks are your friend.
2. Soggy bottom crust results from under-baking. Place pie on the lowest oven rack for the first 20 minutes.
3. Watery filling happens when apples aren’t cooked long enough. Always pre-cook filling for 5 minutes on the stovetop if using very juicy apples.
4. Burning the edges is preventable by using a pie shield or foil strips after 30 minutes.
5. Skipping the cooling time guarantees a soupy mess. Patience is the baker’s best tool.
Storage & Meal Prep Tips
Refrigeration: Cover leftover pie with foil and refrigerate for up to 4 days. The crust may soften slightly, but flavor deepens beautifully.
Freezing: Wrap whole baked pie (completely cooled) in plastic wrap, then aluminum foil. Freeze for up to 3 months. Thaw overnight in fridge, then reheat at 350°F for 15 minutes to restore crispness.
Reheating: For single slices, microwave 20-30 seconds for a warm treat. For that fresh-baked texture, reheat in a 350°F oven for 10 minutes.
Meal Prep: Make and freeze unbaked pies. Bake directly from frozen—add 15-20 minutes to baking time and tent edges earlier.
Conclusion
Baking this apple pie from scratch is more than following steps—it’s about connecting with tradition and enjoying the unmatched satisfaction of creating something beautiful and delicious. With a flaky apple pie crust and perfectly spiced filling, every slice tells the story of care and craftsmanship. Whether you serve it warm with vanilla ice cream or alongside a cup of coffee, this recipe is destined to become a family favorite. Don’t be intimidated; start with small batches, learn from each bake, and soon you’ll be the go-to pie maker at every gathering. Share your results in the comments below—we’d love to see your golden creations!
FAQs
Q: Can I substitute Granny Smith apples with other varieties?
A: Absolutely! Honeycrisp, Fuji, or Braeburn work well. Avoid Red Delicious—they turn mushy. A 50/50 mix of tart and sweet apples delivers the best balance.
Q: My crust always shrinks during baking. How do I fix this?
A: Over-handling and insufficient chilling are culprits. Always rest dough at least 30 minutes. Also, avoid stretching dough when fitting it into the dish—lift and press gently.
Q: The top crust is browning too quickly. What should I do?
A: Use a pie shield or tent with aluminum foil after 30 minutes. Check your oven temperature with an independent thermometer—ovens often run hot.
Q: Can I make the filling ahead of time?
A: Yes, up to 3 days in advance. Store in the fridge, but note that apples will release more liquid. If this happens, drain excess juice before assembling.
Q: How do I prevent a burnt bottom crust?
A: Bake on the lowest rack and use a glass pie dish (it heats evenly). Some bakers preheat a baking sheet and place the pie directly on it for extra bottom heat.
Best way to make perfect Apple Pie in 3 steps
Ingredients
Equipment
Method
- In a large bowl, whisk together flour, sugar, and salt for the crust. Cut in the cold butter until the mixture resembles coarse crumbs, then gradually add ice water, mixing until a dough forms.
- Divide the dough in half, flatten each into a disc, wrap them in plastic wrap, and refrigerate for at least 30 minutes.
- In a large bowl, combine the sliced apples with granulated sugar, brown sugar, flour, cinnamon, and nutmeg; toss gently to coat the apples evenly.
- On a lightly floured surface, roll out one dough disc into a 12-inch circle and transfer it to a 9-inch pie plate. Trim any excess dough.
- Pour the apple filling into the pie crust. Roll out the second dough disc and place it over the filling.
- Trim the top crust, crimp the edges to seal, cut a few slits in the top for venting, brush with egg wash, and sprinkle with sugar.
- Bake at 425°F (220°C) for 15 minutes, then reduce the oven temperature to 375°F (190°C) and bake for another 45-50 minutes, or until the crust is golden brown and the filling is bubbly.