Why Store-Bought Can’t Compare: Mastering Homemade Ice Cream (Vanilla) in Your Kitchen
Have you ever tasted a scoop of vanilla ice cream so rich and creamy that it felt like a completely different dessert? If you think making premium Homemade Ice Cream (Vanilla) at home is too complicated or time-consuming, you’re about to discover a simple truth: with the right technique, you can create a frozen treat that outshines any commercial brand. Preparing this classic dessert at home gives you complete control over ingredients, flavor intensity, and texture while avoiding artificial stabilizers and preservatives. In this guide, we’ll walk through every detail to help you craft the perfect silky, custard-based vanilla frozen dessert that will impress family and friends.
—
Ingredients & Kitchen Tools
Core Ingredients (with clarifications)
| Ingredient | Quantity | Purpose & Notes |
|————|———-|—————–|
| Heavy cream | 2 cups (480 ml) | Provides richness; 36-40% fat content ideal for smooth texture |
| Whole milk | 1 cup (240 ml) | Balances creaminess; do not substitute with skim or low-fat |
| Granulated sugar | ¾ cup (150 g) | Sweetness and texture; adjusts based on vanilla intensity |
| Egg yolks | 5 large | Creates custard base; essential for silky mouthfeel |
| Vanilla bean | 1 whole pod OR 2 tsp pure vanilla extract | Use real vanilla for authentic depth; avoid imitation |
| Pinch of salt | ¼ tsp | Enhances flavor and reduces iciness |
Kitchen Tools and Utensils
– Medium saucepan (heavy-bottomed preferred for even heating)
– Whisk
– Mixing bowls (heatproof glass or stainless steel)
– Fine-mesh strainer
– Ice cream maker (compressor or canister style)
– Airtight freezer-safe container (1-quart capacity)
– Instant-read thermometer (recommended for custard accuracy)
– Rubber spatula
Optional Substitutions
– Replace whole milk with oat milk + 1 tbsp coconut oil for dairy-free version
– Use maple syrup (¾ cup) instead of sugar for refined sugar-free option
– Substitute vanilla bean paste (2 tsp) for extract for visible vanilla specks
—
Prep Time & Cooking Schedule
Total Active Prep: 25 minutes
Cooking (Custard): 10–15 minutes
Chilling: Minimum 4 hours (overnight preferred)
Churning: 20–25 minutes
Freezing (Hardening): 3–4 hours
Pro Tip: Start the custard base the day before serving. This allows flavors to meld and ensures the base is fully cold, which shortens churning time and produces smaller ice crystals.
—
Step-by-Step Instructions
Phase 1: Infuse the Vanilla
1. Split the vanilla bean lengthwise with a sharp knife. Scrape out the tiny black seeds using the back of the blade.
2. In a heavy saucepan, combine heavy cream, whole milk, half the sugar, and the vanilla pod (seeds and pod). Heat over medium-low until small bubbles form around the edges—do not boil (165°F/74°C). Remove from heat, cover, and steep for 30 minutes for deeper flavor.
Phase 2: Temper the Egg Yolks
3. In a heatproof bowl, whisk egg yolks with remaining sugar and salt until pale and slightly thickened (about 2 minutes).
4. Slowly pour one cup of warm cream mixture into the yolks while whisking constantly—this prevents scrambling.
5. Pour the tempered yolk mixture back into the saucepan with the remaining cream.
Phase 3: Cook the Custard
6. Set saucepan over medium-low heat. Stir continuously with a rubber spatula (scraping the bottom) until custard thickens enough to coat the spatula—this takes 5–7 minutes.
7. Check temperature: The ideal target is 170°F–175°F (77°C–80°C). At this point, the custard should leave a clear trail when you run a finger across the spatula.
8. Critical step: Remove immediately from heat and strain through a fine-mesh sieve into a clean bowl to remove any cooked egg bits and the vanilla pod.
9. Stir in vanilla extract now (if using extract instead of bean). Let cool at room temperature for 30 minutes, then cover and refrigerate until thoroughly cold (40°F/4°C), at least 4 hours.
Phase 4: Churn and Freeze
10. Pour cold custard into your ice cream maker and churn according to manufacturer instructions—usually 20–25 minutes until it reaches soft-serve consistency.
11. Transfer to an airtight container, press a sheet of parchment paper directly against the surface to prevent ice crystals, and freeze for at least 3 hours.
When making this Homemade Ice Cream (Vanilla), you’ll notice the texture improves after 6–12 hours of hardening. For best results, browse our collection of Ice Cream Recipes to discover flavor variations that work with this same custard base.
—
Nutritional Benefits & Advantages
A single ½-cup serving of this classic Homemade Ice Cream (Vanilla) contains approximately 280 calories, 18g fat, 24g carbs, and 5g protein. While it’s an indulgence, making it at home eliminates artificial emulsifiers and high-fructose corn syrup found in many commercial versions. The egg yolks provide choline and vitamin A, while the full-fat dairy offers conjugated linoleic acid (CLA). For protein-packed alternatives, explore our Ice Cream Recipes collection featuring Greek yogurt base versions with 30% less sugar.
—
Tips Variations & Cooking Advice
Flavor Twists
– Brown Butter Vanilla: Brown 3 tbsp butter before adding cream—this adds nutty depth
– Spiced Version: Add 1 cinnamon stick and 3 whole cloves during steeping
– Alcoholic Pairing: Stir in 2 tbsp bourbon or dark rum after straining (reduces iciness)
Technique Upgrades
– No-churn method: Whip 2 cups heavy cream to stiff peaks, fold into sweetened condensed milk (14 oz) plus vanilla, freeze directly
– Dietary adjustments: Use coconut cream and vegan custard powder for dairy-free; swap sugar with allulose for keto-friendly
—
Common Mistakes to Avoid
| Mistake | Solution |
|———|———-|
| Custard curdles from high heat | Always cook over medium-low; use thermometer to stay below 180°F |
| Ice crystals form during storage | Press parchment directly on surface; keep container tightly sealed |
| Grainy texture after churning | Ensure base is fully cold (below 40°F) before churning |
| Too hard when frozen | Add 1 tbsp vodka or corn syrup before churning to reduce freezing point |
—
Storage & Meal Prep Tips
– Refrigeration: Do not refrigerate finished ice cream—it will melt
– Freezing: Store in shallow freezer-safe containers (ice cream stays scoopable up to 2 weeks)
– Scooping trick: Let sit at room temperature for 5–8 minutes before serving
– Reviving: If ice cream becomes icy, microwave 10 seconds, stir, and re-freeze (works once per batch)
—
Conclusion
Creating premium Homemade Ice Cream (Vanilla) from scratch is one of the most rewarding kitchen projects any home cook can master. You now have the science behind silky custards, the tools to avoid common pitfalls, and endless possibilities for customization through our growing library of Ice Cream Recipes. This particular base recipe yields a dessert that’s rich, stable, and deeply flavorful—perfect for sharing on a sunny afternoon or gifting in decorative containers. I’d love to hear how your batch turns out: what flavor twist will you try first? Leave a comment below or tag your photos with #MyHomeCreamery.
—
Frequently Asked Questions
1. Can I make this without an ice cream maker?
Yes! Use the no-churn method mentioned above: beat 2 cups heavy cream to stiff peaks, fold into sweetened condensed milk (14 oz) with 2 tsp vanilla, then freeze. Texture will be softer than churned versions.
2. Why did my custard turn into scrambled eggs?
The temperature exceeded 180°F, or you added hot liquid too quickly to the yolks. Next time, use a thermometer and temper more slowly.
3. How long will homemade ice cream keep?
Best consumed within 2 weeks. After that, ice crystals form and texture declines. For storage beyond 2 weeks, press plastic wrap directly onto surface before sealing.
4. Can I use a vanilla bean instead of extract?
Absolutely—it gives a more complex flavor. Use 1 whole bean (split and scraped) steeped in the warm cream, then remove the pod before chilling.
5. My ice cream came out icy, not creamy. What went wrong?
Several possible causes: custard wasn’t cold enough before churning, you over-churned, or the freezer temperature fluctuated. Chill base at least 4 hours, churn until just thickened, and maintain stable freezer temp (0°F/-18°C).
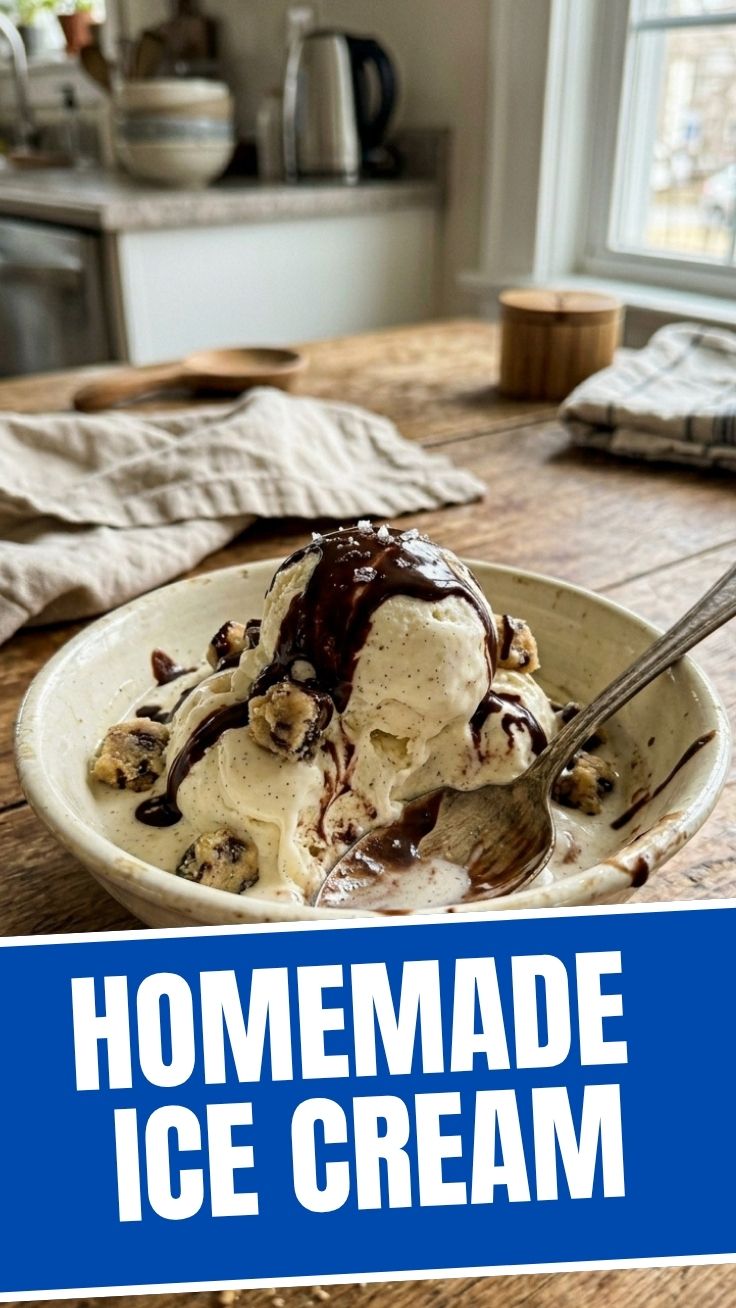
Homemade Ice Cream (Vanilla)
Ingredients
Equipment
Method
- In a large bowl, whisk together the heavy cream, whole milk, granulated sugar, and vanilla extract until the sugar is fully dissolved.
- Pour the mixture into the freezer bowl of your ice cream maker.
- Churn according to the manufacturer's instructions, usually for 20-25 minutes, until the ice cream is thick and creamy.
- For a softer consistency, serve immediately. For a firmer ice cream, transfer to an airtight container and freeze for at least 2-3 hours.