The Ultimate Guide to Perfect Savory Stuffing Delight: A Homemade Masterpiece
Have you ever wondered why homemade stuffing always tastes better than the boxed version? The secret lies in the aroma of fresh herbs mingling with toasty bread and savory broth—a sensory experience that no pre-packaged mix can replicate. Preparing Savory Stuffing Delight at home not only fills your kitchen with warmth but also gives you complete control over quality, flavor, and dietary needs. This classic comfort dish is perfect for holiday tables, cozy Sunday dinners, or as a versatile side that steals the show. Let’s dive into crafting a version that’s both indulgent and surprisingly wholesome, with a gluten-free twist that everyone can enjoy.
Ingredients & Kitchen Tools
To create the perfect Savory Stuffing Delight, you’ll need the following Stuffing essentials gathered beforehand:
– Gluten-free bread cubes (6 cups, day-old preferred for better texture absorption)
– Unsalted butter (4 tablespoons, or use olive oil for dairy-free)
– Yellow onion (1 large, finely diced for sweet undertones)
– Celery stalks (3, chopped into small ¼-inch pieces)
– Fresh sage leaves (2 tablespoons, chopped; or 1 teaspoon dried)
– Fresh thyme (1 tablespoon, leaves stripped; or ½ teaspoon dried)
– Chicken or vegetable broth (2 cups, low-sodium recommended)
– Eggs (2 large, lightly beaten—flax eggs work for vegan)
– Salt and black pepper (to taste)
– Optional mix-ins: dried cranberries (½ cup), toasted pecans (½ cup), or chopped mushrooms (1 cup)
Each ingredients plays a crucial role: day-old bread ensures the stuffing doesn’t turn mushy, while fresh herbs provide bright, aromatic notes that dried versions can’t match. For kitchen tools, you’ll need a large skillet, a 9×13-inch baking dish, a wooden spoon, measuring cups, and a sharp knife.
Prep Time & Cooking Schedule
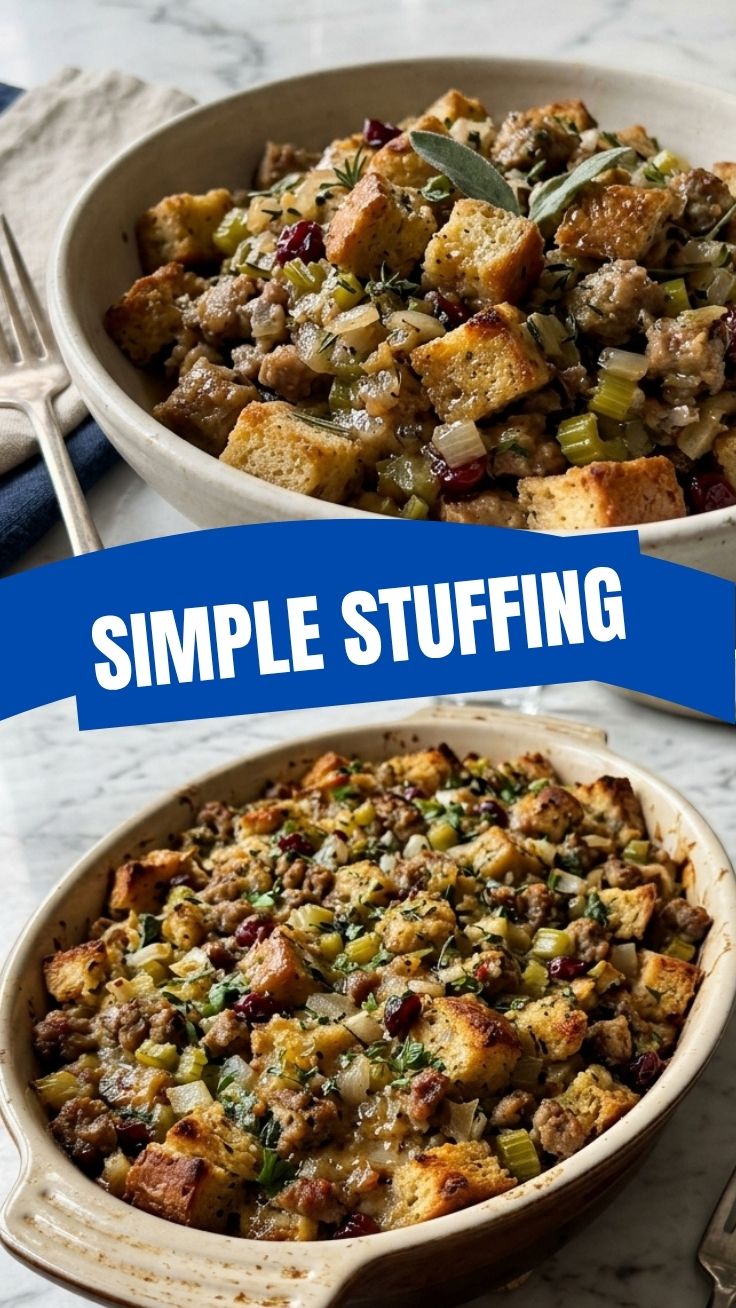
Managing your time makes all the difference. Here’s a realistic schedule:
– Prep time: 20 minutes (chopping vegetables, cubing bread, measuring spices)
– Cooking time: 35–40 minutes in the oven at 375°F (190°C)
– Resting time: 10 minutes after baking (allows flavors to meld and texture to set)
Plan ahead: chop your vegetables and cube the bread a day in advance. Store the bread cubes in a single layer on a baking sheet overnight to achieve that perfect stale texture—fresh bread soaks up too much liquid and becomes gluey. If you’re short on time, toast the cubes in a 300°F oven for 10 minutes instead.
Step-by-Step Instructions
1. Preheat your oven to 375°F (190°C). Grease a 9×13-inch baking dish with butter or non-stick spray.
2. Sauté the aromatics: In a large skillet over medium heat, melt 4 tablespoons of butter. Add the diced onion and celery, cooking for 6–8 minutes until softened and translucent. Stir in the fresh sage and thyme, cooking for 1 more minute until fragrant.
3. Combine the base: In a large mixing bowl, place the 6 cups of gluten-free bread cubes. Pour the sautéed vegetable-herb mixture over the bread, tossing gently to distribute.
4. Prepare the liquid: Whisk together the 2 cups of broth and 2 beaten eggs in a separate bowl. Pour this evenly over the bread mixture, stirring gently until all cubes are moistened but not soggy. The key is to let the bread absorb the liquid for 5 minutes before proceeding—this is where you ensure the Savory Stuffing Delight avoids the dreaded mushiness.
5. Season and adjust: Taste the mixture (yes, raw egg is fine in small amounts if you’re careful) and adjust salt, pepper, or herbs. Add optional mix-ins like cranberries or nuts now.
6. Bake to perfection: Transfer the mixture to the prepared dish, spreading evenly. Cover with foil and bake for 25 minutes. Remove the foil and bake for an additional 10–15 minutes until the top is golden brown and edges are crispy. For a truly gluten-free stuffing that’s crispy on top yet moist inside, check the internal temperature—it should reach 165°F (74°C).
Nutritional Benefits & Advantages
This Savory Stuffing Delight offers surprising health perks. Gluten-free bread made from brown rice or quinoa provides complex carbohydrates for steady energy, while the celery and onion deliver fiber and antioxidants like quercetin, which supports immune health. Fresh sage is rich in vitamin K and contains compounds that may improve brain function. By using low-sodium broth and controlling fat (butter or olive oil), you create a dish that’s lower in sodium and saturated fat than many traditional recipes. Plus, the addition of dried cranberries adds natural sweetness without processed sugar, along with proanthocyanidins that support urinary tract health.
Tips Variations & Cooking Advice
Unlock the full potential of this recipe with these creative twists:
– Flavor variations: Swap sage for rosemary and add roasted garlic for an earthy profile. For a kick, fold in ½ teaspoon red pepper flakes with the vegetables.
– Dietary adaptations: For a vegan version, use flax eggs (1 tablespoon ground flax + 2.5 tablespoons water per egg) and replace butter with coconut oil or vegan margarine.
– Texture upgrades: For extra crunch, top the stuffing with crushed gluten-free crackers or toasted pumpkin seeds before the final uncovered bake.
– Cooking method alternative: Prepare the stuffing in a slow cooker on low for 3–4 hours, or in individual ramekins for elegant single servings (reduce baking time to 20 minutes).
Common Mistakes to Avoid
Avoid these pitfalls for consistent, crowd-pleasing results:
– Over-wetting the bread: Pour the liquid gradually and stop when the bread holds together when squeezed—it should look moist but not pool liquid at the bottom of the bowl.
– Skipping the rest time: Allowing the mixture to sit for 5 minutes after adding liquid lets the gluten-free bread absorb evenly. Rush this step, and you’ll have dry pockets or a watery bottom.
– Overcooking: Keep an eye on the texture after removing the foil. If the top browns too fast but the center isn’t set, tent with foil again and continue baking.
– Using stale bread incorrectly: Day-old bread is ideal, but if your bread is very fresh, toast it first to remove excess moisture. Overly dry bread, however, can become hard and crunchy—aim for slightly stale, not rock-hard.
Storage & Meal Prep Tips
Store leftovers properly to enjoy this dish for days:
– Refrigeration: Place cooled stuffing in an airtight container and refrigerate for up to 4 days. For best texture, reheat in a 350°F oven for 10–15 minutes, adding a splash of broth to restore moisture.
– Freezing: Freeze in a freezer-safe container for up to 3 months. Thaw overnight in the refrigerator before reheating. Note that freezing may slightly soften the texture, so consider baking fresh for holiday events.
– Reheating tips: For a quick fix, microwave individual portions on medium power for 1–2 minutes, but for crispy edges, always use the oven. To maintain that golden top, broil for 2 minutes at the end of reheating.
Conclusion
Mastering homemade Savory Stuffing Delight transforms a simple side into a memorable centerpiece—rich with tradition yet adaptable to modern dietary needs like a gluten-free stuffing that doesn’t compromise on taste or texture. By following these steps, you’ll achieve a perfectly balanced dish: crisp on top, tender inside, and brimming with herbaceous aromas. Whether you’re serving it alongside roasted turkey, grilled chicken, or as a standalone vegetarian main, this recipe invites creativity and confidence. I encourage you to try this version, share your results with friends, or explore more wholesome sides on our blog. Happy cooking!
FAQs
1. Can I use regular bread instead of gluten-free?
Absolutely. Substitute an equal amount of day-old sourdough, white, or whole wheat bread. Adjust liquid slightly—denser breads may need an extra ¼ cup of broth.
2. My stuffing turned out dry. What went wrong?
You likely under-saturated the bread or baked it too long uncovered. Next time, add broth until the mixture feels very moist (like wet sand) before baking, and cover with foil for the first 25 minutes.
3. How can I make this stuffing dairy-free?
Replace butter with olive oil or a high-quality vegan butter. Use vegetable broth instead of chicken broth, and ensure your bread contains no milk powder or butter.
4. Can I prepare this stuffing the night before?
Yes! Assemble the stuffing completely (including the liquid) in the baking dish, cover, and refrigerate overnight. Bake the next day, adding 5–10 minutes to the covered time since it starts cold.
5. Why did my stuffing collapse after baking?
This usually happens when the egg-to-bread ratio is off. Stick to 2 large eggs per 6 cups of bread cubes. Too much liquid without enough binder (eggs) leads to a loose texture that fails to hold structure.
Quick way to grow 4 stuffing variations
Ingredients
Equipment
Method
- Melt butter in a large skillet over medium heat, then add celery and onions, cooking until softened for about 5-7 minutes.
- Stir in chicken or vegetable broth and bring the mixture to a simmer.
- Remove from heat and add dried bread crumbs, mixing well until thoroughly combined and moist.
- Divide the base stuffing mixture into four equal portions, preparing each for a different variation.
- To one portion of the base stuffing, mix in dried sage, dried thyme, and fresh chopped parsley.
- Transfer to a baking dish and bake at 375°F (190°C) for 20-25 minutes, or until golden brown.
- In a separate skillet, cook bulk sausage over medium heat until browned, breaking it up with a spoon; drain any excess fat.
- Stir the cooked sausage, chopped apple, and poultry seasoning into the second portion of the base stuffing.
- Bake in a separate dish at 375°F (190°C) for 25-30 minutes, until heated through and lightly browned.
- Sauté sliced mushrooms and minced garlic in a small amount of butter until mushrooms are tender and liquid has evaporated, about 7-10 minutes.
- Fold the sautéed mushrooms, garlic, and fresh chopped thyme into the third portion of the base stuffing.
- Bake at 375°F (190°C) for 20-25 minutes, or until the top is golden and crisp.
- Combine dried cranberries, chopped pecans, and orange zest into the final portion of the base stuffing.
- Bake in its own dish at 375°F (190°C) for 20-25 minutes, until warm and fragrant.