The Ultimate Guide to Making Perfect Homemade Blackberry Jam
Have you ever tasted a spoonful of summer preserved in a jar? That’s exactly what happens when you make your own Blackberry Jam (Homemade). There’s something magical about transforming fresh, tart blackberries into a sweet, spreadable treasure that captures the essence of the season. Whether you’re a seasoned canner or a curious beginner, preparing this Blackberry preserves recipe at home is not only rewarding but also allows you to control exactly what goes into your food—no preservatives, no high-fructose corn syrup, just pure berry goodness. Let’s dive into the art of jam-making and unlock the secrets to achieving that perfect set every time.
Ingredients & Kitchen Tools
To make the best Blackberry Jam (Homemade), you’ll need the following ingredients and tools:
Ingredients (makes about 6 half-pint jars)
– 6 cups fresh or frozen blackberries (if using frozen, thaw and drain excess liquid)
– 4 cups granulated sugar (helps with preservation and gel formation)
– 1/4 cup fresh lemon juice (provides acidity for proper gelling and brightens flavor)
– 1 package (1.75 oz) powdered pectin (can substitute with liquid pectin—adjust according to package)
– 1/2 teaspoon unsalted butter (optional, reduces foaming during cooking)
– Pinch of salt (enhances overall flavor balance)
Kitchen Tools
– Large, heavy-bottomed stainless steel pot or Dutch oven (prevents scorching)
– Wooden spoon or silicone spatula (heat-resistant and non-reactive)
– Potato masher or immersion blender (for desired berry consistency)
– Canning jars with lids and bands (sterilized)
– Jar lifter and canning rack (for safe water bath processing)
– Candy thermometer (optional but helpful for precise temperature control)
– Ladle and wide-mouth funnel (mess-free jar filling)
– Clean kitchen towels and magnetic lid lifter
Optional Substitutions
– Substitute half the sugar with honey or maple syrup for a different flavor profile
– Use low-sugar pectin if reducing sugar content
– Replace lemon juice with lime juice for a tropical twist
Prep Time & Cooking Schedule
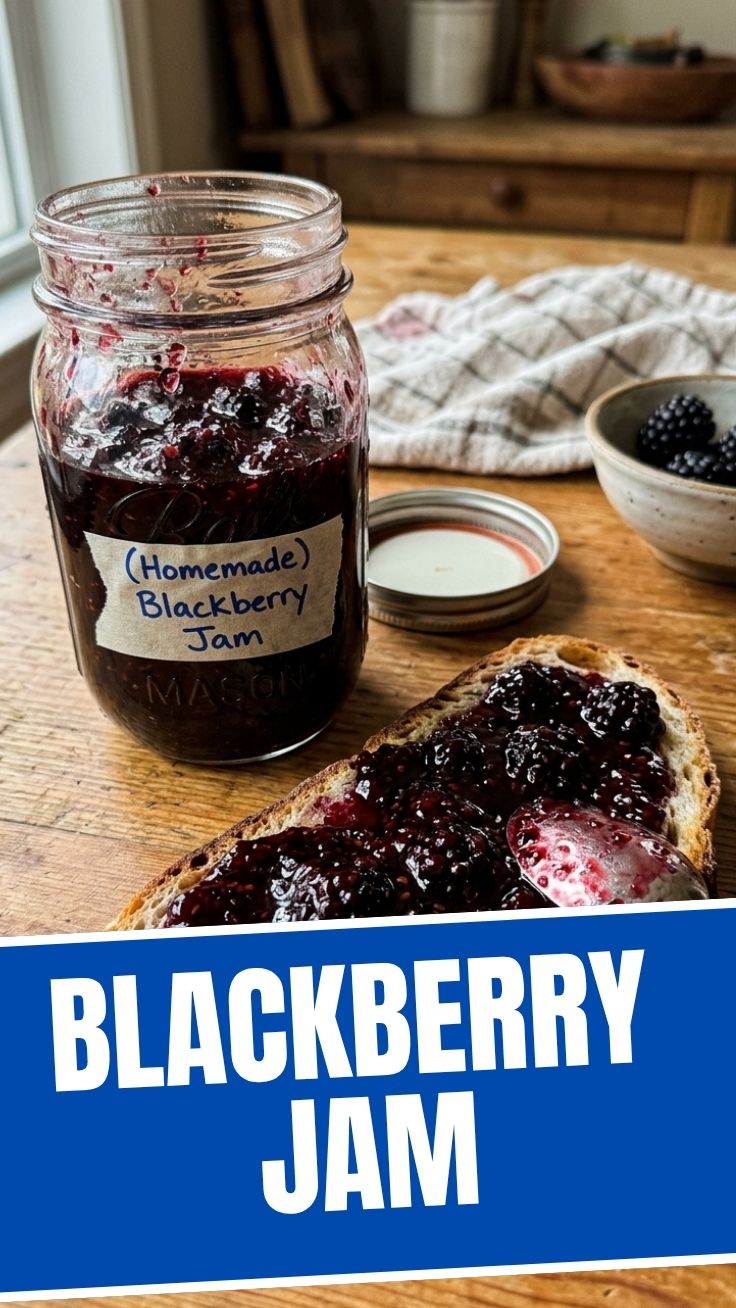
Proper timing ensures your jam sets perfectly without overcooking:
– Prep Time: 20 minutes (washing berries, sterilizing jars, measuring ingredients)
– Cook Time: 25–35 minutes (from berry crushing to reaching setting point)
– Resting Time: 5 minutes (allow jam to cool slightly before jarring)
– Processing Time (water bath): 10 minutes for half-pint jars
Best time to start: Early morning when berries are freshest and kitchen temperatures are cooler. Plan for a total of 1.5 hours from start to finish.
Step-by-Step Instructions
Follow these precise steps for foolproof Blackberry Jam (Homemade):
Step 1: Prepare the Berries
Wash blackberries thoroughly and remove any stems or leaves. Place them in your large pot and gently crush with a potato masher until you reach your preferred consistency—some prefer chunky jam, others smooth. For a silky texture, pulse briefly with an immersion blender.
Step 2: Combine Ingredients
Add lemon juice and pectin to the crushed berries. Stir well to dissolve pectin completely. Turn heat to medium-high and bring mixture to a full rolling boil (a boil that cannot be stirred down), stirring constantly to prevent scorching.
Step 3: Add Sugar
Once boiling vigorously, add the sugar all at once. Stir continuously until sugar dissolves completely. Return to a full rolling boil and continue boiling for exactly 1 minute (time from when mixture reaches a boil that can’t be stirred down). Pro tip: If using a candy thermometer, aim for 220°F (104°C) at sea level—adjust for altitude by subtracting 2°F per 1,000 feet above sea level.
Step 4: Test for Set
Remove pot from heat. Use the sheet test: dip a cold metal spoon into jam, then hold it horizontally. If jam runs off in sheets (not drops), it’s ready. Alternatively, place a small amount on a chilled plate—if it wrinkles when pushed with a finger, it’s set.
Step 5: Jar and Process
Ladle hot jam into sterilized jars, leaving 1/4-inch headspace. Wipe rims clean, apply lids and bands (finger-tight). Process in a boiling water bath for 10 minutes. Remove, cool undisturbed for 24 hours, and check seals.
This Blackberry preserves recipe yields a jam that’s perfectly spreadable with intense berry flavor. Remember, factors like berry ripeness and altitude can affect setting time—trust your senses over the clock.
Nutritional Benefits & Advantages
Homemade Blackberry Jam (Homemade) offers several advantages over commercial versions:
– Rich in antioxidants: Blackberries are loaded with anthocyanins and vitamin C, supporting immune health
– No artificial preservatives: Unlike store-bought jams, your version contains only natural ingredients
– Dietary flexibility: Control sugar levels to suit your dietary needs—make low-sugar or sugar-free versions
– Cost-effective: During berry season, homemade jam costs significantly less than premium store brands
– Customizable nutrition: Add chia seeds for extra fiber or reduce sugar for lower glycemic impact
Tips Variations & Cooking Advice
Elevate your Blackberry preserves recipe with these expert variations:
– Flavor boosters: Add 1 teaspoon vanilla extract, 2 tablespoons balsamic vinegar, or 1 cinnamon stick during cooking
– Spice it up: Include 1/2 teaspoon ground cardamom, star anise, or a pinch of black pepper for complexity
– Berry blends: Combine blackberries with raspberries, blueberries, or even sliced strawberries for unique flavors
– No-pectin method: For a more traditional approach, cook berries and sugar for longer (45–60 minutes) until naturally thickened
– Low-sugar adaptation: Use low-sugar pectin and reduce sugar to 2 cups—add stevia or monk fruit to taste
Common Mistakes to Avoid
Steer clear of these pitfalls for perfect results:
– Mistake #1: Underripe berries – They lack natural pectin and produce runny jam. Solution: Use fully ripe, slightly soft berries for best gelling.
– Mistake #2: Skipping the boil test – Assuming cooking time alone determines set. Solution: Always perform the plate test before jarring.
– Mistake #3: Overcooking – Results in tough, leathery jam. Solution: Remove from heat immediately once set is achieved.
– Mistake #4: Rushing the cooling process – Causes condensation inside jars. Solution: Let jars cool completely before moving or checking seals.
Storage & Meal Prep Tips
Maximize the shelf life and quality of your Blackberry Jam (Homemade):
– Refrigeration: Once opened, store in the refrigerator for up to 3 weeks. Use clean utensils each time to prevent contamination.
– Freezing: Pour cooled jam into freezer-safe containers, leaving 1-inch headspace. Freeze for up to 12 months. Thaw overnight in the refrigerator.
– Unopened jars: Store in a cool, dark place (pantry or basement) for 12–18 months. Check seals periodically.
– Reheating: If jam crystallizes or thickens excessively, gently warm in a saucepan with 1–2 tablespoons water, stirring until smooth.
– Meal prep tip: Make double batches during berry season and gift to friends—they’ll love receiving a taste of summer.
Conclusion
Making your own Blackberry Jam (Homemade) is a rewarding kitchen project that connects you to the seasons and fills your pantry with vibrant, real-food goodness. By following this comprehensive Blackberry preserves recipe, you’ve learned not just the steps but the science behind achieving that perfect gel, the art of balancing sweetness and acidity, and the joy of preserving nature’s bounty. Whether you spread it on warm biscuits, swirl it into yogurt, or use it as a glaze for roasted meats, this jam will elevate every bite. Now it’s your turn—head to your kitchen, grab those juicy blackberries, and experience the satisfaction of homemade preserves. Share your results in the comments below or tag us in your creations—we’d love to see your jars of summer sunshine!
FAQs
1. Can I use frozen blackberries for this Blackberry Jam (Homemade)?
Yes, absolutely. Thaw frozen berries completely and drain excess liquid before starting. You may need to increase cooking time by 5–10 minutes to evaporate extra moisture.
2. Why didn’t my jam set properly?
Jam can fail to set due to insufficient pectin, undercooking, or low acid content. Next time, test your berries’ acidity with a pH strip (ideal range is 3.0–3.5) and always use the cold plate test before jarring.
3. Can I reduce the sugar in this Blackberry preserves recipe?
Yes, but you’ll need low-sugar pectin specifically designed for reduced-sugar recipes. Without proper pectin, reducing sugar can result in a runny jam that spoils faster.
4. How do I know if my jars sealed properly?
After processing and cooling, press the center of each lid. If it doesn’t flex or pop, the seal is good. You can also remove the band and gently lift the jar by the lid—if it holds, it’s sealed.
5. Can I double this recipe?
Yes, but use two pots instead of one large pot. Overloading a single pot makes it difficult to achieve and maintain a full rolling boil, which is essential for proper gelling.
Blackberry Jam (Homemade)
Ingredients
Equipment
Method
- Wash the fresh blackberries thoroughly and gently crush them in a large pot or Dutch oven.
- Combine the crushed blackberries with granulated sugar and lemon juice in the pot.
- Bring the mixture to a full rolling boil over high heat, stirring constantly to prevent sticking.
- Reduce heat and continue to boil for about 15-20 minutes, stirring occasionally, until the jam thickens and reaches the setting point.
- To test the setting point, place a small amount of hot jam on a chilled plate; if it wrinkles when pushed with a spoon, it's ready.
- Carefully ladle the hot jam into sterilized canning jars, leaving about 1/4 inch headspace.
- Wipe jar rims clean, apply lids, and process in a boiling water canner for 10 minutes to ensure a proper seal and shelf stability.