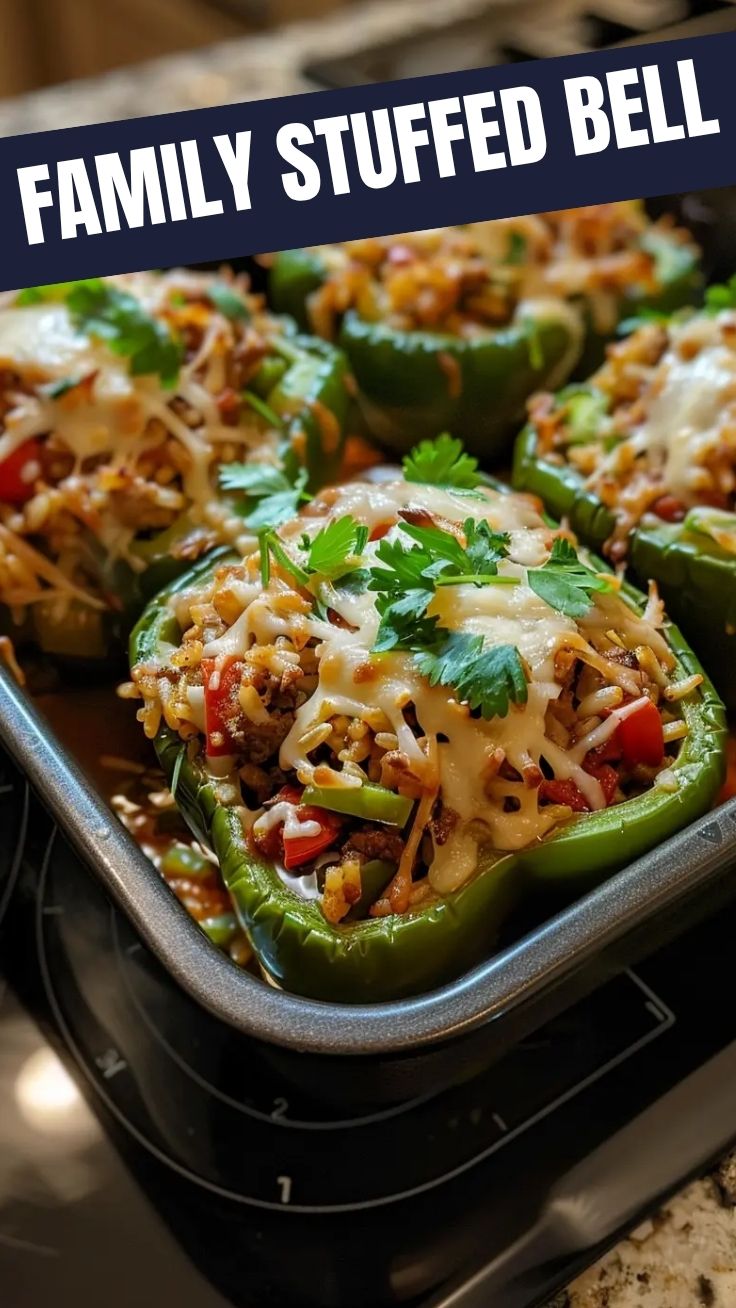
Savory Stuffed Bell Peppers: A Complete Guide to Making This Flavorful Dish at Home
Have you ever craved a hearty, nutritious meal that’s as colorful as it is delicious? Look no further than Stuffed Bell Peppers—a classic comfort dish that combines tender peppers with a savory rice-and-meat filling. Preparing this recipe at home saves money, lets you control ingredients, and guarantees fresher flavors than any store-bought version. Choosing fresh bell peppers ensures the best texture and natural sweetness. Whether you’re feeding a family or meal-prepping for the week, mastering this dish is both rewarding and simple.
Ingredients & Kitchen Tools
– Bell peppers (4–6 large, any color) – choose firm peppers with smooth skin
– Ground beef or turkey (1 lb) – or use lentils for a vegetarian version
– Cooked rice (1 cup) – white, brown, or quinoa work well
– Diced tomatoes (1 can, 14 oz) – fire-roasted adds extra depth
– Onion (1 medium, diced)
– Garlic (2 cloves, minced)
– Shredded cheese (1 cup, optional) – cheddar, mozzarella, or Monterey Jack
– Tomato sauce (8 oz) – for topping
– Spices: cumin, paprika, oregano, salt, pepper
– Olive oil (2 tbsp)
– Baking dish (9×13 inch)
– Knife, cutting board, large skillet, mixing bowl, aluminum foil
Optional substitutions: Use cauliflower rice for low-carb, swap meat with black beans and corn, or add spinach for extra greens.
Prep Time & Cooking Schedule
– Prep time: 15 minutes (wash peppers, dice onions, cook rice)
– Cook time: 35–40 minutes (bake covered, then uncover for browning)
– Resting time: 5 minutes after baking to set flavors
– Total: about 1 hour
Plan ahead: Cook the rice a day earlier to save time. This dish works beautifully for a Sunday supper or a make-ahead weekday dinner.
Step-by-Step Instructions
1. Preheat oven to 375°F (190°C). Lightly grease a 9×13 baking dish.
2. Prepare the peppers: Cut the tops off each bell pepper (or halve lengthwise), remove seeds and membranes. Blanch in boiling water for 3 minutes to soften slightly, then drain upside down.
3. Cook the filling: In a large skillet, heat olive oil over medium heat. Sauté onion and garlic until translucent (3–4 minutes). Add ground meat, breaking it apart, and cook until browned (5–7 minutes). Stir in cooked rice, diced tomatoes, cumin, paprika, oregano, salt, and pepper. Simmer for 2 minutes.
4. Stuff the peppers: Spoon the filling evenly into each pepper cavity, pressing gently. Place peppers upright in the baking dish. Pour tomato sauce over the tops and around the base of the peppers.
5. Bake: Cover dish with foil and bake for 25 minutes. Remove foil, sprinkle cheese if using, and bake uncovered another 10–15 minutes until peppers are tender and cheese is bubbly.
6. Rest and serve: Let stand 5 minutes before serving. Garnish with fresh parsley or cilantro.
Temperature tip: For perfectly tender peppers, avoid over-blanching—3 minutes is enough. If you prefer firmer peppers, skip blanching and bake covered for 30 minutes instead.
Nutritional Benefits & Advantages
Each serving of Stuffed Bell Peppers delivers a balanced mix of protein, fiber, and vitamins. Bell peppers are rich in vitamin C (more than an orange per cup) and antioxidants like beta-carotene. The lean meat provides iron and B12, while whole-grain rice adds slow-release energy. This dish is naturally gluten-free (if using certified ingredients) and can be adapted to low-carb or dairy-free needs.
Tips Variations & Cooking Advice
– Flavor variations: Add Italian sausage for a spicier kick, or mix in feta and olives for a Mediterranean twist.
– Alternative cooking methods: Try an air fryer at 350°F for 15–18 minutes after par-cooking peppers, or use a slow cooker on low for 4 hours.
– Portion changes: Mini bell peppers make excellent appetizers—stuff and bake for 15 minutes.
– Dietary adaptations: Use quinoa and black beans for vegan, or replace cheese with nutritional yeast for dairy-free.
Common Mistakes to Avoid
– Soggy peppers: Don’t skip blanching or draining—excess moisture leads to mush. Also, avoid overfilling; leave a slight gap.
– Undercooked rice: Precook rice fully before stuffing; it won’t cook enough during baking.
– Bland filling: Season generously—peppers absorb flavor, so slightly overseason the filling.
– Burnt tops: Cover with foil for most of the bake cycle; only uncover for the final 10 minutes.
Storage & Meal Prep Tips
– Refrigeration: Store leftovers in an airtight container for up to 4 days.
– Freezing: Place cooled stuffed peppers on a baking sheet, freeze until solid, then transfer to a freezer bag. Keep for up to 3 months.
– Reheating: For best texture, thaw overnight in the fridge then reheat in a 350°F oven for 15 minutes (covered). Microwave works but may soften the peppers.
Meal prep: Assemble peppers up to 24 hours ahead without baking; refrigerate covered, then bake just before serving.
Conclusion
Whether you’re new to Stuffed Bell Peppers or a seasoned cook, this recipe delivers reliable results every time. The combination of tender bell peppers with a savory filling makes a complete meal that’s both satisfying and nutritious. Experiment with different fillings—ground turkey, quinoa, or spicy chorizo—to make it your own. We’d love to hear how yours turn out! Share your photos and variations in the comments, and explore our other pepper-centric recipes for more inspiration.
FAQs
Can I use ground turkey instead of beef?
Absolutely. Ground turkey works perfectly—just add a tablespoon of olive oil to keep it moist, as turkey is leaner.
How do I prevent the peppers from becoming too soft?
Blanch only for 3 minutes, and check doneness at 35 minutes total bake time. For firmer peppers, reduce covered bake time to 20 minutes.
Can I make stuffed bell peppers ahead of time?
Yes. Assemble them up to 24 hours in advance, cover, and refrigerate. Add 5–10 minutes to the bake time if cooking straight from the fridge.
What if I don’t have tomato sauce?
Substitute with crushed tomatoes or a mix of tomato paste and water (2 tbsp paste + ½ cup water). Adjust salt accordingly.
Can I freeze stuffed peppers with cheese on top?
Yes, but the cheese may become slightly grainy after freezing. For best results, add cheese only when reheating or after thawing.
Best way to grow Stuffed Bell Peppers with 7 secrets
Ingredients
Equipment
Method
- Start bell pepper seeds 8-10 weeks before your last expected frost date to give them a head start.
- Use a high-quality seed starting mix and plant seeds about 1/4 inch deep in seed trays or small pots.
- Provide consistent warmth (75-85°F or 24-29°C is ideal) and strong light from a grow light or a very sunny window.
- Once your seedlings are ready for transplanting, choose a location in your garden that receives at least 6-8 hours of direct sunlight daily.
- Amend the soil with plenty of compost or other organic matter to improve fertility and drainage; bell peppers prefer slightly acidic to neutral soil (pH 6.0-6.8).
- When transplanting, space pepper plants about 18-24 inches apart in rows that are 24-36 inches apart; adequate spacing ensures good air circulation and reduces disease risk.
- Bell peppers need consistent moisture, especially during flowering and fruiting.
- Water deeply once or twice a week, checking the soil moisture regularly and avoiding overhead watering to prevent fungal issues.
- Begin fertilizing your pepper plants with a balanced fertilizer once they start producing fruit.
- Follow package instructions for application rates, and consider a fertilizer with slightly higher phosphorus and potassium for blooming and fruiting.
- As bell pepper plants grow and bear fruit, they can become top-heavy.
- Use stakes, cages, or trellises to support the plants and prevent branches from breaking under the weight of the peppers.
- Regularly inspect your plants for signs of pests or diseases.
- Address any issues promptly with organic pest control methods or appropriate treatments; good air circulation and proper watering can also help prevent many problems.
- Practice crop rotation to minimize soil-borne diseases.
- Harvest bell peppers when they reach their full size and desired color, typically 60-90 days after transplanting.
- Use pruning shears or a sharp knife to cut the stem, leaving about an inch attached to the pepper; regular harvesting encourages more fruit production.