The Ultimate No-Bake Cheesecake (Summer) Recipe: Creamy, Refreshing, & Foolproof
Are you craving a decadent dessert that doesn’t require turning on your oven during a heatwave? You’ve come to the right place. This No-Bake Cheesecake (Summer) delivers all the rich, velvety texture of a classic cheesecake without the hassle of a water bath or lengthy bake time. Preparing this dessert at home isn’t just rewarding—it’s a game-changer for summer gatherings. With just a few simple ingredients, you can create a showstopping centerpiece that tastes like it came from a high-end bakery. For those who love a fruity twist, our Strawberry Cheesecake variation is equally simple and bursting with fresh flavor. Let’s dive into the secrets of a perfect No-Bake Cheesecake (Summer).
Ingredients & Kitchen Tools
For the Crust
– 1 ½ cups graham cracker crumbs (or digestive biscuits) – Provides a buttery, crunchy base.
– ¼ cup granulated sugar – Adds sweetness and helps the crust hold together.
– ½ cup unsalted butter, melted – Binds the crumbs; use vegan butter for a dairy-free option.
– Pinch of salt – Balances sweetness.
For the Filling
– 16 oz (450g) full-fat cream cheese, softened – Essential for that silky texture; avoid low-fat versions.
– ½ cup granulated sugar – Sweetens without overpowering.
– 1 teaspoon vanilla extract – Pure extract yields better flavor than imitation.
– Zest of 1 lemon – Brightens the filling; optional but recommended.
– 1 ¼ cups heavy whipping cream, cold – Whipped to stiff peaks for lightness.
– ¼ cup sour cream – Adds tanginess and extra creaminess.
Kitchen Tools
– 9-inch springform pan – For easy release.
– Electric hand mixer or stand mixer – For whipping cream and beating cream cheese.
– Mixing bowls – At least two large bowls.
– Spatula – For folding and smoothing.
– Plastic wrap – For the resting phase.
Optional Substitutions
– Crust: Use gluten-free graham crackers or crushed shortbread.
– Filling: Swap sour cream with full-fat Greek yogurt for a slight tang; use coconut cream (chilled) instead of heavy cream for a dairy-free version.
Prep Time & Cooking Schedule
– Prep Time: 20 minutes (plus 10–15 minutes for crust pressing)
– Chill Time: At least 6 hours (overnight is ideal)
– Total Time: 6 hours 20 minutes to 8 hours
Plan ahead: This dessert must rest overnight in the refrigerator for a firm, sliceable result. Whether you’re preparing for a Sunday brunch or a Friday dinner, start it the evening before. The long chill allows the gelatin-free filling to set properly without artificial stabilizers.
Step-by-Step Instructions
1. Prepare the Crust: In a medium bowl, combine graham cracker crumbs, sugar, and melted butter. Mix until the texture resembles wet sand. Press firmly into the bottom of your springform pan using the back of a measuring cup. Refrigerate for 15 minutes while you make the filling.
2. Make the Cream Cheese Base: In a large bowl, beat softened cream cheese with sugar and lemon zest until smooth (about 2 minutes). Add vanilla and sour cream, and beat for another minute. Scrape down the sides.
3. Whip the Cream: In a separate bowl, whip the cold heavy cream until stiff peaks form. Do not overwhip—stop when the cream holds its shape but is still silky.
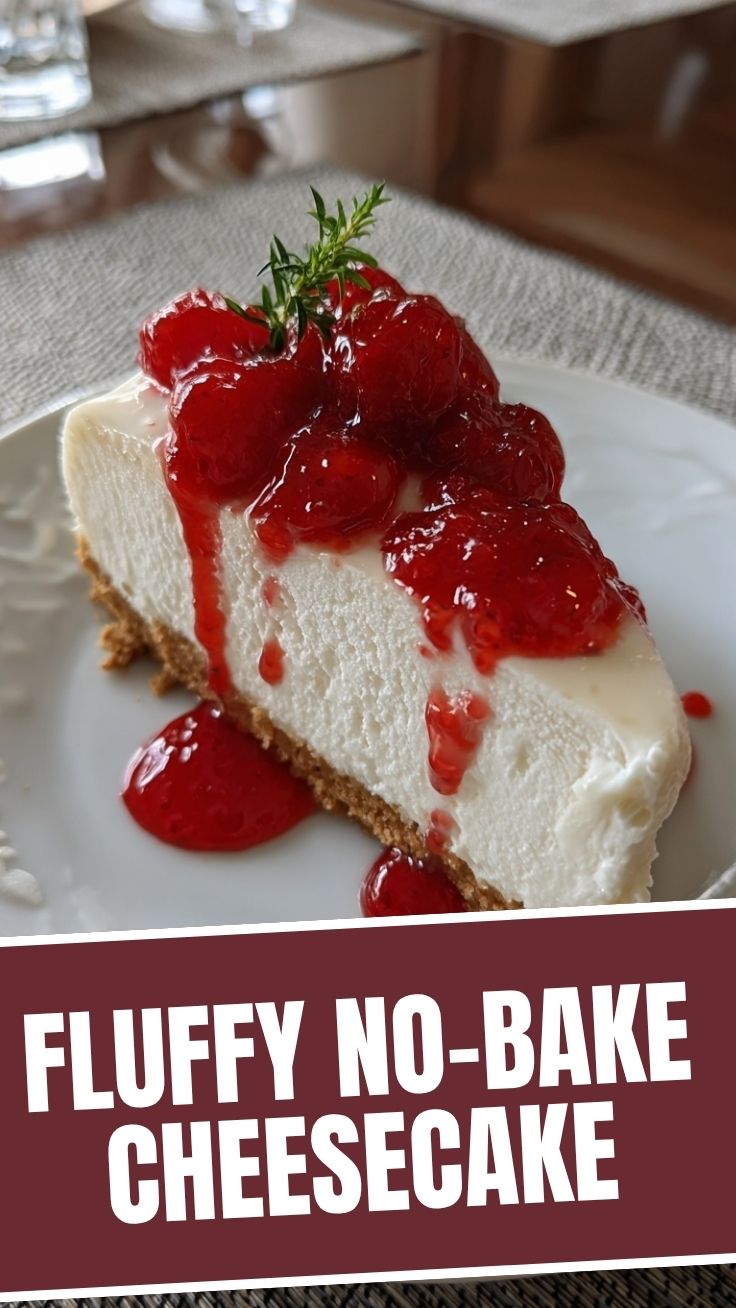
4. Fold Together: Add one-third of the whipped cream to the cream cheese mixture and fold gently. Gradually fold in the rest until no white streaks remain. This gentle folding creates the airy, mousse-like texture that defines a summer-ready Strawberry Cheesecake variation when fresh berries are layered in.
5. Assemble & Chill: Pour the filling over the chilled crust and smooth the top with a spatula. Cover with plastic wrap and refrigerate for at least 6 hours (or overnight). For a firmer texture, chill 8–10 hours.
Pro tip: To avoid cracks or weeping, ensure all dairy ingredients are at room temperature before mixing. A perfectly set No-Bake Cheesecake (Summer) should wobble slightly but hold its shape when sliced.
Nutritional Benefits & Advantages
This dessert offers surprising nutritional advantages when compared to baked cheesecakes:
– High in protein (about 8g per slice) from cream cheese and sour cream.
– Rich in calcium (over 10% of the daily value per serving) for bone health.
– Lower in sugar (approximately 18g per slice) than many store-bought versions.
– No artificial stabilizers like gelatin or cornstarch—just pure, clean ingredients.
The lemon zest adds vitamin C and antioxidants, while the cream cheese provides healthy saturated fats that support hormone function and brain health. For a lighter option, reduce the sugar by 2 tablespoons and use reduced-fat cream cheese.
Tips Variations & Cooking Advice
Flavor Variations
– Berry Swirl: Swirl in ½ cup of your favorite fruit compote (blueberry, raspberry, or strawberry) before chilling.
– Chocolate Dream: Add ¼ cup melted dark chocolate (cooled slightly) to the cream cheese base.
– Mango Passionfruit: Fold in ½ cup passionfruit puree and top with diced mango.
Dietary Adaptations
– Gluten-Free: Use certified gluten-free graham crackers or almond flour crust.
– Dairy-Free: Use vegan cream cheese, coconut cream (chilled), and cashew-based sour cream.
– Keto-Friendly: Substitute almond flour crust with erythritol, and use allulose in the filling.
Cooking Methods
– Individual Servings: Divide into 8 small jars or mini springform pans (chill 4 hours instead of 6).
– Frozen Dessert: Freeze for 3 hours for a semifreddo-style treat.
Common Mistakes to Avoid
1. Overmixing cream cheese: Can cause a grainy texture. Beat only until creamy.
2. Underwhipping cream: If cream is too soft, the filling won’t set. Look for stiff peaks.
3. Skipping the crust chill: Warm crust leads to a soggy bottom. Always chill before adding filling.
4. Using cold cream cheese: Results in lumps. Let it sit out for 30 minutes before mixing.
5. Impatience with chilling: Cutting too early yields a runny mess. Give it the full 6 hours.
Storage & Meal Prep Tips
– Refrigeration: Store covered in the springform pan for up to 5 days. The crust stays crisp, and the filling remains creamy.
– Freezing: Wrap tightly in plastic wrap and foil for up to 1 month. Thaw in the fridge overnight before serving.
– Reheating: This is a no-bake dessert—serve cold! If you need to soften it for slicing, let it sit at room temperature for 5 minutes.
– Meal prep: Make the crust a day ahead, cover and refrigerate. Prepare the filling the next day and assemble.
Conclusion
Making a No-Bake Cheesecake (Summer) at home is a simple yet impressive way to enjoy a classic dessert without the summer heat. With a buttery graham cracker crust, a silky cream cheese filling, and endless flavor possibilities—like our beloved Strawberry Cheesecake variation—this recipe is perfect for holidays, picnics, or a weekend treat. The key is patience during chilling, which ensures a firm, sliceable texture that rivals any baked cheesecake. We encourage you to try this recipe for your next gathering, share your results on social media, or explore our other refreshing summer desserts. Your family will thank you!
FAQs
1. Can I use low-fat cream cheese?
Yes, but the texture will be slightly denser and less creamy. Stick to full-fat for best results.
2. Why is my cheesecake still runny after 6 hours?
Either the cream wasn’t whipped enough, or the cream cheese was too warm. Always use cold heavy cream and room-temperature cream cheese.
3. Can I add fresh fruit directly to the filling?
Yes, but pat berries dry first to avoid excess moisture. Fold gently to avoid breaking the berries.
4. How do I unmold the cheesecake cleanly?
Run a knife along the edges, then carefully release the springform ring. For extra ease, line the pan with parchment paper.
5. Can I make this gluten-free?
Absolutely! Use gluten-free graham crackers or a nut-based crust. Ensure all other ingredients are certified gluten-free.
Best way to grow No-Bake Cheesecake (Summer) in 7 days
Ingredients
Equipment
Method
- Combine graham cracker crumbs, sugar, and melted butter in a bowl, then press the mixture firmly into the bottom of a 9-inch springform pan to form the crust.
- Beat softened cream cheese and granulated sugar together until smooth and creamy; then, in a separate bowl, whip cold heavy cream until stiff peaks form and gently fold it into the cream cheese mixture with vanilla extract and lemon zest.
- Pour the cream cheese filling over the prepared crust, smooth the top with a spatula, and refrigerate for at least 4 hours, or preferably overnight, to allow it to set.
- Before serving, garnish the cheesecake with fresh mixed berries and a dusting of powdered sugar.