The Ultimate Guide to Perfect Homemade Biscuits: Flaky, Buttery, and Irresistible
Have you ever bitten into a biscuit that was so light and flaky it practically dissolved on your tongue, leaving behind nothing but pure buttery bliss? If you’ve ever wondered why homemade biscuits always taste better than store-bought, you’re about to discover the secrets. Preparing Biscuits at home is not just about saving money—it’s about controlling every aspect of flavor, texture, and freshness. Whether you’re a novice baker or a seasoned pro, mastering the art of making Biscuits from scratch transforms simple ingredients into something magical. Today, we’ll also explore how to create decadent Chocolate biscuits that satisfy even the most intense sweet cravings.
Ingredients & Kitchen Tools
Required Ingredients
– 2 cups all-purpose flour (plus extra for dusting) – Provides structure; use unbleached for better flavor.
– 1 tablespoon baking powder – The primary leavening agent for lift.
– 1 teaspoon salt – Enhances flavor without overpowering.
– 1/2 teaspoon baking soda – Helps browning and reacts with buttermilk.
– 6 tablespoons cold unsalted butter – Cut into small cubes; cold butter creates steam pockets for flakiness.
– 3/4 cup cold buttermilk – Adds tanginess and tenderizes gluten; substitute with milk + 1 tablespoon lemon juice.
– 1 tablespoon honey (optional) – For a touch of sweetness; omit for savory biscuits.
For Chocolate Biscuits Variation
– 1/3 cup cocoa powder (Dutch-processed preferred) – Adds deep chocolate flavor.
– 1/4 cup granulated sugar – Balances bitterness.
– 1/2 cup chocolate chips – Semisweet or dark; fold in after mixing.
Essential Kitchen Tools
– Large mixing bowl – For combining dry and wet ingredients.
– Pastry cutter or two forks – To cut butter into flour.
– Bench scraper – For handling sticky dough without overworking.
– Rolling pin – For even thickness (optional; you can pat by hand).
– 2.5-inch biscuit cutter – Straight edges ensure maximum rise; avoid twisting.
– Baking sheet – Lined with parchment paper for easy cleanup.
– Pastry brush – For applying buttermilk wash on top.
Optional Substitutions
– Gluten-free: Use 1:1 gluten-free flour blend with xanthan gum added.
– Vegan: Substitute butter with cold coconut oil and buttermilk with almond milk + 1 tablespoon vinegar.
– Whole wheat: Replace half the flour with whole wheat pastry flour.
Prep Time & Cooking Schedule
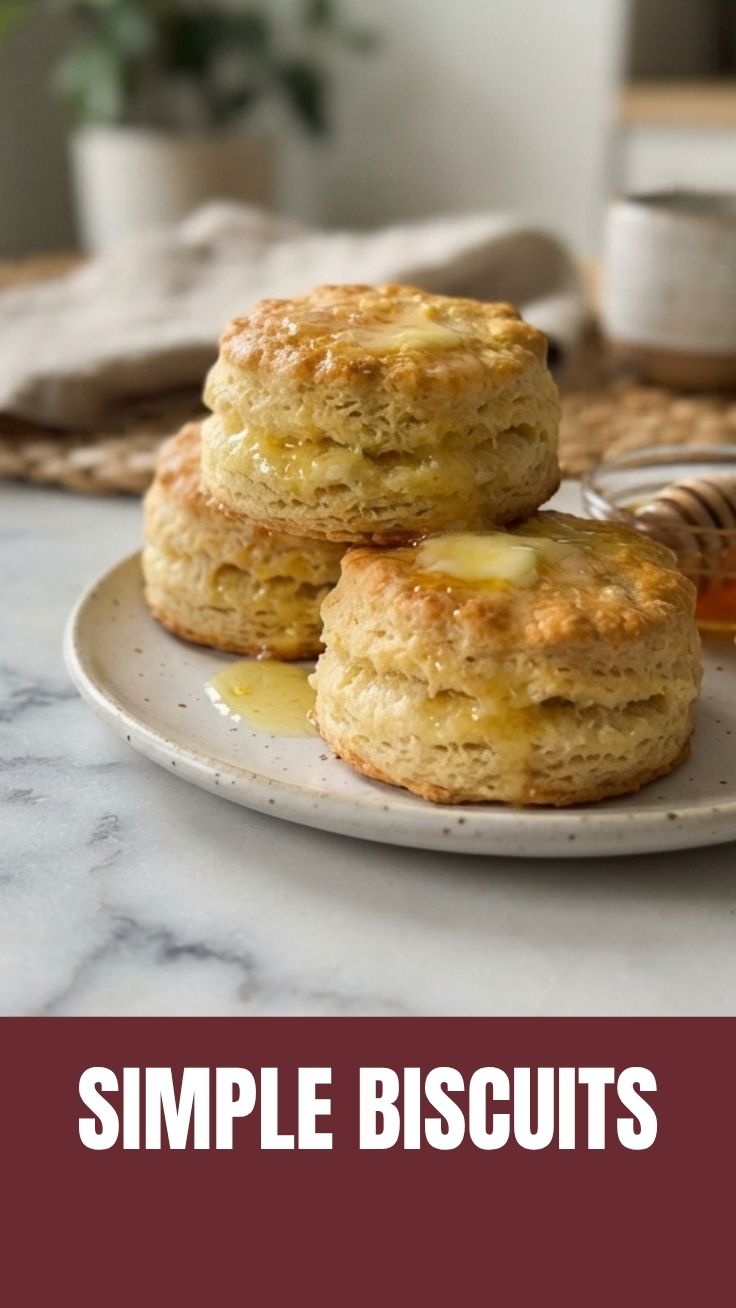
– Prep Time: 15 minutes – Measuring and cutting butter into flour.
– Chill Time: 10-15 minutes – Refrigerate dough before cutting for better layers.
– Cook Time: 12-15 minutes at 425°F (220°C) – Watch for golden-brown bottoms.
– Resting Time: 5-10 minutes after baking – Allows steam to settle without sogginess.
Planning Tip: Biscuits are best served within an hour of baking. For breakfast, prepare the dry ingredient mix the night before and keep butter in the freezer. Start your oven while you cut butter into flour to save 5 minutes.
Step-by-Step Instructions
1. Preheat oven to 425°F with rack in center position. Line a baking sheet with parchment paper.
2. Combine dry ingredients: In a large bowl, whisk together flour, baking powder, salt, and baking soda. If making Biscuits with chocolate variation, add cocoa powder and sugar at this stage.
3. Cut in butter: Add cold butter cubes to the flour mixture. Use a pastry cutter or two forks to work the butter into pea-sized crumbs. Work quickly to keep butter cold—you should see visible butter flakes. For Chocolate biscuits, the same technique applies; the cocoa powder will slightly darken the mixture.
4. Add buttermilk: Make a well in the center, pour in cold buttermilk (and honey if using), and stir with a fork until a shaggy dough forms. Do not overmix; 8-10 stirs is enough.
5. Handle with care: Turn dough onto a lightly floured surface. Gently pat into a 1-inch thick rectangle. Fold dough in half, then pat again to 1 inch. Repeat this folding process 3-4 times to create layers. For Biscuits, this lamination step is critical for flakiness.
6. Cut biscuits: Using a floured cutter, press straight down without twisting—twisting seals edges and prevents rising. Space biscuits 1 inch apart on the baking sheet for crisp edges, or 1/2 inch apart for soft sides.
7. Bake: Brush tops with buttermilk for golden color. Bake 12-15 minutes until bottoms are deep golden and tops are lightly browned. Internal temperature should reach 200°F.
Temperature Control Tip: If your biscuits spread instead of rising tall, your butter or buttermilk was too warm. Chill the shaped biscuits for 10 minutes before baking.
Nutritional Benefits & Advantages
Homemade Biscuits contain no preservatives or artificial additives common in store-bought versions. One classic biscuit (without chocolate) provides approximately:
– 200-250 calories
– 8g fat (from butter)
– 30g carbohydrates
– 4g protein
Health Advantages:
– Buttermilk: Rich in probiotics, calcium, and vitamin B12; easier to digest than regular milk.
– Butter: Contains butyrate, a short-chain fatty acid that supports gut health.
– Portion control: You determine size and ingredients, making it easier to create lighter versions.
Chocolate biscuits add antioxidants from cocoa (flavonoids that support heart health) but increase sugar content. For a healthier twist, use dark chocolate chips (70% cocoa) and reduce added sugar.
Tips Variations & Cooking Advice
Flavor Variations
– Savory herb: Add 1 tablespoon fresh rosemary or 2 teaspoons dried thyme to flour mixture.
– Cheese biscuits: Fold in 1/2 cup shredded cheddar after cutting butter.
– Cinnamon sugar: Sprinkle with cinnamon-sugar mixture before baking for a sweet crust.
Ingredient Swaps
– Butter substitutes: Use 1/2 cup cold cream cheese for tangy, tender biscuits.
– Milk alternatives: Coconut milk adds subtle sweetness; almond milk works with extra baking powder for lift.
Alternative Cooking Methods
– Air fryer: Bake at 350°F for 8-10 minutes, flipping halfway. Crust forms faster, so watch closely.
– Skillet: Cook in cast-iron skillet at 400°F for 14-17 minutes. Butter in skillet creates crispy bottoms.
Dietary Adaptations
– Gluten-free: Use King Arthur 1:1 blend; add 1 teaspoon xanthan gum if not included.
– Dairy-free: Substitute butter with shortening and buttermilk with soy milk + vinegar.
– Low-carb: Use almond flour + 1 tablespoon coconut flour; expect denser texture.
Common Mistakes to Avoid
1. Overworking the dough: This develops gluten, making biscuits tough. Stop mixing when dough just comes together.
2. Using warm ingredients: Cold butter and buttermilk are non-negotiable. Keep butter in freezer 10 minutes before starting.
3. Twisting the cutter: Straight down pressure only. Twisting seals edges, preventing rise.
4. Skipping the chill step: Refrigerating shaped biscuits for 15 minutes solidifies butter, ensuring tall layers.
5. Opening oven too early: Wait until 10 minutes have passed. Rapid temperature changes deflate rising biscuits.
6. Overbaking: Remove when bottoms are golden—tops will continue cooking from residual heat.
Storage & Meal Prep Tips
Refrigeration
– Fresh biscuits: Store in an airtight container at room temperature for up to 2 days. Avoid refrigerating, which dries them out.
– Dough: Wrap unbaked biscuits tightly and refrigerate for up to 3 days. Bake directly from fridge, adding 2 minutes to baking time.
Freezing
– Baked biscuits: Cool completely, wrap in foil, then place in freezer bag. Freeze for up to 3 months.
– Unbaked biscuits: Arrange on baking sheet, freeze until solid, then transfer to bag. Bake from frozen: add 5-7 minutes to original time.
Reheating
– Oven: 350°F for 5-7 minutes (250°F for frozen). Restores crispness.
– Air fryer: 300°F for 3 minutes for that just-baked texture.
– Avoid microwave: Creates soggy, rubbery biscuits.
Meal Prep Tip
Make a double batch of dry mix (flour + leavening agents) and store in a jar. When ready to bake, just cut in butter and add buttermilk. Fresh biscuits in 20 minutes any morning.
Conclusion
Making homemade Biscuits from scratch is a rewarding skill that yields incomparable flavor and texture. The key is cold ingredients, gentle handling, and respecting the science of butter and buttermilk. Whether you prefer classic flaky Biscuits or indulgent Chocolate biscuits studded with melty chips, mastering this recipe opens endless possibilities for breakfast, brunch, or dessert. We encourage you to try this method, experiment with variations, and share your golden-brown creations with family and friends. What’s your favorite biscuit combination? Let us know in the comments!
FAQs
Q1: Can I use self-rising flour instead of all-purpose?
Yes! Omit the baking powder and salt from the recipe. Use 2 cups self-rising flour, but still add 1/4 teaspoon baking soda if using buttermilk. Adjust salt to taste.
Q2: Why did my biscuits come out hard and flat?
Most likely your butter got too warm during handling or you overworked the dough. Next time, chill the dough for 15 minutes before cutting, and handle as little as possible.
Q3: Can I make chocolate biscuits without cocoa powder?
Absolutely! Add 1/2 cup melted dark chocolate to the buttermilk before mixing, or fold in 3/4 cup chocolate chips. The texture will be more cake-like than flaky.
Q4: How do I prevent the bottoms from burning?
Use a double-layer baking sheet or place a second sheet underneath. Also check your oven temperature with an oven thermometer—425°F is ideal.
Q5: Can I make mini biscuits for appetizers?
Yes! Use a 1.5-inch cutter and reduce baking time to 8-10 minutes. Perfect for sliders or serving with honey butter.
How to grow Perfect Biscuits in 5 Minutes
Ingredients
Equipment
Method
- Preheat your oven to 450°F (230°C) and line a baking sheet with parchment paper.
- In a large bowl, whisk together the flour, baking powder, sugar, and salt.
- Cut the cold butter into the dry ingredients using a pastry blender or your fingertips until the mixture resembles coarse crumbs.
- Gradually add the cold buttermilk, mixing until just combined and a shaggy dough forms.
- Turn the dough out onto a lightly floured surface and gently knead a few times, then pat it into a 1-inch thick rectangle.
- Cut out biscuits using a 2-inch round cutter and place them on the prepared baking sheet.
- Bake for 8-10 minutes, or until golden brown and risen.