The Ultimate No Bake Cheesecake: Creamy, Easy, and Foolproof
Are you craving a rich, velvety dessert but dreading the thought of turning on the oven? You’re not alone. The beauty of a No Bake Cheesecake lies in its simplicity: no water baths, no cracking, and no precise temperature control. Whether you’re a seasoned baker or a complete beginner, this recipe delivers a luscious, sliceable cheesecake with minimal effort. In fact, it’s the perfect Easy Cheesecake for anyone who wants a show-stopping dessert without the fuss. Preparing it at home saves money, lets you control the sweetness, and fills your kitchen with anticipation—not heat. Let’s dive into a foolproof method that guarantees creamy perfection every time.
Ingredients & Kitchen Tools
For the Crust
– 1 ½ cups graham cracker crumbs (about 12 sheets) – Provides a buttery, crunchy base. Substitute with digestive biscuits or gluten-free graham crackers.
– ¼ cup granulated sugar – Adds sweetness and helps the crust hold together.
– ½ cup unsalted butter, melted – Binds the crumbs. Use coconut oil for a dairy-free version.
For the Filling
– 16 oz (two 8-oz blocks) cream cheese, softened – Full-fat gives the best texture; reduce fat if preferred but avoid non-fat as it may not set.
– ½ cup granulated sugar – Adjust to taste; honey or maple syrup can replace it.
– 1 teaspoon vanilla extract – Pure vanilla adds depth; artificial works but use half.
– 1 cup heavy cream – Whipped to stiff peaks for a light, airy filling. Chill the cream and bowl first.
– Powdered gelatin (optional) – 1 teaspoon dissolved in 2 tablespoons water helps stabilize if you need a firmer slice. Omit for a softer, mousse-like texture.
Kitchen Tools
– 9-inch springform pan (or 8-inch for taller cheesecake)
– Mixing bowls (medium and large)
– Electric hand mixer or stand mixer
– Spatula
– Measuring cups and spoons
– Whisk
– Plastic wrap
Prep Time & Cooking Schedule
– Prep Time: 20 minutes (plus 15 minutes for chilling crust)
– Setting Time: 6–8 hours (overnight is best)
– Total Active Time: 35 minutes
Plan ahead: The cheesecake needs at least 6 hours to set in the refrigerator. If you’re serving it for a dinner party, start the day before. The crust can be prepared and chilled while you make the filling.
Step-by-Step Instructions
1. Prepare the crust. In a medium bowl, combine graham cracker crumbs and sugar. Pour in melted butter and stir until the mixture resembles wet sand. Press firmly into the bottom of your springform pan using the bottom of a glass. Refrigerate for 15 minutes while you make the filling. This step is critical for a sturdy base—don’t skip it.
2. Make the filling. In a large bowl, beat the softened cream cheese with sugar until smooth and creamy—about 3 minutes. Scrape down the bowl, then add vanilla extract. Mix until combined.
3. Whip the cream. In a separate cold bowl, whip the heavy cream to stiff peaks. Be careful not to over-whip, or it will turn into butter. Fold the whipped cream into the cream cheese mixture in three additions, using a gentle figure-eight motion to keep the air intact. If using gelatin, fold it in now (dissolved and slightly cooled).
4. Assemble. Pour the filling onto the chilled crust. Smooth the top with a spatula. Tap the pan gently on the counter to release air bubbles. Cover with plastic wrap and refrigerate for at least 6 hours, ideally overnight.
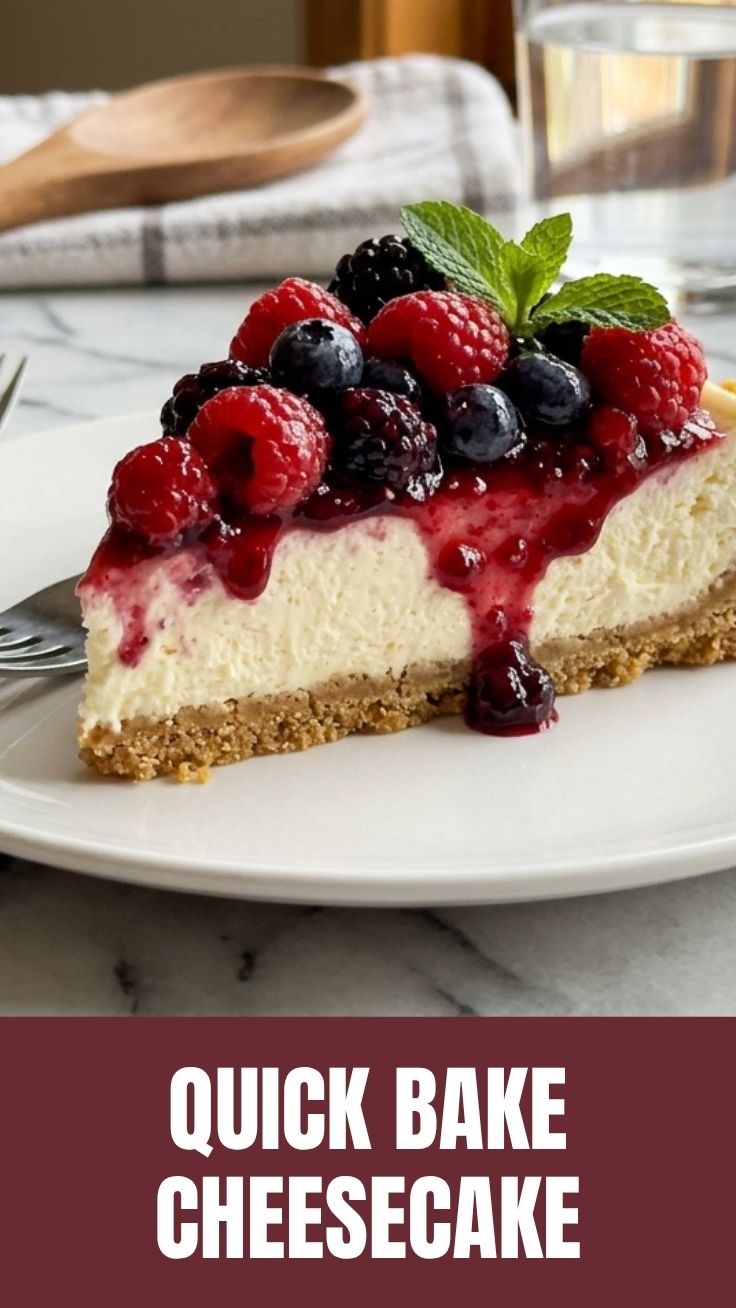
5. Serve. Run a knife under hot water, dry it, then slide it around the edge of the pan before releasing the springform. Slice and top with fresh berries, fruit sauce, or caramel. This No Bake Cheesecake is incredibly versatile—it’s a perfect make-ahead dessert. And because it requires no baking, it’s truly an Easy Cheesecake that even kids can help assemble.
Nutritional Benefits & Advantages
A single slice (1/8 of the cheesecake) contains approximately:
– Calories: 380
– Protein: 6 g
– Fat: 28 g
– Carbs: 28 g (mostly from crust)
Cream cheese provides calcium and vitamin A, while heavy cream adds healthy fats that promote satiety. Compared to baked cheesecake, this version is lighter and less dense, making it a gentler indulgence. You can also reduce sugar by using a sugar substitute like stevia or monk fruit. The lack of eggs means lower cholesterol, and the no-bake method preserves heat-sensitive nutrients.
Tips, Variations & Cooking Advice
– Flavor twists: Add ½ cup of melted dark chocolate to the filling for a chocolate version. Or swirl in strawberry puree for a fruity marbled effect.
– Dietary swaps: Use dairy-free cream cheese and coconut cream (chilled and whipped) for a vegan, dairy-free cheesecake. For gluten-free, opt for gluten-free graham crackers or ground almonds.
– Extra stability: If you want a firmer texture, add 1 teaspoon of gelatin dissolved in 2 tablespoons of water. Let it bloom for 5 minutes, then microwave for 10 seconds and stir into the cream cheese mixture.
– Crust alternatives: Pressed shortbread cookies, crushed Oreos (remove filling), or a nut-based crust (almonds + dates) work beautifully.
Common Mistakes to Avoid
– Soft cream cheese that isn’t at room temperature. Cold cream cheese creates lumps. Let it sit out for 30 minutes or microwave in 10-second bursts.
– Over-whipping the cream. Stop as soon as stiff peaks form; grainy cream will deflate the filling.
– Skipping the crust chill. A warm crust will blend into the filling. Always chill it for at least 15 minutes.
– Rushing the set time. Cutting into the cheesecake before 6 hours yields a runny mess. Patience is key.
– Using low-fat cream cheese. The extra water in low-fat varieties prevents proper setting. Stick with full-fat if possible.
Storage & Meal Prep Tips
Store leftover cheesecake in the springform pan, tightly covered with plastic wrap, or transfer slices to an airtight container. It will keep in the refrigerator for up to 5 days. To freeze, wrap individual slices in plastic wrap, then foil, and place in a freezer bag. Freeze for up to 3 months. Thaw in the refrigerator overnight before serving. Do not microwave—it will melt the cream. For best texture, let frozen slices sit at room temperature for 15 minutes before eating.
Conclusion
This no-bake method proves that you don’t need an oven to create a spectacular dessert. With a buttery graham cracker crust and a cloud-like cream cheese filling, every bite is smooth, rich, and satisfying. Whether you’re hosting a last-minute gathering or simply want a stress-free sweet treat, this No Bake Cheesecake delivers consistent results every time. It’s truly the Easy Cheesecake that beginners and pros alike will love. Try it this weekend—your taste buds will thank you. Share your creation on social media and tag us; we’d love to see your variations!
FAQs
1. Can I use a pre-made crust to save time?
Absolutely. A store-bought graham cracker crust works well, but you’ll need to adjust the pan size. The filling yields enough for a 9-inch pie crust.
2. Why did my cheesecake turn out too soft?
Possible causes: not enough chill time, over-whipped cream that deflated, or cream cheese that wasn’t fully softened. Ensure you use full-fat cream cheese and chill for at least 6 hours.
3. Can I make this no bake cheesecake without gelatin?
Yes. The whipped cream provides enough structure for a mousse-like texture. Gelatin is optional for a firmer, sliceable cheesecake.
4. How do I prevent the crust from sticking to the pan?
Line the bottom of the springform pan with parchment paper before pressing the crust. Also, run a warm knife around the edges before releasing.
5. Can I add fruit directly to the filling?
Fold in up to 1 cup of fresh or frozen berries (thawed and patted dry) after combining the cream cheese and whipped cream. Avoid too much liquid, or the cheesecake may not set.
Quick way to grow the best No Bake Cheesecake in 20 minutes.No Bake Cheesecake
Ingredients
Equipment
Method
- Combine graham cracker crumbs and melted butter in a bowl, then press mixture into the bottom of a 9-inch pie plate.
- Beat softened cream cheese and granulated sugar together until smooth and creamy.
- In a separate bowl, whip heavy cream until stiff peaks form, then gently fold the whipped cream and vanilla extract into the cream cheese mixture.
- Pour the filling over the crust and refrigerate for at least 4 hours, or until firm, before serving.