The Ultimate Guide to Perfect Thumbprint Cookies: A Baker’s Secret to Irresistible Jam-Filled Treats
Have you ever bitten into a cookie that was simultaneously buttery, tender, and bursting with fruity sweetness, only to wonder why your own attempts never turn out quite as magical? The answer lies in mastering the art of Thumbprint Cookies. These classic treats, with their signature indentation cradling a jewel-like dollop of jam, are more than just a holiday staple—they’re a testament to the beauty of simple, well-executed baking. Preparing them at home not only fills your kitchen with an intoxicating aroma of vanilla and butter but also gives you complete control over ingredients, ensuring a fresher, healthier, and infinitely more personalized experience than any store-bought version. In this data-driven guide, we’ll unlock every secret to achieve cookie perfection, starting with the perfect thumbprint cookie recipe that balances texture and flavor flawlessly.
Ingredients & Kitchen Tools
Essential Ingredients
– All-purpose flour (2 ¼ cups): Provides structure; for a tenderer cookie, substitute ½ cup with almond flour.
– Unsalted butter (1 cup, softened): The foundation of richness; European-style butter (82% fat) yields superior flavor.
– Granulated sugar (⅔ cup): Adds sweetness and aids in spreading; reduce by 2 tablespoons for less sweetness.
– Egg yolks (2 large): Bind the dough; at room temperature for better incorporation.
– Vanilla extract (1 teaspoon): Enhances flavor; use pure extract for depth.
– Salt (¼ teaspoon): Balances sweetness; sea salt flakes are ideal.
– Jam or preserves (⅓ cup): Seedless raspberry or apricot work best; high-pectin jams hold shape better.
Kitchen Tools
– Electric mixer (hand or stand) for creaming butter and sugar.
– Baking sheets lined with parchment paper or silicone mats.
– 1-inch cookie scoop for uniform sizing.
– Measuring cups and spoons, mixing bowls, and a wire cooling rack.
Optional Substitutions
– Gluten-free: Use a 1:1 gluten-free flour blend with xanthan gum.
– Dairy-free: Replace butter with vegan butter sticks (not spreadable tubs).
Prep Time & Cooking Schedule
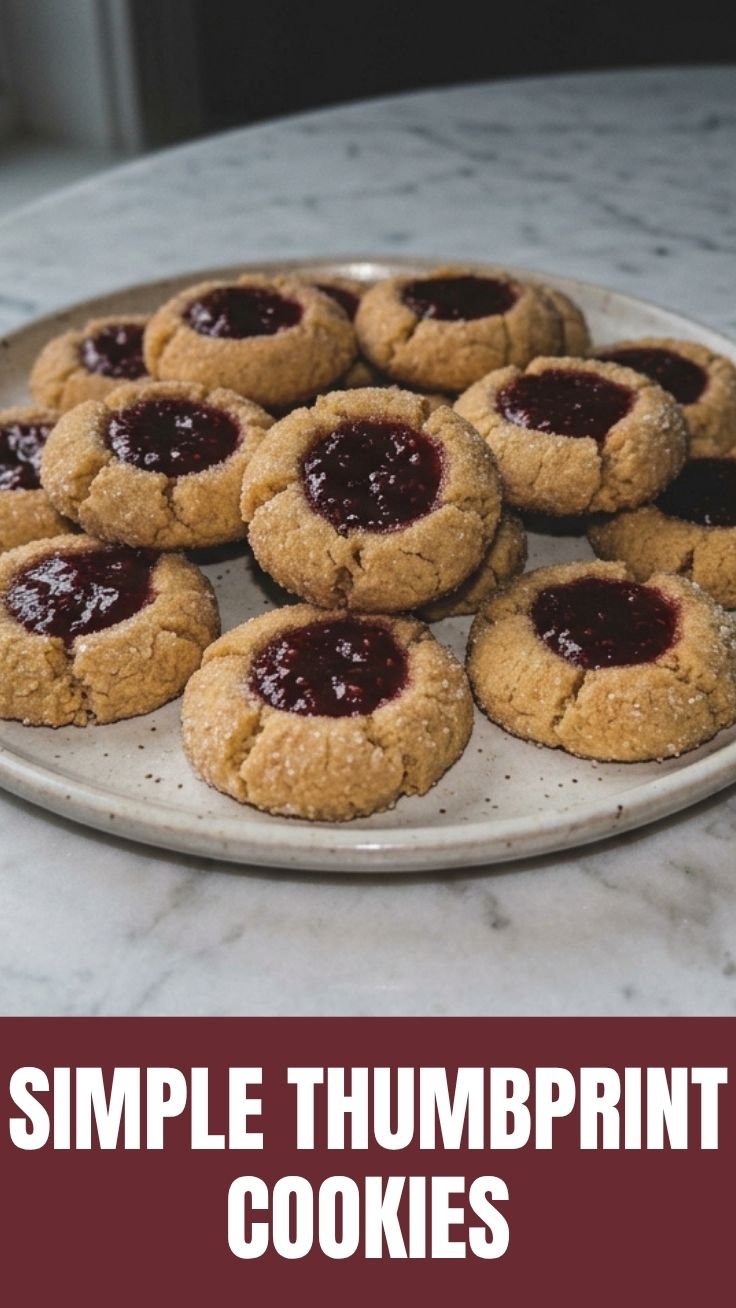
– Prep Time: 15 minutes (active) + 30 minutes (chilling dough)
– Cook Time: 12–14 minutes per batch
– Cooling Time: 10 minutes on baking sheet + 15 minutes on wire rack
Why the schedule matters: Chilling the dough for at least 30 minutes prevents excessive spreading during baking, ensuring those beautiful indentations hold their shape. Bake in the middle oven rack for even heat distribution. Plan for two batches if your oven is small—overcrowding leads to steam buildup.
Step-by-Step Instructions
1. Cream butter and sugar: In a large bowl, beat softened butter and granulated sugar on medium speed until light and fluffy (about 3 minutes). Scrape the bowl—this aeration is crucial for a tender crumb.
2. Add yolks and vanilla: Mix on low until combined. Overmixing here develops gluten, making cookies tough.
3. Incorporate dry ingredients: Whisk flour and salt separately, then gradually add to the wet mixture. Mix just until no flour streaks remain—dough should be soft but not sticky.
4. Chill the dough: Wrap in plastic wrap and refrigerate for 30 minutes. This step prevents spreading and deepens flavor.
5. Shape and indent: Scoop 1-tablespoon portions, roll into balls, and place 2 inches apart on lined baking sheets. Use your thumb (or the back of a ½ teaspoon) to create a deep well—press almost to the bottom but not through.
6. Fill with jam: Spoon ½ teaspoon of jam into each indentation. Don’t overfill; jam will spread slightly during baking.
7. Bake to perfection: Bake at 350°F (175°C) for 12–14 minutes. Edges should be lightly golden, not browned. If you’re following a reliable thumbprint cookie recipe, you’ll notice the bottoms should be pale—that signals a perfectly baked, tender cookie.
8. Cool and set: Let cookies rest on the baking sheet for 10 minutes before transferring to a wire rack. The jam needs this time to firm up; moving too soon causes leaks.
Pro tip: For extra stability, freeze the shaped cookies for 10 minutes before baking. This is a hallmark of professional Thumbprint Cookies—it locks in the shape and creates a slightly crisper edge.
Nutritional Benefits & Advantages
Each serving (2 cookies) contains approximately 180 calories, 9g fat, 22g carbohydrates, and 2g protein. While not a health food, these cookies offer unexpected benefits:
– Butter provides fat-soluble vitamins A, D, and E.
– Fruit jam contributes antioxidants from berries or stone fruits (especially raspberries, which are rich in ellagic acid).
– Egg yolks deliver choline, which supports cognitive function.
– Home baking eliminates preservatives and high-fructose corn syrup found in commercial alternatives.
Tips Variations & Cooking Advice
Flavor Twists
– Citrus-infused: Add 1 tablespoon lemon zest to the dough; use lemon curd instead of jam.
– Chocolate dream: Replace ¼ cup flour with unsweetened cocoa powder; fill with chocolate-hazelnut spread.
– Spiced autumn: Add 1 teaspoon cinnamon and ¼ teaspoon nutmeg; fill with apple butter.
Dietary Adaptations
– Vegan version: Use flax eggs (1 tablespoon ground flax + 3 tablespoons water per egg) and coconut oil (solid) instead of butter. Chill for 1 hour.
– Lower sugar: Substitute ½ cup sugar with monk fruit sweetener; use sugar-free jam.
Method Modifications
– Air fryer: Bake at 320°F for 8–10 minutes; check at 7 minutes for smaller cookies.
– Freezer-friendly: Freeze unbaked dough balls on a sheet, then store in a bag; bake directly from frozen, adding 2–3 minutes.
Common Mistakes to Avoid
1. Skipping the chill step: Results in flat, spread-out cookies with shallow indentations. Solution: Always chill dough for at least 30 minutes.
2. Overfilling with jam: Causes jam to bubble over and stick to the pan. Fix: Use exactly ½ teaspoon per cookie.
3. Overbaking: Dry, crumbly cookies that lose their jam. Prevention: Remove at 12 minutes when edges are just set—they’ll firm up while cooling.
4. Using cold butter: Creates dense, uneven dough. Best practice: Let butter sit at room temperature for 45 minutes before starting.
5. Pressing indentation after baking: Leads to cracking. Tip: Always indent before baking, while dough is firm.
Storage & Meal Prep Tips
– Room temperature: Store in an airtight container at 68–72°F for up to 5 days. Layer with parchment paper to prevent sticking.
– Refrigeration: Extends freshness to 10 days; let come to room temperature before serving for optimal texture.
– Freezing (baked): Freeze on a sheet, then transfer to a freezer bag; thaw at room temperature for 2 hours. Keeps for 3 months.
– Freezing (dough): Freeze rolled balls for up to 6 months; bake from frozen, adding 3 minutes to cook time.
– Reheating: Warm in a 300°F oven for 5 minutes to restore crisp edges; avoid microwaves, which make them soft and soggy.
Conclusion
Perfecting Thumbprint Cookies is a journey of mastering precision—from chilling the dough to timing the bake—but the reward is a batch of beautifully uniform, jam-filled gems that rival any bakery. Whether you’re following this thumbprint cookie recipe for a holiday cookie exchange or a cozy weekend bake, the combination of buttery shortbread and fruity sweetness never fails to impress. The beauty of these cookies lies in their adaptability; swap jams, add spices, or experiment with gluten-free flours to make them uniquely yours. We encourage you to try this recipe, share your creations on social media with #ThumbprintCookies, and explore our other classic desserts for more baking inspiration.
FAQs
Q: Can I use preserves instead of jam?
A: Yes, but strain seeds or large fruit pieces to avoid uneven filling. High-pectin preserves like apricot work best.
Q: Why did my cookies crack around the edges?
A: This happens when the dough is too dry or overbaked. Ensure butter is properly softened and remove cookies at the first sign of golden edges.
Q: How do I prevent the jam from sinking into the cookie?
A: Chill the formed cookies for 10 minutes before filling, then press the indentation deeper (almost to the bottom) to create a firm barrier.
Q: Can I make these cookies with a gluten-free diet?
A: Absolutely. Use a 1:1 gluten-free flour blend with xanthan gum; chill the dough for 45 minutes instead of 30 for better structure.
Q: My cookies spread too much. What went wrong?
A: Common causes: warm dough, insufficient flour, or too much sugar. Double-check measurements, chill dough thoroughly, and ensure butter isn’t too soft.
Quick way to grow 3 perfect Thumbprint Cookies
Ingredients
Equipment
Method
- Preheat your oven to 375°F (190°C) and line a baking sheet with parchment paper.
- In a medium bowl, cream together the softened butter and granulated sugar until light and fluffy, then mix in the vanilla extract.
- Gradually add the all-purpose flour to the butter mixture, mixing until just combined and a soft dough forms.
- Roll the dough into three equal balls and place them on the prepared baking sheet.
- Use your thumb or the back of a spoon to create an indentation in the center of each cookie dough ball, then fill each indentation with about half a teaspoon of raspberry jam.
- Bake for 10-12 minutes, or until the edges are lightly golden, then let the cookies cool on the baking sheet for a few minutes before transferring them to a wire rack to cool completely.