Why This Shrimp Fried Rice Will Change Your Weeknight Dinner Routine
Have you ever stared at a carton of leftover rice and wondered how to turn it into something spectacular? That’s exactly where this dish comes in. Making Shrimp Fried Rice at home isn’t just about saving money on takeout—it’s about controlling every element of flavor, texture, and nutrition. When you prepare it yourself, you get restaurant-quality results without the hidden sodium or questionable oil. This Easy Shrimp Fried Rice recipe is designed for busy home cooks who want maximum flavor with minimal effort. The beauty of this dish lies in its simplicity: perfectly cooked shrimp, fluffy rice, and vibrant vegetables all come together in one pan in under 20 minutes.
Ingredients & Kitchen Tools
Essential Ingredients
– 2 cups day-old jasmine rice – Cold rice prevents clumping; freshly cooked rice turns mushy
– 1 pound large shrimp – Peeled and deveined; look for wild-caught for better flavor
– 3 large eggs – Lightly beaten; they create those signature fluffy curds
– 1 cup frozen peas and carrots – No chopping required; thaw before using
– 4 green onions – Sliced diagonally for visual appeal
– 3 cloves garlic – Minced fine; fresh is non-negotiable here
– 2 tablespoons vegetable oil – Use high smoke-point oil like avocado or peanut
– 2 tablespoons soy sauce – Low-sodium version works best for controlling salt
– 1 tablespoon sesame oil – This is your flavor bomb; don’t skip it
– ½ teaspoon white pepper – More floral than black pepper; adds authentic taste
Kitchen Tools
– Wok or large skillet – Carbon steel wok is ideal, but non-stick works too
– Spatula – Wooden or metal; avoid plastic near high heat
– Small bowls – For prep work; mise en place speeds everything up
– Fine-mesh strainer – For rinsing shrimp if needed
Optional Substitutions
– Rice swap – Brown rice adds fiber but requires extra liquid
– Shrimp alternative – Chicken or tofu work well; adjust cooking time
– Vegetable variations – Bell peppers, snap peas, or corn add color and crunch
Prep Time & Cooking Schedule
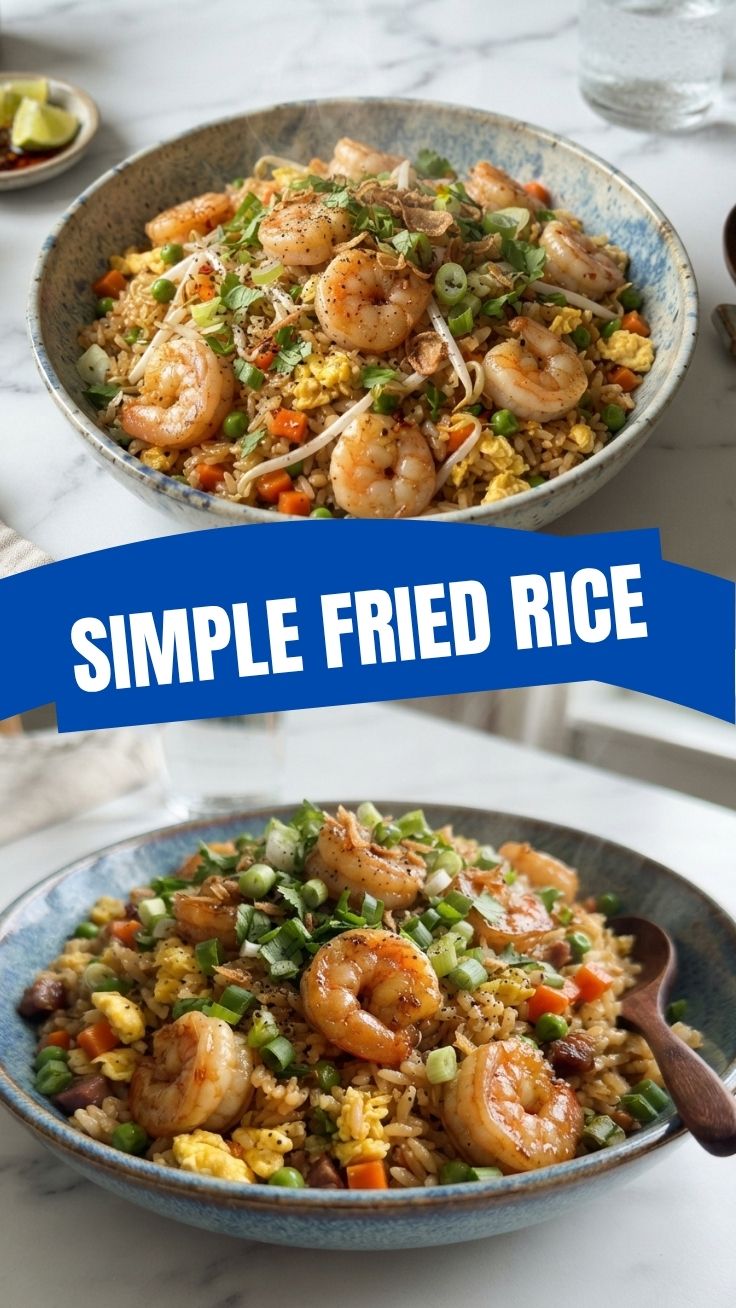
Total Time: 20 minutes | Prep Time: 10 minutes | Cook Time: 10 minutes
This dish moves fast once you start cooking, so preparation is critical. The secret to success lies in having everything measured, chopped, and within arm’s reach before you turn on the heat. Day-old rice is essential—fresh rice contains too much moisture and will steam rather than fry. If you’re in a pinch, spread freshly cooked rice on a baking sheet and refrigerate for 15 minutes to dry it out slightly. The shrimp should be patted completely dry with paper towels; excess moisture creates steam that prevents proper browning.
Step-by-Step Instructions
Step 1: Prepare Your Ingredients
Pat the shrimp dry with paper towels and season lightly with salt and white pepper. Crack the eggs into a small bowl and beat them until uniform. Dice the green onions, separating white and green parts. Have your cold rice ready—break up any large clumps with your fingers.
Step 2: Sear the Shrimp
Heat your wok over high heat until it begins to smoke. Add 1 tablespoon of vegetable oil and swirl to coat. Add the shrimp in a single layer—don’t overcrowd. Cook for 90 seconds per side until pink and slightly charred. Remove shrimp to a plate and set aside.
Step 3: Scramble the Eggs
Reduce heat to medium-high. Add the remaining oil and pour in the beaten eggs. Let them set for 30 seconds, then scramble them vigorously with your spatula. Cook until just set but still soft—about 60 seconds. Remove eggs and place them with the shrimp.
Step 4: Aromatics and Rice
Increase heat to high again. Add the white parts of green onions and minced garlic, stirring constantly for 15 seconds until fragrant. Add the cold rice, breaking up any clumps with the back of your spatula. Press the rice into a flat layer and let it sit undisturbed for 30 seconds—this creates the coveted crispy bits. Toss and repeat twice more.
Step 5: Sauce and Combine
Drizzle soy sauce and sesame oil over the rice and toss to coat evenly. Add the frozen peas and carrots, then return the shrimp and eggs to the wok. Toss everything together for 60 seconds until heated through and well combined. The key to perfect Shrimp Fried Rice is high heat and quick movements—don’t let the pan cool down. For an Easy Shrimp Fried Rice version, you can skip the separate egg step and scramble them directly into the rice.
Step 6: Finish and Serve
Sprinkle with the green parts of the green onions and serve immediately. A squeeze of fresh lime juice over the top brightens all the flavors.
Nutritional Benefits & Advantages
This dish delivers a remarkable nutritional profile for a takeout favorite. The shrimp provide lean protein with approximately 20 grams per serving, along with essential selenium and vitamin B12. The eggs add complete protein and choline for brain health. When you prepare this at home, you control the sodium content—restaurant versions often contain over 1,500 mg per serving, while this homemade version comes in around 600 mg. The vegetables contribute fiber, vitamin A, and antioxidants. Using day-old rice also increases resistant starch content, which benefits gut health and blood sugar management.
Tips, Variations & Cooking Advice
Flavor Variations
– Spicy version – Add 1 tablespoon sambal oelek or sriracha with the soy sauce
– Sesame twist – Toss in toasted sesame seeds and a drizzle of chili oil
– Garlic lover’s – Double the garlic and add ½ teaspoon garlic powder
Cooking Method Variations
– Grilled version – Cook shrimp on skewers over high heat, then finish the rice in a cast-iron skillet
– Sheet pan method – Spread rice on a baking sheet, top with shrimp and vegetables, and broil for 10 minutes
– Instant Pot adaptation – Use sauté function but be careful not to over-steam the rice
Dietary Adaptations
– Gluten-free – Substitute tamari or coconut aminos for soy sauce
– Low-carb – Use cauliflower rice and increase the vegetable volume
– Dairy-free – This recipe is naturally dairy-free; just verify your soy sauce
Common Mistakes to Avoid
Mistake 1: Using Fresh Rice
Freshly cooked rice contains too much moisture. The result is a sticky, mushy mess rather than individual grains. Always use day-old rice that has been refrigerated uncovered for at least 4 hours.
Mistake 2: Overcrowding the Pan
When you add too many ingredients at once, the temperature drops and the rice steams instead of fries. Cook in batches if necessary, and never fill your wok more than halfway.
Mistake 3: Skipping the High Heat
Fried rice requires intense heat to develop wok hei—that smoky, charred flavor. If your stove doesn’t produce enough heat, use a carbon steel pan and preheat it for a full 3 minutes.
Mistake 4: Overcooking the Shrimp
Shrimp cook in about 2 minutes total. Overcooked shrimp become rubbery and tough. Remove them from the pan as soon as they turn pink and curl into a C-shape.
Storage & Meal Prep Tips
Refrigeration: Store leftovers in an airtight container for up to 3 days. The key to maintaining texture is to cool the rice completely before sealing—warm rice creates condensation that leads to sogginess.
Freezing: Portion into freezer-safe bags and flatten for easy storage. Frozen fried rice keeps for up to 2 months. Thaw overnight in the refrigerator before reheating.
Reheating: For best results, reheat in a hot wok or skillet with a splash of water. The steam helps rehydrate the rice while the high heat restores those crispy edges. Microwave reheating works but will soften the texture—add 30 seconds at a time and stir between intervals.
Meal Prep Strategy: Cook the rice a day ahead. Prep and store the vegetables and shrimp separately. On cooking day, you’ll have everything ready in under 10 minutes.
Conclusion
Making this Shrimp Fried Rice at home transforms a simple weeknight dinner into something truly special. The combination of perfectly seared shrimp, fluffy rice, and vibrant vegetables creates a dish that rivals any takeout container. The Easy Shrimp Fried Rice method ensures that even beginner cooks can achieve professional results without stress or complicated techniques. Remember that preparation is the key—have everything ready before you start, keep the heat high, and don’t be afraid to let the rice develop those beautiful crispy bits. Try this recipe tonight, and you’ll never look at leftover rice the same way again. Share your results in the comments below—I’d love to see how your version turns out!
FAQs
Q: Can I use frozen shrimp for this recipe?
A: Absolutely. Just thaw them completely under cold running water and pat them extremely dry. Frozen shrimp often contain added water, so drying is crucial for achieving that golden sear.
Q: Why does my fried rice always turn out mushy?
A: This usually happens for two reasons: using fresh rice instead of day-old, or overcrowding the pan. Spread your rice on a baking sheet in the refrigerator for 20 minutes if you’re in a hurry, and always cook in batches if needed.
Q: What’s the best substitute for sesame oil?
A: Toasted sesame oil has a unique flavor that’s hard to replicate. If you’re out, use a neutral oil and add a splash of soy sauce with a pinch of sugar. The flavor won’t be identical, but it will still be delicious.
Q: How can I make this dish spicier?
A: Add 1 tablespoon of sambal oelek or gochujang paste with the soy sauce. You can also toss in dried red chili flakes when cooking the aromatics for a more subtle heat.
Q: Can I make this dish without eggs?
A: Yes, simply omit the eggs and increase the shrimp by 4 ounces. The dish will still be satisfying and protein-rich. For extra texture, add ½ cup of diced water chestnuts.
Shrimp Fried Rice
Ingredients
Equipment
Method
- Heat oil in a large skillet or wok over medium-high heat.
- Add shrimp and cook until pink, then remove from skillet.
- Add whisked eggs to the skillet and scramble until cooked, then remove.
- Sauté garlic, ginger, peas, and carrots for 2-3 minutes.
- Add cold rice to the skillet, breaking up any clumps, and stir-fry for a few minutes.
- Return shrimp and eggs to the skillet.
- Stir in soy sauce and sesame oil, mixing everything well.
- Garnish with chopped green onions before serving.