Unlock the Savory Magic of Shredded Brussels Sprouts: A Home Cook’s Guide to Crispy Perfection
Have you ever wondered why restaurant-quality Brussels sprouts taste so impossibly good—crispy on the edges, tender inside, and bursting with nutty, caramelized flavor—while your home attempts often end up bitter, soggy, or bland? The answer lies in a simple but transformative technique: shredding. By learning how to properly prepare Brussels Sprouts at home, you unlock a world of quick-cooking, deeply flavorful, and versatile dishes. This method not only slashes cooking time in half but also creates more surface area for browning, ensuring every bite is a crunchy, savory delight. Plus, when you master this technique, you’re embracing one of the most nutrient-dense healthy vegetables available, packed with fiber, vitamins C and K, and powerful antioxidants. Let’s dive into the data-driven secrets behind the perfect shredded Brussels sprouts recipe.
Ingredients & Kitchen Tools
Ingredients:
– 1 lb Brussels Sprouts – Fresh, firm, and bright green. Avoid yellowing or loose leaves.
– 3 tbsp Olive Oil – Use extra virgin for flavor; avocado oil works for higher heat.
– 3 cloves Garlic – Thinly sliced or minced for aromatic depth.
– ½ tsp Salt – Sea salt or kosher for even seasoning.
– ¼ tsp Black Pepper – Freshly ground for best flavor.
– Optional: 2 tbsp Balsamic Vinegar (for acidity), ¼ cup Parmesan Cheese (for umami), or 1 tbsp Maple Syrup (for sweetness).
Kitchen Tools:
– Sharp Chef’s Knife – Essential for thin, even shredding (or use a mandoline for precision).
– Large Skillet – Cast iron or non-stick, at least 12 inches for even browning.
– Cutting Board – Stable, large enough for safe chopping.
– Mixing Bowl – For tossing sprouts with oil and seasonings.
– Spatula or Tongs – For flipping and stirring without breaking sprouts.
Substitutions: No olive oil? Use ghee or coconut oil. No garlic? Swap with 1 tsp garlic powder or shallots. For a low-sodium option, use herb-based seasoning like smoked paprika and thyme.
Prep Time & Cooking Schedule
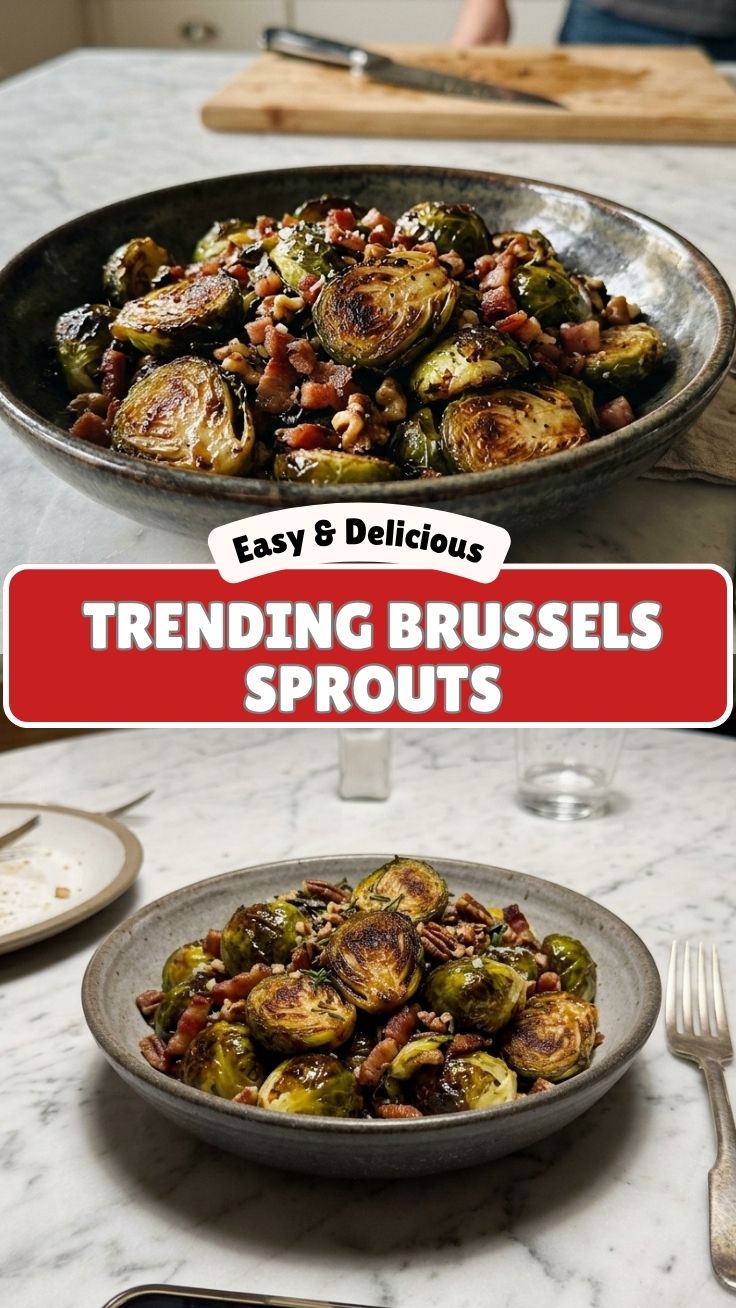
Total Time: 25 minutes
– Prep Time: 10 minutes (wash, trim, shred)
– Cook Time: 12–15 minutes (sear and finish)
– Resting Time: 2 minutes (off-heat to allow carryover cooking)
Timing Context: This recipe is ideal for busy weeknights. While the pan heats, you can prep the sprouts. Serve immediately for maximum crispiness, or quickly re-crisp in the oven if needed. The shredding step reduces cooking time by nearly 40% compared to whole roasted sprouts, making it a fast-track to a healthy side dish.
Step-by-Step Instructions
1. Prepare the Sprouts: Rinse 1 lb of Brussels Sprouts under cold water and pat dry completely—moisture is the enemy of crispiness. Trim the tough stem end, then slice each sprout in half lengthwise. Lay flat and thinly shred crosswise into ⅛-inch ribbons. Place in a mixing bowl.
2. Season and Toss: Drizzle with 3 tbsp olive oil, ½ tsp salt, and ¼ tsp pepper. Toss thoroughly so every strand is lightly coated. For extra flavor, add 1 tbsp balsamic vinegar or a pinch of red pepper flakes.
3. Sear Over High Heat: Heat your skillet over medium-high until it’s hot (a water drop should sizzle instantly). Spread the shredded sprouts in an even layer—do not overcrowd. Cook without stirring for 3–4 minutes, allowing a deep golden crust to form. This is the secret to caramelization, which tames bitterness and brings out natural sweetness.
4. Flip and Finish: Add sliced garlic, then toss the sprouts. Continue cooking for another 5–7 minutes, stirring every 1–2 minutes, until edges are deeply browned and tender-crisp. Adjust seasoning with a squeeze of lemon or extra salt if needed. The key texture cue: the sprouts should be crisp-tender, not mushy. Kale or cabbage can be used similarly, but this specific method works best with healthy vegetables like Brussels sprouts due to their density and natural sugars.
Nutritional Benefits & Advantages
Shredded Brussels sprouts are a powerhouse of nutrition. One cup (cooked) provides:
– Fiber: 4 grams (14% DV) – Supports digestion and satiety.
– Vitamin C: 75% DV – Boosts immunity and collagen production.
– Vitamin K: 137% DV – Essential for bone health and blood clotting.
– Antioxidants: Kaempferol and sulforaphane, linked to reduced inflammation and cancer risk.
Compared to roasted whole sprouts, shredding preserves more vitamin C (less heat exposure) and reduces cooking time, which can degrade heat-sensitive nutrients. For a low-carb, keto-friendly, or gluten-free diet, this dish is naturally compliant and pairs perfectly with proteins like salmon or grilled chicken.
Tips, Variations & Cooking Advice
– Flavor Variations: Try an Asian twist with soy sauce, sesame oil, and ginger. Or go Mediterranean with sun-dried tomatoes, pine nuts, and feta.
– Ingredient Swaps: Use bacon fat instead of olive oil for smoky richness. Substitute almonds for pine nuts.
– Cooking Methods: Air fry at 375°F for 8–10 minutes (shake halfway) for extra crunch. Oven roast at 425°F for 12 minutes on a sheet pan.
– Dietary Adaptations: Omit cheese for vegan or dairy-free. Use tamari for gluten-free soy alternative.
Common Mistakes to Avoid
– Not Drying Thoroughly: Wet sprouts steam instead of searing. Pat dry with a towel after washing.
– Overcrowding the Pan: Too many sprouts lower pan temperature, causing stewing. Cook in batches if needed.
– Skipping the Sear: Don’t stir too early. Let them sit undisturbed to develop color.
– Underseasoning: Brussels sprouts need enough salt to balance natural bitterness. Taste and adjust before serving.
Storage & Meal Prep Tips
– Refrigerating: Store leftovers in an airtight container for up to 3 days. Place a paper towel inside to absorb moisture.
– Freezing: Not recommended—texture becomes mushy upon thawing. Best eaten fresh.
– Reheating: Re-crisp in a skillet over medium-high heat for 2–3 minutes, or in an air fryer at 350°F for 4 minutes. Avoid microwaving, which turns them soggy.
Conclusion
Mastering shredded Brussels sprouts transforms a humble vegetable into a quick, crispy, and versatile dish that’s perfect for busy cooks and health-conscious eaters alike. Whether you follow the classic garlic-and-oil method or experiment with global flavors, the key is high heat, even shredding, and patience to let the edges caramelize. This technique not only elevates Brussels Sprouts but also inspires confidence in cooking a wide range of healthy vegetables like broccoli stems or cabbage. Now it’s your turn—try this recipe tonight, snap a photo of your crispy creation, and share it in the comments or on social media. For more veggie-forward inspiration, explore our oven-roasted root vegetables or sheet-pan dinners. Happy cooking!
FAQs
1. Can I use frozen Brussels sprouts for shredding?
No—frozen sprouts release too much water during thawing, resulting in a mushy texture. Always use fresh for best results.
2. My sprouts turned out bitter. What went wrong?
Bitterness usually comes from overcooking or using old, yellowing sprouts. Add a splash of acid (lemon juice or vinegar) at the end to balance flavors.
3. Can I shred Brussels sprouts in advance?
Yes! Shred up to 24 hours ahead and store in a sealed bag in the fridge. Toss with oil just before cooking to prevent oxidation.
4. How do I make this dish less oily?
Use a non-stick pan and reduce oil to 1½ tbsp. Alternatively, use a cooking spray or steam-sauté with a splash of broth.
5. What protein pairs best with this recipe?
Try pan-seared salmon, grilled chicken, or roasted tofu. The nutty sprouts complement rich, savory proteins beautifully.
How to grow Brussels Sprouts in 7 easy steps
Ingredients
Equipment
Method
- Choose a sunny location in your garden that receives at least 6 hours of direct sunlight per day, ensuring good air circulation.
- Prepare the soil by enriching it with compost or aged manure to improve fertility and drainage; Brussels sprouts thrive in well-drained, nutrient-rich soil.
- Plant seeds or seedlings about 2 feet apart in rows, allowing enough space for growth, and ensure the soil remains consistently moist after planting.
- Water regularly, especially during dry spells, and apply a layer of mulch around the plants to help retain soil moisture and suppress weeds.
- As the plants grow, provide support with stakes if needed to prevent them from toppling over, especially in windy conditions.
- Harvest Brussels sprouts when they are firm, green, and about 1 to 1.5 inches in diameter, starting from the bottom of the stalk and working your way up.
- Continue harvesting until the plant stops producing or a hard frost arrives, typically from late summer through fall.