The Ultimate Guide to Perfect Turkey Gravy: Elevate Your Thanksgiving Dinner
Have you ever sat down to a beautifully roasted turkey, only to be let down by a bland, lumpy, or watery gravy from a jar? You are not alone. The secret to a memorable feast lies in the glossy, savory elixir that binds every component together. Learning to craft a rich, homemade Turkey Gravy from scratch is not just a cooking skill—it is a transformative experience that elevates your entire Thanksgiving dinner from good to unforgettable. This guide will walk you through every step, ensuring you produce a velvety, deeply flavorful sauce that will have your guests asking for seconds.
Ingredients & Kitchen Tools (H2)
Ingredients
– Turkey drippings (from the roasting pan): The flavorful foundation of your gravy. Reserve the fat and the browned bits.
– Turkey stock (or low-sodium chicken broth): Provides the liquid base. Homemade stock is best, but store-bought works in a pinch.
– All-purpose flour (or cornstarch for gluten-free): The thickening agent. Flour creates a classic roux, while cornstarch yields a gluten-free, shiny result.
– Unsalted butter: Used to make the roux. It adds richness and helps control the salt level.
– Salt and freshly ground black pepper: Essential for seasoning. Always taste and adjust.
– Fresh herbs (optional): Thyme, sage, or rosemary add aromatic depth.
Kitchen Tools
– Large roasting pan (with drippings)
– Fat separator (or a large measuring cup and a spoon)
– Medium saucepan
– Whisk (crucial for smooth consistency)
– Fine-mesh strainer (optional, for a silky texture)
– Wooden spoon or spatula
Prep Time & Cooking Schedule (H2)
Preparation Time: 10 minutes (after the turkey is roasted)
Cook Time: 15–20 minutes
Total Time: 25–30 minutes
Context for Planning: The gravy should be made after the turkey has finished roasting and is resting. This resting period (usually 20–30 minutes) is the perfect window to prepare your gravy. The drippings in the pan are still hot and full of flavor, making this the ideal time to work. Do not attempt to make gravy hours in advance without proper storage; it is best fresh.
Step-by-Step Instructions (H2)
1. Deglaze the Pan: Once you transfer the turkey to a carving board, place the roasting pan over two burners on medium heat. Pour in about 1 cup of turkey stock or dry white wine. Use a wooden spoon to scrape up all the browned bits (the fond) from the bottom of the pan. This is where the intense flavor lives.
2. Strain and Separate Fat: Pour the liquid and bits through a fine-mesh strainer into a fat separator or a large glass measuring cup. Let it sit for 2 minutes so the fat rises to the top. If you don’t have a separator, use a spoon to skim off the fat, reserving about ¼ cup of the fat.
3. Make the Roux: In the same saucepan, melt ¼ cup of unsalted butter over medium heat. Whisk in ¼ cup of all-purpose flour. Cook for 2–3 minutes, stirring constantly, until the mixture turns a light golden brown and smells nutty. This step eliminates the raw flour taste.
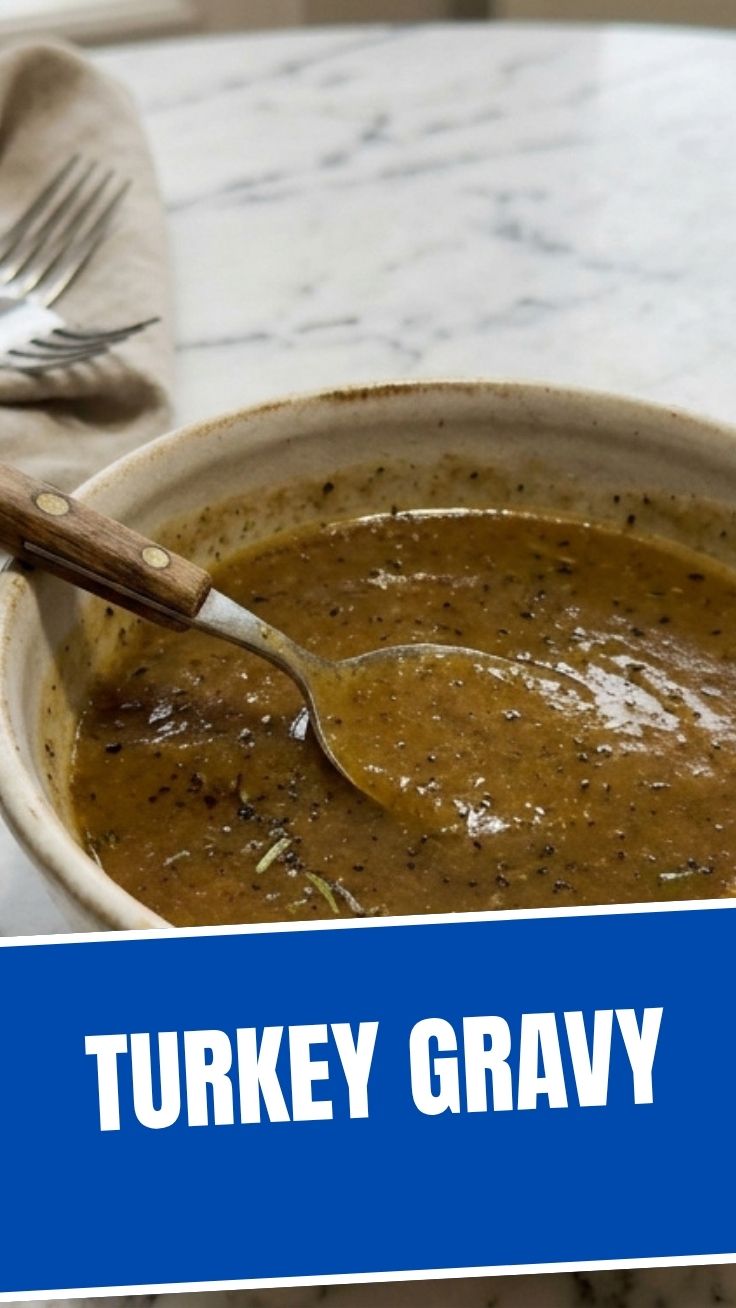
4. Whisk in the Liquid: Slowly pour in the defatted drippings and an additional 2–3 cups of turkey stock, whisking constantly. Bring the mixture to a gentle simmer. Your homemade Turkey Gravy will begin to thicken as it cooks. For a successful Thanksgiving dinner, ensure the gravy is not too thick; it should coat the back of a spoon.
5. Season and Finish: Reduce the heat to low. Add salt, pepper, and any fresh herbs to taste. Simmer for 5 minutes to allow flavors to meld. If the gravy is too thin, let it simmer longer. If it is too thick, whisk in a splash more stock.
Nutritional Benefits & Advantages (H2)
Homemade gravy offers far more control over dietary content than store-bought versions. You can significantly reduce sodium content by using low-sodium stock and controlling the added salt. The turkey drippings themselves contain trace amounts of minerals like zinc and B vitamins from the turkey meat. By using a roux made with butter, you are adding healthy fats from grass-fed butter if you choose that option. Furthermore, avoiding preservatives, additives, and excessive sugar found in commercial gravy packets makes this a cleaner, whole-food choice for your family’s nutritional needs.
Tips Variations & Cooking Advice (H2)
– Flavor Variation: Add a splash of sherry or cognac after deglazing for a deeper, more complex flavor.
– Dietary Adaptation: For a gluten-free version, replace the flour with an equal amount of cornstarch or arrowroot powder. Mix the starch with cold water to create a slurry before adding to the hot liquid.
– Vegan Option: Use the same method but replace turkey drippings with a rich mushroom stock and use olive oil or vegan butter for the roux.
– Thickening Tip: For a darker, richer gravy, use a dark roux (cook the flour and butter longer until it is the color of a penny).
Common Mistakes to Avoid (H2)
– Lumpy Gravy: This is caused by adding liquid too quickly or not whisking constantly. Solution: Always add liquid in a slow, steady stream while whisking vigorously. If lumps form, use an immersion blender or strain the gravy through a fine-mesh sieve.
– Bland Gravy: Often a result of not seasoning enough or using weak stock. Solution: Season generously with salt and pepper. Add a splash of soy sauce or Worcestershire sauce for an umami boost.
– Watery Gravy: This happens when the roux is not cooked or the gravy is not simmered long enough. Solution: Ensure the roux cooks for 2–3 minutes. Let the gravy simmer uncovered for 5–10 minutes to reduce and thicken.
Storage & Meal Prep Tips (H2)
Refrigeration: Store leftover gravy in an airtight container. It will stay fresh for 3–4 days. To reheat, place it in a saucepan over low heat, whisking often. Add a splash of stock or water to loosen it if it has thickened too much.
Freezing: Gravy freezes exceptionally well. Pour cooled gravy into a freezer-safe zip-top bag or container. It will keep for 3–4 months. Thaw overnight in the refrigerator before reheating. Do not freeze gravy that has been thickened with cornstarch, as it can become grainy upon thawing.
Reheating: Always reheat gently on the stovetop to maintain the smooth texture. Avoid microwaving as it can create hot spots and a rubbery texture.
Conclusion (H2)
Mastering the art of Turkey Gravy is the single most impactful way to elevate your Thanksgiving dinner. It is not just a sauce; it is the cohesive element that brings together the turkey, mashed potatoes, and stuffing in a symphony of flavor. With this detailed guide, you now have the knowledge to create a silky, savory, and utterly delicious gravy from scratch. We encourage you to try this recipe for your next holiday gathering and share your fantastic results with us. You will never go back to the jarred stuff again.
FAQs (H2)
1. Can I make the gravy ahead of time?
Yes, you can make the gravy up to 2 days in advance. Store it in the refrigerator and reheat it gently on the stovetop. You may need to add a bit of stock to revive the consistency.
2. How do I fix salty gravy?
If your gravy is too salty, add a splash of water or unsalted stock. You can also add a peeled, raw potato to the simmering gravy for 10 minutes, as the potato will absorb some of the salt.
3. What if I don’t have enough drippings from my turkey?
You can supplement the missing liquid with high-quality store-bought turkey or chicken stock. To boost the flavor, simmer the stock with a few sprigs of thyme and a quartered onion for 15 minutes before using.
4. Can I use a gluten-free flour like almond flour?
Almond flour is not recommended as it does not have the same thickening properties and will change the flavor and texture. Use cornstarch, arrowroot, or a gluten-free all-purpose flour blend instead.
5. My gravy is too thick. What should I do?
Simply whisk in a little more warm turkey stock or water, one tablespoon at a time, until you reach your desired consistency. Simmer for a minute to incorporate the liquid fully.
Best way to grow a rich Turkey Gravy in 3 steps
Ingredients
Equipment
Method
- In a saucepan over medium heat, whisk together the turkey drippings and flour until a smooth paste forms and cooks for 1-2 minutes until lightly browned.
- Gradually whisk in the turkey or chicken broth, ensuring there are no lumps, and bring the gravy to a simmer.
- Continue to simmer the gravy, whisking occasionally, for 5-7 minutes until it thickens to your desired consistency; season with salt and pepper.