The Ultimate Guide to Perfect Chocolate Brownies: A Fudgy, Bakery-Style Recipe
Is there anything more comforting than biting into a perfectly fudgy Chocolate Brownies with a crackled top and a gooey center? I used to think that achieving such a texture required a professional bakery, but after testing dozens of brownie recipes, I discovered that the secret lies in a few specific techniques and the right balance of ingredients. Preparing this classic dessert at home not only fills your kitchen with an irresistible aroma but also allows you to control the quality and sweetness to suit your taste. Mastering this one recipe will give you a go-to dessert for every occasion—whether it’s a cozy family gathering or a last-minute potluck. Let’s dive into the simple science behind the perfect brownie.
Ingredients & Kitchen Tools
Before you begin, gather these essentials for a foolproof batch. Each item plays a specific role in creating that signature fudgy texture.
Required Ingredients
– 1 cup (225 g) unsalted butter – Provides richness and moisture. Use European-style butter for a deeper flavor.
– 8 oz (225 g) dark chocolate (60-70% cocoa) – The star ingredient; higher cocoa content gives a more intense, less sweet profile. You can substitute with milk chocolate but reduce sugar.
– 1 ½ cups (300 g) granulated sugar – Adds sweetness and helps create the shiny, crackled crust. White sugar works best, but coconut sugar yields a darker, caramel-like taste.
– 4 large eggs – Used at room temperature for better emulsification. For a denser brownie, use 3 eggs.
– 1 tsp vanilla extract – Enhances the chocolate flavor; opt for real vanilla, not imitation.
– ¾ cup (90 g) all-purpose flour – Provides structure. Sift it to avoid lumps. For a gluten-free version, swap with a 1:1 gluten-free blend.
– ¼ cup (30 g) cocoa powder – Adds extra depth; use Dutch-processed for a smoother, darker color.
– ½ tsp salt – Balances sweetness and brings out the chocolate’s nuances.
– Optional mix-ins: ½ cup chocolate chips or chopped nuts – Fold in after combining batter for texture contrast.
Kitchen Tools
– 8×8-inch baking pan – Gives the perfect brownie thickness. Line with parchment paper for easy removal.
– Double boiler or microwave-safe bowl – For gently melting chocolate and butter without burning.
– Large mixing bowl and whisk – For mixing wet ingredients. Avoid using a hand mixer if possible to prevent over-aeration.
– Rubber spatula – Essential for folding batter and scraping every last bit.
– Cooling rack – Allows airflow to prevent a soggy bottom.
Prep Time & Cooking Schedule
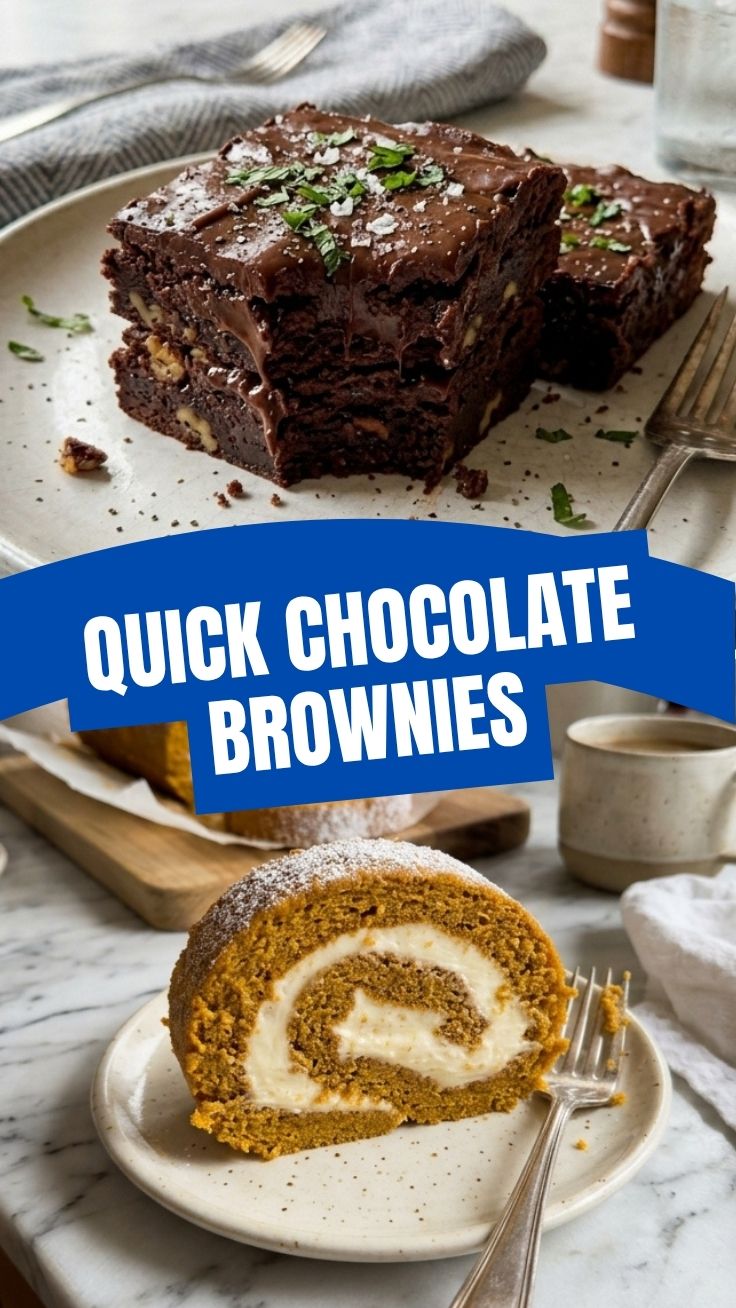
– Prep time: 15 minutes (includes melting chocolate, mixing, and lining the pan)
– Cook time: 25 minutes at 350°F (175°C)
– Resting time: 1 hour for complete cooling and setting
– Total time (excluding cooling): Approximately 40 minutes
Plan to make these brownies a few hours before serving, as the resting stage is crucial for achieving that clean, sharp slice. The brownies will continue to set as they cool, and cutting them warm will lead to a crumbly mess. For best results, let them rest in the pan on a cooling rack for at least 30 minutes, then refrigerate for an additional 30 minutes before slicing.
Step-by-Step Instructions
Follow these precise steps for consistently fudgy Chocolate Brownies with that irresistible, slightly underbaked center. This process works for many classic brownie recipes, but this version is designed for maximum fudginess.
1. Preheat your oven to 350°F (175°C). Line an 8×8-inch pan with parchment paper, leaving an overhang on two opposite sides. This creates handles for lifting the entire block out later.
2. Melt the butter and dark chocolate together. Chop the chocolate into small, even pieces for uniform melting. Place them in a heatproof bowl over a pot of simmering water (double boiler method) or use a microwave in 30-second bursts, stirring each time. Stop when about 80% melted and stir until fully smooth. Let it cool for 5 minutes until it feels warm to the touch—not hot, which could scramble the eggs.
3. Whisk together sugar, eggs, and vanilla. In a large bowl, whisk the sugar and room-temperature eggs vigorously for about 1 minute until the mixture becomes pale and slightly thickened. Add the vanilla and mix. The goal here is to incorporate air without making the batter too aerated, which would bake into a cakey texture.
4. Combine the chocolate-butter mixture with the egg mixture. Gently pour the cooled melted chocolate into the egg mixture, folding with a spatula in a J-stroke motion. Stop as soon as the streaks disappear. Overmixing at this stage develops gluten and leads to a dense, bread-like texture.
5. Sift and fold in dry ingredients. Sift the flour, cocoa powder, and salt directly over the batter. Using a spatula, fold carefully—about 15 to 18 gentle turns. The batter should be thick and shiny. If adding chocolate chips or nuts, fold them in now.
6. Transfer batter to the prepared pan and bake. Spread evenly with an offset spatula. Bake for exactly 22 to 25 minutes. The key doneness cue is a shiny, crackled top that seems slightly firm at the edges but still jiggles slightly in the center when you gently shake the pan. A toothpick inserted halfway between the center and edge should come out with a few moist crumbs—not wet batter.
7. Cool completely in the pan on a wire rack for at least 1 hour. For clean slices, refrigerate for 30 minutes before cutting with a sharp knife wiped clean between cuts.
Nutritional Benefits & Advantages
Beyond their indulgent taste, these homemade chocolate brownies offer some surprising nutritional perks. Dark chocolate is rich in flavonoids, particularly epicatechin, which is a powerful antioxidant linked to improved heart health and reduced inflammation. Using dark chocolate with 70% cocoa provides about 3 grams of fiber and 2 grams of iron per serving. The eggs add high-quality protein and essential amino acids. When you make these at home, you control the sugar and fat content by adjusting the recipe without preservatives or artificial additives. Compared to store-bought versions, your homemade batch typically has 30% less sugar and zero trans fats. Plus, the process of baking can be a mindful, meditative activity that reduces stress—talk about a win-win.
Tips Variations & Cooking Advice
This base recipe is infinitely adaptable. Experiment with these variations to keep your dessert rotation fresh:
– Flavor twists: Add 1 teaspoon of espresso powder to the dry ingredients to intensify the chocolate flavor without tasting coffee. Or swirl in ¼ cup of peanut butter or caramel sauce just before baking for a striking marbled effect.
– Dietary adaptations: For a dairy-free version, substitute butter with an equal amount of coconut oil or vegan butter. Use a high-quality dairy-free chocolate. For gluten-free, swap all-purpose flour with a 1:1 gluten-free baking blend that contains xanthan gum.
– Portion changes: Double the recipe and bake in a 9×13-inch pan, increasing baking time by 5 to 8 minutes. For mini brownie bites, pour the batter into a greased mini muffin tin and bake for 12 to 14 minutes.
– Alternative cooking methods: If you enjoy a chewier edge, spread the batter slightly thinner in a larger pan and reduce baking time by 2 minutes. For an ultra-thick brownie, use a 7×7-inch pan and increase bake time by 5 minutes.
Common Mistakes to Avoid
Even experienced bakers stumble with brownies. Awareness of these pitfalls will save your batch:
– Overbaking is the number one enemy. The difference between a fudgy brownie and a dry, cakey one is often just 3 minutes. Always err on the side of underbaking slightly; residual heat will continue cooking the brownies as they cool. Trust the jiggle test over the toothpick test.
– Cutting too early ruins the texture. Cutting while the brownies are still warm causes them to crumble and release steam, resulting in a dry interior. Wait the full cooling time of 1 hour.
– Using cold eggs can cause the batter to separate or become lumpy. Room-temperature eggs emulsify better with the melted chocolate, creating a smooth, cohesive batter.
– Overmixing once flour is added activates gluten. Stop folding as soon as no dry flour remains—lumps are acceptable and will disappear during baking.
– Not lining the pan makes it nearly impossible to lift the brownies out in one piece. Parchment paper is non-negotiable.
Storage & Meal Prep Tips
Proper storage ensures your brownies stay fresh and fudgy for days:
– Room temperature: Store in an airtight container at room temperature for up to 3 days. Place a slice of bread in the container to absorb excess moisture and keep the brownies soft. Replace the bread daily.
– Refrigeration: For longer storage, refrigerate in a sealed container for up to 1 week. Cold brownies are firmer but can be microwaved for 10 seconds to restore a gooey center.
– Freezing: Individually wrap each brownie in plastic wrap, then place in a freezer-safe bag or container. Freeze for up to 3 months. Thaw at room temperature for 30 minutes or microwave for 15 seconds straight from the freezer.
– Reheating: To revive that just-baked texture, warm a brownie in a 300°F oven for 5 minutes or in a microwave for 10 seconds. Avoid overheating, which dries them out.
Conclusion
Mastering this simple yet precise method will reward you with a consistently perfect batch of fudgy, crackled Chocolate Brownies every single time. The combination of high-quality dark chocolate, careful mixing, and a watchful eye on the oven creates a dessert that feels both luxurious and homemade. I encourage you to try this recipe and share your results—tag me in your photos or leave a comment about your favorite mix-in. If you’re hungry for more, check out our collection of brownie recipes for endless variations, from cream cheese swirls to mint chip. Happy baking!
FAQs
1. Can I use cocoa powder instead of dark chocolate?
Yes, but the texture will be slightly different, resulting in a more cake-like brownie. For substitution, use 3 tablespoons of unsweetened cocoa powder and 1 tablespoon of vegetable oil for every ounce of dark chocolate. You’ll also need to increase the butter slightly for moisture.
2. Why did my brownies come out too cakey?
Cakey brownies typically result from overmixing the batter after adding flour, overbaking, or using too many eggs (or egg whites). Stick to the folding technique and check for doneness at the minimum recommended time.
3. How can I tell when brownies are perfectly done without a toothpick?
Look for the “jiggle test”: the edges should be set and pulling away slightly from the pan, while the center should still wobble gently when you shake the pan. The top should be shiny and cracked. This signals a fudgy interior.
4. Can I add cream cheese to make cheesecake brownies?
Absolutely. Prepare a cream cheese layer by beating 4 oz softened cream cheese with ¼ cup sugar and 1 egg. Pour half the brownie batter into the pan, spread the cream cheese mixture on top, then layer the remaining batter and swirl with a knife. Bake as directed.
5. How do I prevent my brownies from sticking to the pan?
Always line the pan with parchment paper that overhangs on two sides. Grease the pan lightly before pressing the paper in place so it stays put. The overhangs act as handles to lift the entire baked block out cleanly.
Best way to grow Chocolate Brownies 5 baking secrets
Ingredients
Equipment
Method
- Preheat your oven to 350°F (175°C) and grease and flour an 8x8 inch baking pan.
- In a medium bowl, whisk together the flour, cocoa powder, baking powder, and salt.
- In a large bowl, combine the melted butter and granulated sugar, then whisk until smooth.
- Add the eggs one at a time, mixing well after each addition, then stir in the vanilla extract.
- Gradually add the dry ingredients to the wet ingredients, mixing until just combined.
- Fold in the chocolate chips, then pour the batter into the prepared baking pan.
- Bake for 25-30 minutes, or until a toothpick inserted into the center comes out with moist crumbs.
- Let the brownies cool completely in the pan before slicing and serving.