Why Homemade Pad Thai Beats Takeout Every Time
Have you ever craved that perfect balance of sweet, sour, and savory in a bowl of Pad Thai but hesitated because ordering delivery felt easier? Let me tell you why preparing this iconic Thai street food at home is not only worth the effort but transforms your cooking game entirely. When you make Pad Thai from scratch, you control the quality of ingredients, customize spice levels, and save money while building confidence in your culinary skills. The star of this dish? Those perfectly chewy, stir-fried Noodles that soak up every drop of that tangy tamarind sauce. Once you taste homemade, you’ll never look at takeout the same way.
Ingredients & Kitchen Tools
Essential Ingredients
– Rice noodles (flat, ¼-inch wide): The backbone of authentic Pad Thai—look for “rice stick” noodles
– Tamarind paste: Provides signature sourness (substitute: lime juice + brown sugar)
– Fish sauce: Adds savory umami (substitute: soy sauce + anchovy paste for vegetarians)
– Palm sugar: Dissolves slowly for balanced sweetness (substitute: brown sugar)
– Shrimp (medium, peeled): Protein option (substitute: chicken, tofu, or extra veggies)
– Eggs (2 large): Creates silky curds throughout the noodles
– Bean sprouts: Fresh crunch (add handful per serving)
– Green onions: Sliced for garnish
– Roasted peanuts: Crushed for topping
– Lime wedges: Essential squeeze before eating
– Garlic (3 cloves): Minced for aromatic base
– Dried chili flakes: Adjustable heat (substitute: Sriracha)
Kitchen Tools
– Large wok or non-stick skillet: High heat distribution prevents sticking
– Spatula or wooden spoon: For tossing ingredients quickly
– Small bowls: Pre-measure sauce ingredients for efficient stir-frying
– Cutting board and knife: For prepping vegetables
– Measuring spoons: Accuracy matters in sauce balance
Optional Substitutions
– Gluten-free: Ensure tamari replaces soy sauce; rice noodles are naturally GF
– Vegan: Omit eggs, use tofu, and substitute fish sauce with soy sauce + kelp powder
– Vegetable protein: Add extra firm tofu or tempeh for plant-based meal
Prep Time & Cooking Schedule
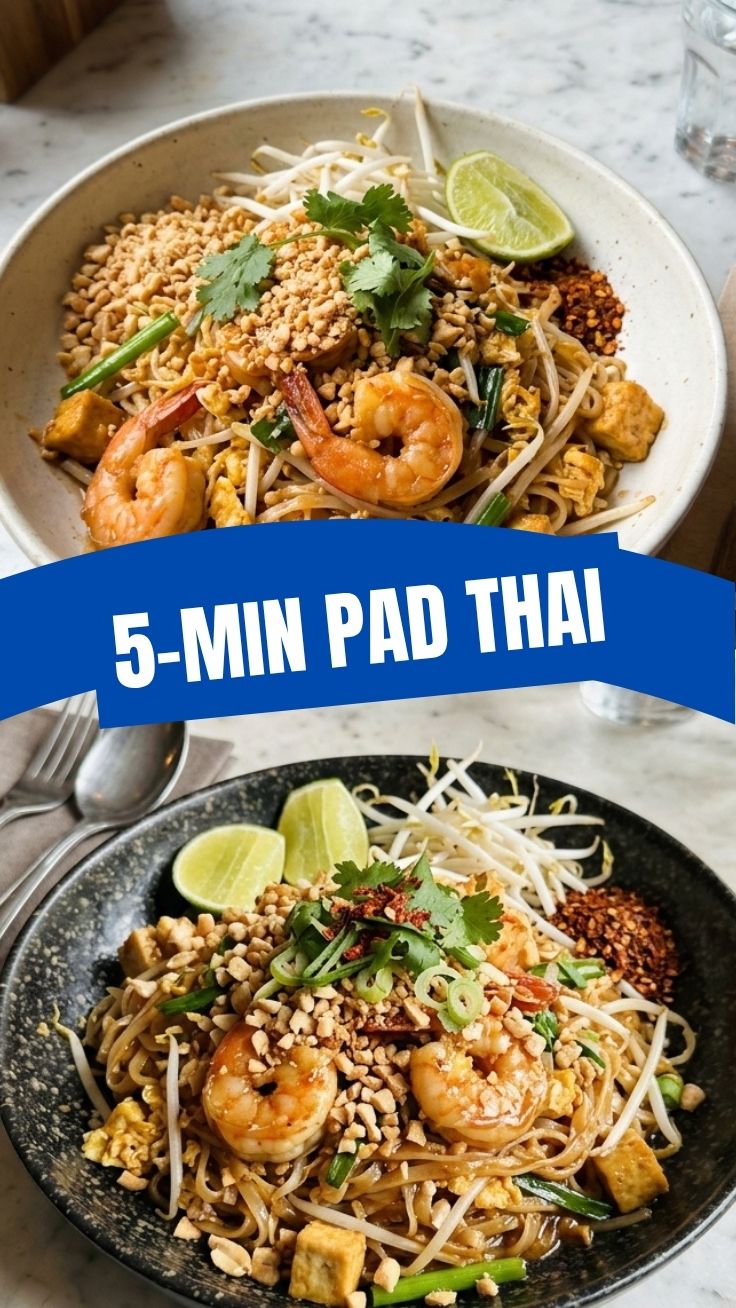
Total time: 35 minutes (Prep: 15 minutes | Cook: 15 minutes | Rest: 5 minutes)
Start by soaking rice noodles in warm water for 20 minutes—they should be flexible but not mushy. While they soak, prep your protein, vegetables, and sauce mixture. This “mise en place” strategy prevents burning when stir-frying at high heat. The actual cooking happens lightning-fast in a hot wok, so having everything within reach is your secret weapon.
Step-by-Step Instructions
1. Soak the noodles: Submerge rice noodles in warm (not boiling) water for 20 minutes until pliable. Drain and set aside—over-soaking creates mushy texture later.
2. Prepare the sauce: In a small bowl, whisk 3 tablespoons tamarind paste, 2 tablespoons fish sauce, 1 tablespoon palm sugar (or brown sugar), and ½ teaspoon chili flakes. Taste—the balance should be equal parts sour, salty, and sweet.
3. Cook the protein: Heat 1 tablespoon oil in a wok over high heat. Add shrimp (or tofu) and stir-fry until pink, about 1–2 minutes. Remove and set aside.
4. Scramble the eggs: Crack eggs directly into the hot wok, stirring rapidly until just set but still moist. Push to the side.
5. Stir-fry noodles: Add drained noodles and sauce mixture to the wok. Toss using two spatulas for 1–2 minutes until noodles absorb the liquid. The key to perfect Pad Thai lies in achieving that slight caramelization without burning—watch for steam rising steadily.
6. Combine and finish: Return protein and eggs to the wok. Add bean sprouts, green onions, and crushed peanuts. Toss for 30 seconds. The Noodles should be glossy and slightly chewy, with every strand coated in sauce.
7. Serve immediately: Plate, garnish with extra peanuts and lime wedges. Squeeze lime just before eating for brightness.
Nutritional Benefits & Advantages
This homemade Pad Thai packs surprising nutritional value despite its indulgent reputation. Rice noodles provide quick-digesting carbohydrates for energy—perfect post-workout fuel. Shrimp offers lean protein (20g per 3 oz) plus selenium for immune support. Bean sprouts and green onions deliver vitamin C and fiber with minimal calories. Tamarind paste contains antioxidants that may reduce inflammation, while peanuts contribute healthy monounsaturated fats. Compared to takeout, your version cuts sodium by roughly 40-50% since you control fish sauce amounts. Add extra vegetables like shredded carrots or bell peppers for boosted vitamin A intake without sacrificing authenticity.
Tips Variations & Cooking Advice
Flavor Variations
– Spicy version: Add 2 extra teaspoons chili flakes or 1 serrano pepper sliced thin
– Sweet twist: Drizzle 1 tablespoon hoisin sauce during final toss
– Herbaceous: Top with fresh Thai basil and mint before serving
Ingredient Swaps
– Protein alternatives: Try shredded chicken breast, beef strips, or tempeh
– Vegetable additions: Snap peas, broccoli florets, or baby corn (increase sauce volume)
– Noodle options: Use zucchini noodles (zoodles) for low-carb version—adjust cooking time to 30 seconds only
Cooking Methods
– Sheet pan method: Toss all ingredients except eggs on a baking sheet at 425°F for 12 minutes, then add scrambled eggs separately
– One-pot approach: Use a large skillet if no wok available—maintain high heat and work in batches
Dietary Adaptations
– Gluten-free: Ensure tamari replaces soy sauce; rice noodles are naturally GF
– Dairy-free: This recipe is inherently dairy-free
– Vegan: Skip eggs, use firm tofu, and substitute fish sauce with soy sauce + kelp powder
Common Mistakes to Avoid
– Overcooking noodles: Soaking too long makes noodles mushy—aim for al dente after stir-frying
– Crowding the wok: Overloading lowers temperature, causing steaming instead of stir-frying—cook in batches if needed
– Skipping preheating: A cold wok leads to sticky noodles—wait until oil shimmers before adding ingredients
– Under-seasoning: Your sauce should taste slightly strong pre-cooking; flavors mellow when coating noodles
– Skipping the lime: Acidic squeeze brightens the entire dish and balances heat
Storage & Meal Prep Tips
– Refrigeration: Store cooled Pad Thai in airtight container up to 3 days
– Freezing: Not recommended—rice noodles become mushy upon thawing
– Reheating: Microwave at 50% power with a damp paper towel, or stir-fry in a hot pan with 1 tablespoon water to rehydrate
– Meal prep: Cook noodles and sauce separately—combine and stir-fry fresh for best texture
– Portion control: Divide into individual containers with squeeze of lime to preserve flavor longer
Conclusion
Making authentic Pad Thai at home isn’t just about saving money—it’s about mastering a technique that transforms pantry staples into restaurant-quality magic. With practice, you’ll nail that perfect balance of sweet, sour, and salty while controlling exactly what goes into your Noodles. The best part? Every batch gets better as you adjust seasonings to your taste. I challenge you to make this recipe this week and compare it to your usual takeout. Share your creation on social media and tag it #homemadePadThai—I’d love to see your results. And if you’re craving more Southeast Asian flavors, explore our Thai red curry soup recipe next!
FAQs
Q: Can I use brown sugar instead of palm sugar?
A: Yes! Brown sugar works perfectly—use equal amounts and dissolve thoroughly in your sauce.
Q: Why are my noodles sticking together?
A: This happens when soaking time or oil is insufficient. After soaking, toss noodles with 1 teaspoon vegetable oil before stir-frying to prevent clumping.
Q: How do I make this dish less spicy?
A: Skip or reduce dried chili flakes in the sauce. Add a tablespoon of honey or extra palm sugar to mellow heat if already added.
Q: Can I prepare the sauce in advance?
A: Absolutely! Make sauce up to 5 days ahead and refrigerate. Shake or stir before using as tamarind paste settles.
Q: What’s the best noodle alternative for low-carb diets?
A: Use spiralized zucchini or shirataki (konjac) noodles. Reduce cooking time to 30 seconds and increase sauce volume for proper coating.
Proven way to grow Pad Thai sauce in 5 steps.
Ingredients
Equipment
Method
- Combine tamarind paste, palm sugar, fish sauce, rice vinegar, soy sauce, minced garlic, and sriracha (if using) in a small saucepan.
- Heat the mixture over medium-low heat, stirring constantly, until the palm sugar fully dissolves and the sauce thickens slightly.
- Bring the sauce to a gentle simmer for 5-7 minutes, continuing to stir to prevent sticking and ensure even cooking.
- Taste the sauce and adjust the seasoning as needed, adding more fish sauce for saltiness, palm sugar for sweetness, or tamarind for tang.
- Remove the sauce from heat and let it cool completely before using or storing. The sauce will thicken further as it cools.