Indulge Your Sweet Tooth: Mastering the Art of Homemade No-Bake Cheesecake
Have you ever craved a luxurious, creamy Cheesecake that melts in your mouth, but hesitated at the thought of elaborate baking processes? What if we told you that creating an absolutely show-stopping dessert from scratch, right in your own kitchen, is not only achievable but also incredibly satisfying? This comprehensive guide will empower you to craft the perfect Cheesecake, transforming your home into a gourmet bakery without the stress. Beyond the sheer delight of a homemade treat, understanding this recipe unlocks a world of culinary confidence and creative expression. Let’s dive into mastering this delightful dessert.
Ingredients & Kitchen Tools
- For the Crust:
* 2 cups Graham Cracker Crumbs: Provides a classic, buttery foundation. You can also use other cookie crumbs like digestive biscuits or shortbread for variety.
* ½ cup Unsalted Butter (melted): Binds the crumbs together for a firm crust.
* ¼ cup Granulated Sugar: Adds a touch of sweetness to the crust.
- For the Filling:
* 24 ounces Cream Cheese (softened): Full-fat cream cheese is key for that rich, tangy flavor and creamy texture. Ensure it’s at room temperature for smooth blending.
* 1 cup Powdered Sugar (confectioners’ sugar): Dissolves easily, giving a smooth, lump-free filling.
* 1 tsp Vanilla Extract: Enhances the overall flavor profile. Use good quality extract for the best taste.
* 1 cup Heavy Cream (cold): Whipped to stiff peaks, it adds lightness and airiness to the filling.
* 2 tbsp Lemon Juice (freshly squeezed): A bright counterpoint to the richness, preventing the cheesecake from being overly sweet.
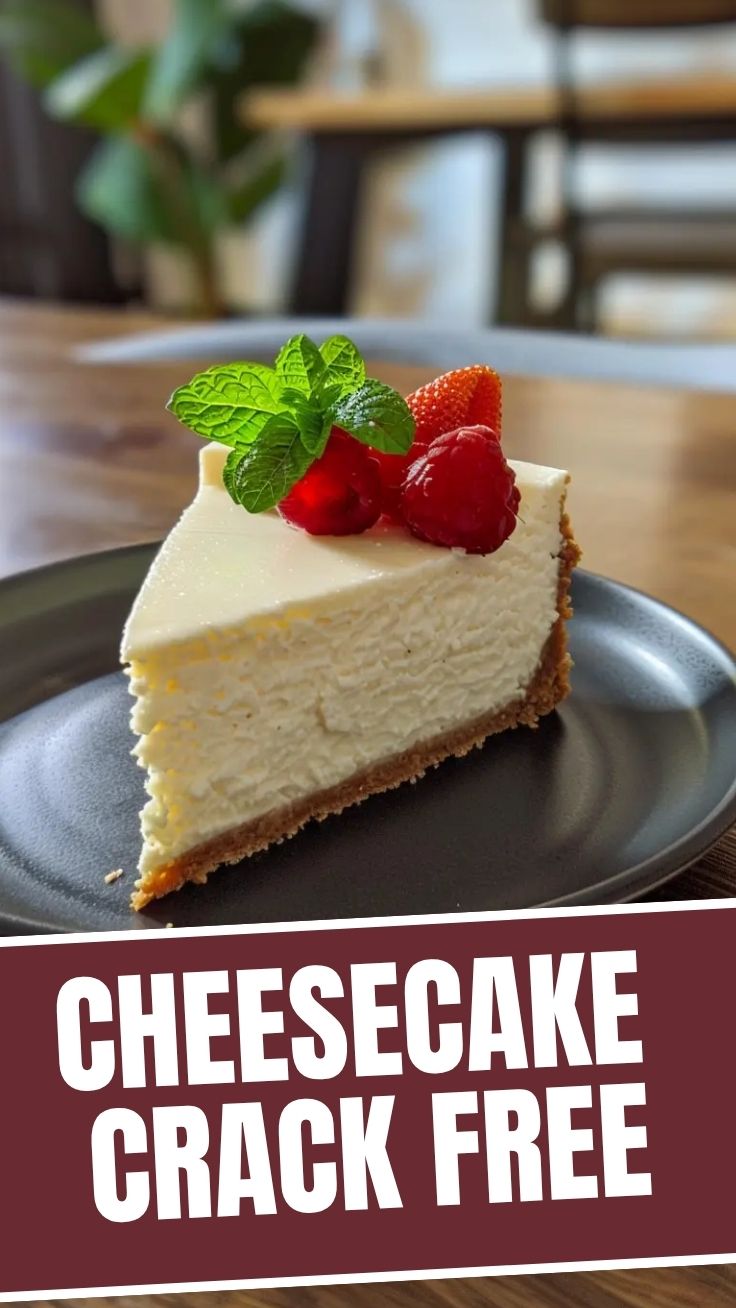
- Optional Toppings: Fresh berries, chocolate shavings, caramel sauce, fruit compote.
- Kitchen Tools:
* 9-inch Springform Pan: Essential for easy release and beautifully shaped cheesecakes.
* Mixing Bowls (2-3): For combining ingredients separately.
* Electric Mixer (handheld or stand mixer): Crucial for whipping cream and achieving a smooth, well-combined filling.
* Rubber Spatula: For scraping bowls and folding ingredients.
* Measuring Cups and Spoons: For accurate ingredient measurement.
* Small Saucepan (for melting butter): Or a microwave-safe bowl.
* Parchment Paper: Optional, but recommended for lining the bottom of the springform pan to prevent sticking.
Prep Time & Cooking Schedule
- Prep Time: 25 minutes
- Chill Time: Minimum 4 hours (ideally overnight)
- Active Cooking Time: 0 minutes (no baking required!)
This Cheesecake is the epitome of easy elegance. The preparation is swift, allowing you to quickly assemble this delightful dessert. However, patience is a virtue when it comes to chilling. The extended chill time is crucial for the cheesecake to set properly, achieving that firm yet creamy consistency. Plan accordingly, perhaps preparing it the evening before your event to allow for an overnight chill.
Step-by-Step Instructions
1. Prepare the Crust: In a medium bowl, combine the graham cracker crumbs and granulated sugar. Pour in the melted butter and mix well until the crumbs are evenly moistened and resemble wet sand. Press the mixture firmly and evenly into the bottom of a 9-inch springform pan. You can use the bottom of a measuring cup to help compact it. Place the crust in the refrigerator while you prepare the filling.
2. Whip the Heavy Cream: In a separate large, chilled bowl, whip the cold heavy cream with an electric mixer on high speed until stiff peaks form. Be careful not to over-whip, or it will turn grainy. Set aside.
3. Create the Cheesecake Filling: In another large bowl, beat the softened cream cheese with an electric mixer until smooth and creamy, about 2-3 minutes. Gradually add the powdered sugar, mixing until fully incorporated and no lumps remain. Stir in the vanilla extract and lemon juice. The addition of lemon juice brightens the flavors of this magnificent Cheesecake.
4. Combine and Fold: Gently fold the whipped heavy cream into the cream cheese mixture using a rubber spatula. Be sure to use a light hand to maintain the airy texture of the whipped cream. Mix just until combined; overmixing can deflate the cream. This delicate folding is key to a light and fluffy dessert.
5. Assemble and Chill: Pour the Cheesecake filling over the chilled crust in the springform pan. Spread evenly with a spatula. Cover loosely with plastic wrap and refrigerate for at least 4 hours, or preferably overnight, to allow the cheesecake to set completely.
6. Serve: Once fully chilled, carefully remove the sides of the springform pan. Garnish with your favorite toppings and serve cold.
Nutritional Benefits & Advantages
While a Cheesecake is undoubtedly an indulgent dessert, it does offer some surprising benefits. Dairy products like cream cheese are excellent sources of calcium, vital for bone health, and protein, which aids in satiety. The lemon juice provides a natural boost of Vitamin C. Choosing homemade allows you to control the quality of ingredients, opting for organic dairy or reducing added sugars if desired. Fresh fruit toppings can significantly enhance the nutritional profile by adding vitamins, fiber, and antioxidants.
Tips Variations & Cooking Advice
- Flavor Variations: Experiment with different extracts like almond or orange, or add a zest of lime. Swirl in fruit purees (like raspberry or passionfruit) or melted chocolate chips for a marbling effect.
- Crust Alternatives: Beyond graham crackers, consider crushed Oreos for a chocolate crust, ginger snaps for a spiced flavor, or even a gluten-free cookie alternative.
- Portion Control: Serve in smaller slices or create individual mini cheesecakes using muffin tins lined with paper cups.
- Dairy-Free: For a dairy-free option, use plant-based cream cheese and full-fat coconut cream (chilled overnight, use the thick cream from the top).
- Gelatin Boost: If you’re concerned about setting, you can dissolve one packet of unflavored gelatin in ¼ cup hot water and whisk it into the cream cheese mixture before folding in the whipped cream.
Common Mistakes to Avoid
- Not Softening Cream Cheese: Cold cream cheese will result in a lumpy filling. Always ensure it’s at room temperature.
- Over-Whipping Heavy Cream: Over-whipped cream can become grainy. Whip just until stiff peaks form.
- Overmixing the Filling: Once the whipped cream is added, fold gently. Overmixing can deflate the airiness, leading to a denser cheesecake.
- Insufficient Chilling: Rushing the chill time will result in a soft, unset cheesecake. Patience is key!
- Using a Regular Baking Pan: A springform pan is essential for easy removal and a clean presentation of your cheesecake.
Storage & Meal Prep Tips
Leftover Cheesecake should be stored covered in an airtight container in the refrigerator. It will stay fresh for up to 3-4 days. For longer storage, you can freeze slices individually wrapped in plastic wrap and then foil for up to 1 month. Thaw frozen slices in the refrigerator overnight before serving. This dessert is perfect for make-ahead meal prep, as it benefits from the extended chilling time.
Conclusion
Crafting a stunning homemade no-bake Cheesecake is a truly rewarding experience, proving that gourmet flavors don’t always require complex baking techniques. We hope this guide empowers you to create an unforgettable dessert that will impress friends and family alike. Don’t be afraid to experiment with toppings and flavor variations to make it uniquely yours. Give this recipe a try, and share your delicious creations with us! We’d love to see your perfect Cheesecake masterpieces.
FAQs
Q: Can I use low-fat cream cheese?
A: While possible, full-fat cream cheese is highly recommended for the best texture and richness. Low-fat versions may result in a less creamy and more watery filling.
Q: How do I prevent the crust from becoming soggy?
A: Ensure the crust is well-compacted and chilled thoroughly before adding the filling. You can also lightly brush the baked crust with a thin layer of melted white chocolate before adding the filling to create a moisture barrier (though this recipe is for no-bake).
Q: My heavy cream won’t whip to stiff peaks. What’s wrong?
A: Make sure both your heavy cream and your mixing bowl (and beaters) are very cold. Warm cream will struggle to whip properly. Also, ensure you are using heavy cream (at least 36% fat content), not half-and-half or light cream.
Q: Can I make this a chocolate cheesecake?
A: Absolutely! Melt ½ cup of semi-sweet chocolate chips and let it cool slightly. Fold it into the cream cheese mixture before adding the whipped cream. For the crust, use crushed Oreo cookies.
Q: How do I store leftover cheesecake?
A: Store any leftover cheesecake covered tightly with plastic wrap or in an airtight container in the refrigerator for up to 3-4 days.
Best way to grow the ultimate 7-layer cheesecakeCheesecake
Ingredients
Equipment
Method
- Combine graham cracker crumbs and melted butter, then press the mixture into the bottom of a 9-inch springform pan to create the crust.
- Beat softened cream cheese and sugar until smooth, then mix in eggs one at a time, followed by vanilla extract.
- Pour the filling over the crust and bake at 325°F (160°C) for 60-75 minutes, or until the edges are set and the center is slightly jiggly.
- Cool the cheesecake completely on a wire rack, then refrigerate for at least 4 hours, or preferably overnight, to chill thoroughly.
- Carefully remove the cheesecake from the springform pan and begin layering your desired toppings, such as chocolate syrup, caramel sauce, whipped cream, cherries, and nuts, creating seven distinct layers.
- Slice and serve, enjoying the ultimate 7-layer cheesecake.