The Ultimate Guide to Baking a Perfect Cheesecake at Home
Have you ever wondered why restaurant-quality cheesecake tastes so impossibly smooth and rich? The secret isn’t a fancy kitchen or expensive equipment—it’s understanding the science behind the ingredients. Mastering a homemade Cheesecake is easier than you think, and it all starts with quality Cream Cheese. Preparing this dessert at home gives you complete control over flavor, texture, and sweetness, all while saving money compared to bakery versions. Whether you’re a beginner or a seasoned baker, this guide will walk you through every detail to ensure consistent, mouthwatering results.
Ingredients & Kitchen Tools
Ingredients
– 2 lbs (32 oz) cream cheese – Use the exact HTML link: Cream Cheese for best results. Full-fat blocks work best; avoid spreadable tubs.
– 1 cup granulated sugar – Adds sweetness and structure.
– 1 tsp vanilla extract – Pure extract enhances flavor depth.
– 4 large eggs – Room temperature eggs blend more smoothly.
– 1/3 cup sour cream – Adds tanginess and prevents cracking.
– 1/3 cup heavy cream – Creates a silky, luxurious texture.
– 2 tbsp all-purpose flour – Optional, for stability in high-altitude baking.
– 1 1/2 cups graham cracker crumbs – Base for the crust.
– 1/4 cup melted butter – Binds the crust.
– 1 tbsp sugar – For the crust.
Kitchen Tools
– 9-inch springform pan (essential for easy removal)
– Electric mixer (hand or stand)
– Large mixing bowls
– Rubber spatula
– Measuring cups and spoons
– Food processor (for crust, or use a zip-top bag and rolling pin)
– Roasting pan (for water bath)
Optional Substitutions
– Gluten-free crust: Use gluten-free graham crackers or almond flour.
– Dairy-free: Use vegan cream cheese and coconut cream instead of sour cream/heavy cream.
– Sugar substitute: Monk fruit or erythritol works well.
Prep Time & Cooking Schedule
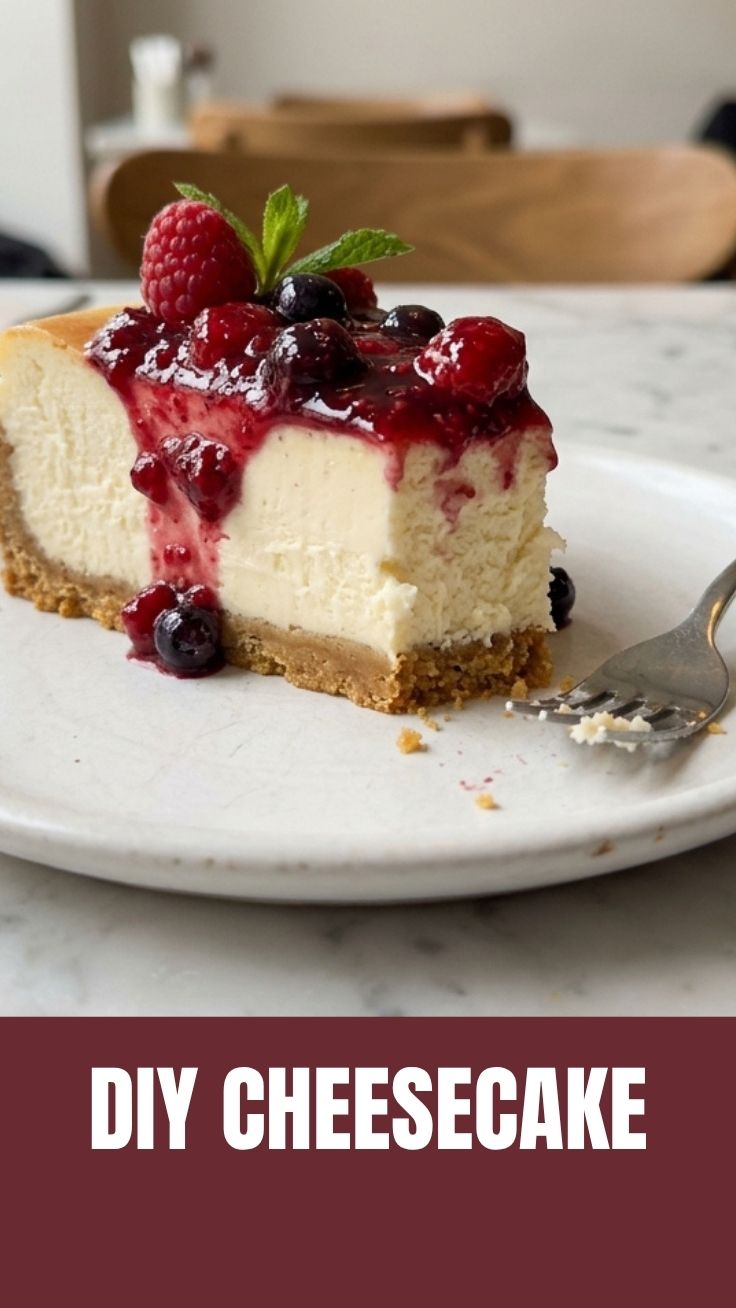
Planning your time is crucial for a stress-free baking experience. Here’s the full timeline:
– Prep time: 25 minutes (crust + filling)
– Bake time: 55–65 minutes
– Cooling time: 1 hour in the oven (door cracked) + 1 hour at room temperature
– Chill time: 4 hours minimum (overnight is best)
Total time: approximately 7 hours (including overnight chilling). The cheesecake needs patience—rushing the cooling process leads to cracks and a dense texture. For best results, start baking in the morning so it’s ready for dessert that evening.
Step-by-Step Instructions
1. Prepare the Crust
Preheat oven to 325°F (163°C). Combine graham cracker crumbs, melted butter, and 1 tbsp sugar. Press firmly into the bottom of a greased springform pan. Bake for 10 minutes, then set aside to cool.
2. Make the Filling
In a large bowl, beat the Cheesecake filling ingredients: cream cheese and sugar until smooth (no lumps). Add sour cream, heavy cream, and vanilla. Mix on low speed—overmixing incorporates too much air, causing cracks. Add eggs one at a time, mixing just until combined. Scrape the bowl frequently.
3. Assemble and Bake
Wrap the springform pan in two layers of heavy-duty aluminum foil to prevent water seepage. Pour the filling over the crust. Place the pan in a roasting pan and fill with hot water until it reaches halfway up the sides of the springform pan. Bake for 55–65 minutes. The edges should be set, but the center will jiggle slightly. The key is using room-temperature Cream Cheese for a smooth texture.
4. Cool Gradually
Turn off the oven, crack the door, and let the cheesecake cool inside for 1 hour. This prevents thermal shock. Transfer to a wire rack to cool completely, then refrigerate for at least 4 hours (overnight preferred).
Nutritional Benefits & Advantages
This cheesecake provides more than just indulgence. Cream cheese is rich in calcium and vitamin A, supporting bone health and vision. The protein content from eggs and cream cheese (about 8g per slice) helps with satiety. Compared to store-bought versions, homemade cheesecake has no preservatives, artificial flavors, or high-fructose corn syrup. You can also control the sugar content, making it suitable for a balanced diet when enjoyed in moderation. The use of sour cream adds probiotics, which aid digestion.
Tips Variations & Cooking Advice
Flavor Variations
– Pumpkin spice: Add 1 cup pumpkin puree, 1 tsp cinnamon, and 1/2 tsp nutmeg.
– Lemon: Add zest of 2 lemons and 2 tbsp lemon juice.
– Chocolate: Melt 4 oz dark chocolate and fold into the filling.
Dietary Adaptations
– Gluten-free: Use gluten-free graham crackers.
– Dairy-free: Use vegan cream cheese, coconut cream, and plant-based butter.
– Low-carb: Use almond flour crust and sugar substitute.
Cooking Advice
– Water bath essential: Even if you’re experienced, skip the water bath only if using a professional cheesecake recipe designed for it.
– Room temperature ingredients: Cold ingredients create a lumpy filling. Let cream cheese, eggs, and sour cream sit out for 30 minutes.
– Slice cleanly: Use a hot knife dipped in warm water between cuts.
Common Mistakes to Avoid
| Mistake | Solution |
|———|———-|
| Cracked surface | Overmixing or rapid cooling. Mix on low speed, cool gradually in the oven. |
| Dense texture | Too much flour or overbaking. Bake just until the center jiggles. |
| Soggy crust | Not pre-baking or using too much butter. Pre-bake for 10 minutes. |
| Water seepage | Poor foil wrapping. Use heavy-duty foil and double wrap. |
| Lumpy filling | Cold cream cheese. Let it soften completely before mixing. |
Storage & Meal Prep Tips
– Refrigeration: Store in the springform pan (or an airtight container) for up to 5 days.
– Freezing: Wrap the whole cheesecake (or individual slices) in plastic wrap, then foil. Freeze for up to 3 months.
– Reheating: Bring to room temperature for 30 minutes before serving. For a warm version, microwave a slice for 10–15 seconds on low power.
– Meal prep: Bake on Sunday, chill overnight, and serve throughout the week. The flavor actually improves after 24 hours.
Conclusion
Making a homemade Cheesecake with quality Cream Cheese is rewarding in ways that go beyond taste. You gain control over ingredients, avoid artificial additives, and create a show-stopping dessert that impresses every time. Remember the key steps: room temperature ingredients, a gentle water bath, and patient cooling. This recipe is forgiving once you understand the science behind it. Whether you stick to the classic version or explore pumpkin or chocolate variations, the results will be consistently delicious. Try this recipe this weekend, share your creations with friends, and explore more dessert guides on our site.
FAQs
1. Can I use reduced-fat cream cheese?
Yes, but the texture will be less creamy and more prone to cracking. For best results, stick with full-fat blocks.
2. My cheesecake cracked—what went wrong?
Most likely overmixing (too much air) or rapid cooling. Next time, mix on low speed and cool gradually in the oven with the door cracked.
3. Can I skip the water bath?
Not recommended for this recipe. The water bath provides gentle, even heat that prevents cracks and ensures a silky texture. Without it, the edges will overcook before the center sets.
4. How do I know when it’s done?
The edges should be set (puffed slightly) and the center should jiggle like Jell-O when you gently shake the pan. A thermometer inserted in the center should read 150°F (65°C).
5. Can I make this cheesecake gluten-free?
Absolutely. Use gluten-free graham crackers or almond flour for the crust. The filling is naturally gluten-free, but double-check your vanilla extract and other ingredients.
6. How long does it need to chill?
Minimum 4 hours, but overnight is best. This allows the flavors to meld and the texture to set properly.
Best way to grow Cheesecake
Ingredients
Equipment
Method
- First, plant your imagination and dream dust in a pot of positive thoughts. Ensure the pot is located in a sunny spot to encourage growth.
- Next, water daily with creative ideas and sprinkle with happy memories. Observe carefully for the first signs of cheesecake sprouts.
- Once sprouted, nurture your cheesecake plant with compliments and encouragement. It thrives on appreciation.
- Finally, when the cheesecake is fully grown and ripe, gently pluck it from the stem. Enjoy the fruits of your imaginative labor!