Why This Creamy, Homemade Mac and Cheese Will Change Your Weeknight Dinners Forever
Have you ever wondered why restaurant-style Mac and Cheese tastes so much richer than the boxed version? The secret isn’t a mystery—it’s the perfect balance of real cheese, al dente Macaroni, and a silky homemade sauce that only takes 30 minutes to prepare. Preparing this dish at home not only saves you money but also allows you to control the quality of every ingredient, from the sharp cheddar to the creamy whole milk. Whether you’re cooking for picky kids or impressing dinner guests, this recipe delivers consistent, soul-warming results every single time.
—
Ingredients & Kitchen Tools (H2)
Required Ingredients
– Elbow macaroni (2 cups) – The classic shape holds sauce best; substitute with shells or cavatappi.
– Sharp cheddar cheese (2 cups, grated) – Provides bold flavor; mix with Monterey Jack for extra creaminess.
– Whole milk (2 cups) – Creates a rich base; 2% works but reduces silkiness.
– Unsalted butter (3 tbsp) – Controls sodium levels; salted butter can be used if you reduce added salt.
– All-purpose flour (3 tbsp) – Thickens the roux; gluten-free flour blend works for GF diets.
– Dijon mustard (1 tsp) – Enhances cheesy depth; a pinch of cayenne adds heat.
– Salt & white pepper – White pepper blends visually; black pepper is fine but leaves specks.
Kitchen Tools & Utensils
– Large pot – For boiling macaroni; holds 4+ quarts.
– Medium saucepan – For cheese sauce; non-stick preferred to prevent scorching.
– Whisk – Essential for smooth roux and sauce emulsion.
– Colander – Drains pasta thoroughly.
– Cheese grater – Pre-shredded cheese won’t melt as smoothly.
– Baking dish (if baking) – 9×13 inch for crispy topping.
Optional Substitutions
– Gluten-free: Use gluten-free pasta and 1:1 flour blend.
– Dairy-free: Substitute with oat milk and vegan cheddar shreds.
– Low-fat: Use skim milk and reduced-fat cheese, but expect less creaminess.
—
Prep Time & Cooking Schedule (H2)
| Stage | Time | Context |
|——-|——|———|
| Prep Time | 10 minutes | Grate cheese, measure ingredients, boil water. |
| Cook Time | 15–20 minutes | Boil pasta, make sauce, combine. |
| Resting Time (optional) | 5 minutes | Let sit after baking to set texture. |
| Total Active Time | 30 minutes | Perfect for weeknight dinners or meal prep. |
Pro Tip: Start boiling water while grating cheese to overlap prep and cooking. This schedule works seamlessly for busy families needing a quick, satisfying meal.
—
Step-by-Step Instructions (H2)
1. Boil the Pasta
Bring a large pot of salted water to a rolling boil. Add the Macaroni and cook until al dente (1–2 minutes less than package directions). Drain but do not rinse—starch helps the sauce cling.
2. Make the Roux
In a medium saucepan over medium heat, melt butter. Whisk in flour and cook for 1–2 minutes until golden and bubbling. This removes raw flour taste and starts the thickening process. Temperature control: keep heat medium; high heat burns the roux.
3. Build the Cheese Sauce
Slowly pour in milk while whisking constantly to avoid lumps. Bring to a gentle simmer—mixture should thicken enough to coat the back of a spoon (about 3–4 minutes). Lower heat and stir in grated cheese by handfuls until fully melted. Add Dijon mustard, salt, and white pepper to taste. Texture cue: sauce should be smooth and glossy, not grainy.
4. Combine and Season
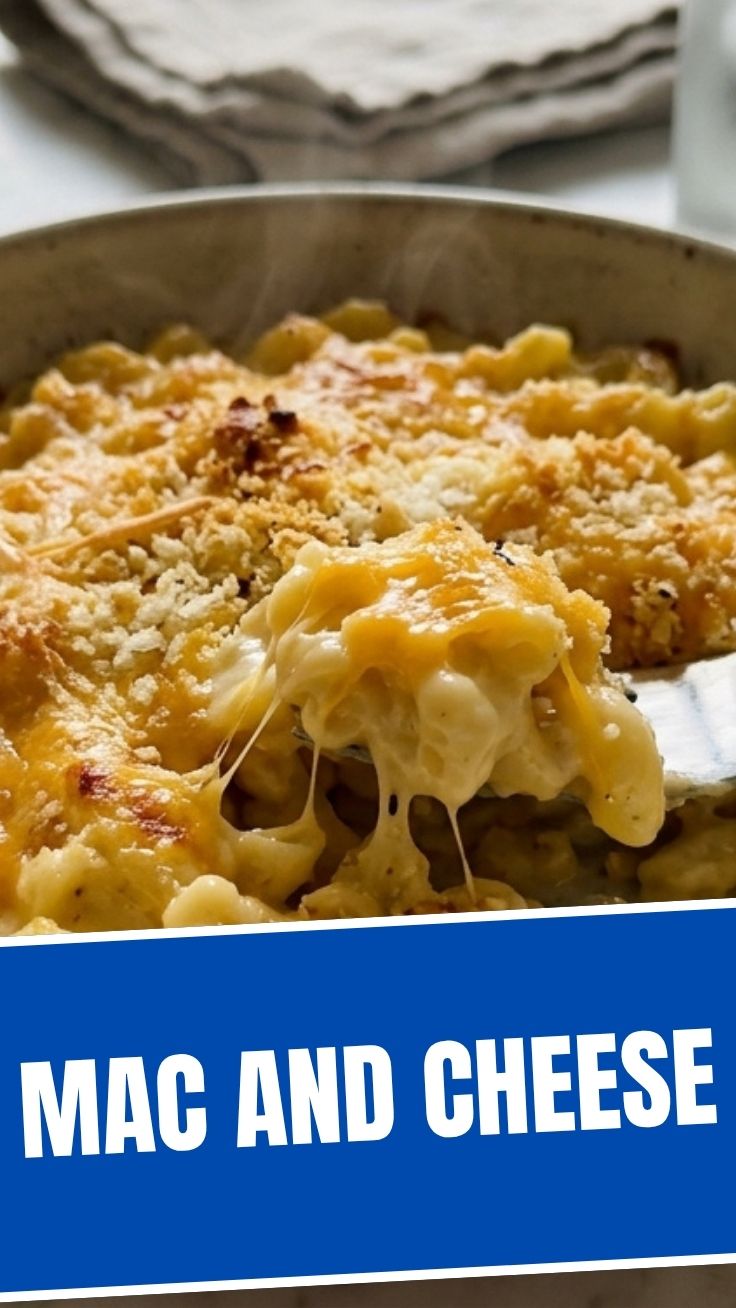
Add drained pasta to the sauce and fold gently until every piece is coated. Taste and adjust seasoning—sharp cheddar may require extra salt. This is the moment your Mac and Cheese truly comes to life, as the creamy sauce envelops each tender bite of pasta.
5. Optional Bake for Crust
Transfer to a greased baking dish, top with buttered breadcrumbs, and bake at 375°F for 15–20 minutes until golden and bubbly. For stovetop only, skip this step and serve immediately.
—
Nutritional Benefits & Advantages (H2)
This homemade Mac and Cheese offers more than comfort—it provides real nutritional value. One serving (about 1 cup) contains:
– Calories: ~350–400 (depending on cheese type)
– Protein: 15–18g from cheese and milk
– Calcium: 30% of daily value, supporting bone health
– Carbohydrates: 35–40g for sustained energy
Health Advantages: Using sharp cheddar means you need less cheese for intense flavor, reducing saturated fat. Whole milk adds vitamin D and A. The Macaroni provides complex carbohydrates for steady energy release, making this a balanced meal rather than empty calories. For a protein boost, add cooked chicken or broccoli.
—
Tips, Variations & Cooking Advice (H2)
Flavor Variations
– Smoky Bacon: Add crispy bacon bits and smoked paprika.
– Spicy Jalapeño: Mix in diced pickled jalapeños and pepper jack cheese.
– Truffle Mac: Drizzle white truffle oil just before serving.
Cooking Methods
– Stovetop: Quickest method (20 minutes total).
– Baked: Crispy topping and deeper flavor.
– Instant Pot: Pressure-cook pasta, then stir in cheese sauce.
Dietary Adaptations
– Gluten-free: Use gluten-free Macaroni and a 1:1 flour blend; bake time remains unchanged.
– Dairy-free: Replace cheese with nutritional yeast and cashew cream for a vegan version.
– Low-carb: Substitute with cauliflower florets for pasta.
—
Common Mistakes to Avoid (H2)
1. Overcooking the Pasta
Solution: Cook 1–2 minutes less than al dente; pasta continues cooking in hot sauce.
2. Adding Cheese on High Heat
Solution: Always stir in cheese over low heat to prevent graininess from fat separation.
3. Using Pre-shredded Cheese
Solution: Grate your own cheese; pre-shredded contains anti-caking agents that prevent smooth melting.
4. Skipping the Roux
Solution: Don’t skip; roux is essential for thickness. Without it, sauce will be watery.
5. Over-baking
Solution: Bake just until golden (15–20 minutes); longer dries out the pasta and sauce.
—
Storage & Meal Prep Tips (H2)
– Refrigeration: Store in an airtight container for up to 5 days. Reheat in a saucepan with a splash of milk over low heat, stirring frequently.
– Freezing: Portion into freezer-safe containers; freeze for up to 3 months. Thaw overnight in the fridge before reheating.
– Reheating: Avoid microwave unless necessary—it can dry out the pasta. For best texture, reheat on stovetop with a tablespoon of milk per serving.
– Meal Prep: Prepare the cheese sauce and cook pasta separately. Combine just before serving to maintain texture.
—
Conclusion (H2)
Now you have the blueprint for creating the creamiest, most satisfying Mac and Cheese right in your own kitchen. By mastering the simple technique of a roux-based cheese sauce and cooking Macaroni to perfect al dente, you’ll elevate a childhood favorite into a versatile, impressive dish that works for weeknights, holidays, or potlucks. Whether you stick with the classic version or explore spicy, smoky, or vegan variations, this recipe guarantees consistent results. Try it tonight, share your creations in the comments below, and don’t forget to check out our [baked mac and cheese recipe](#) for a complete comfort food experience!
—
FAQs (H2)
Q: Can I use pre-shredded cheese in a pinch?
A: Yes, but expect a slightly grainier texture. For best results, grate your own cheese from a block.
Q: How do I fix a grainy or broken cheese sauce?
A: Remove from heat, whisk in 1–2 tablespoons of cold milk or cream until smooth. Avoid reheating on high.
Q: Can I make this mac and cheese gluten-free?
A: Absolutely! Use gluten-free pasta and a gluten-free all-purpose flour blend for the roux. Bake time remains the same.
Q: What’s the best cheese blend for extra creamy texture?
A: Mix sharp cheddar with Monterey Jack, Gouda, or Gruyère. These melt smoothly and add depth.
Q: How long can I leave mac and cheese at room temperature?
A: No more than 2 hours. Refrigerate leftovers promptly to prevent bacterial growth.
How to grow your best Mac and Cheese in 10 stepsMac and Cheese
Ingredients
Equipment
Method
- Prepare your pot by filling it with rich potting soil, ensuring it is well-draining.
- Plant the imaginary Mac and Cheese seeds about an inch deep and cover lightly with soil.
- Water the soil gently after planting to moisten it, avoiding over-saturation.
- Place the pot in a sunny spot where it can receive 6-8 hours of direct sunlight daily.
- Water consistently as the plant grows, keeping the soil moist but not waterlogged.
- Observe for the first signs of cheesy sprouts, which may appear within a week.
- Continue providing sunlight and water, watching as the macaroni noodles and cheese sauce develop.
- When the mac and cheese appears fully formed and deliciously golden, it’s ready to harvest.
- Carefully pluck the mac and cheese blooms from the plant, ensuring not to damage the remaining growth.
- Enjoy your freshly "grown" mac and cheese, perhaps with a sprinkle of imaginary parsley.