The Ultimate Homemade Pumpkin Pie: A Thanksgiving Classic Worth Mastering
What if your Thanksgiving dessert could be the star of the table, stealing the show from the turkey itself? That’s the magic of a homemade Pumpkin Pie – a velvety, spiced custard nestled in a buttery crust that defines the holiday season. Preparing this classic at home not only fills your kitchen with the warm aromas of cinnamon and nutmeg but also gives you full control over the ingredients, ensuring a richer, more authentic flavor than any store-bought version. Whether you’re hosting a large gathering or a cozy dinner, a from-scratch Pumpkin Pie offers a depth of taste that simply can’t be replicated. And it’s the perfect centerpiece for any Thanksgiving celebration, bringing a sense of tradition and homemade love to the table.
Ingredients & Kitchen Tools
Before you start, gather these essentials. Having everything ready makes the process smooth and stress-free.
For the Crust (or use store-bought for convenience):
– 1 ¼ cups all-purpose flour (plus extra for dusting)
– ½ teaspoon salt
– ½ cup cold unsalted butter, cubed (use shortening for a flakier crust)
– 3–4 tablespoons ice water
For the Filling:
– 1 (15-ounce) can pumpkin puree (not pumpkin pie filling)
– 1 cup heavy cream (or evaporated milk for a lighter option)
– ¾ cup brown sugar, packed
– 2 large eggs
– 1 teaspoon vanilla extract
– 1 ½ teaspoons ground cinnamon
– ½ teaspoon ground ginger
– ¼ teaspoon ground cloves
– ¼ teaspoon nutmeg
– ½ teaspoon salt
Kitchen Tools:
– 9-inch pie dish (glass or ceramic works best)
– Rolling pin
– Large mixing bowls
– Whisk
– Measuring cups and spoons
– Parchment paper and pie weights (or dried beans) for blind baking
Prep Time & Cooking Schedule
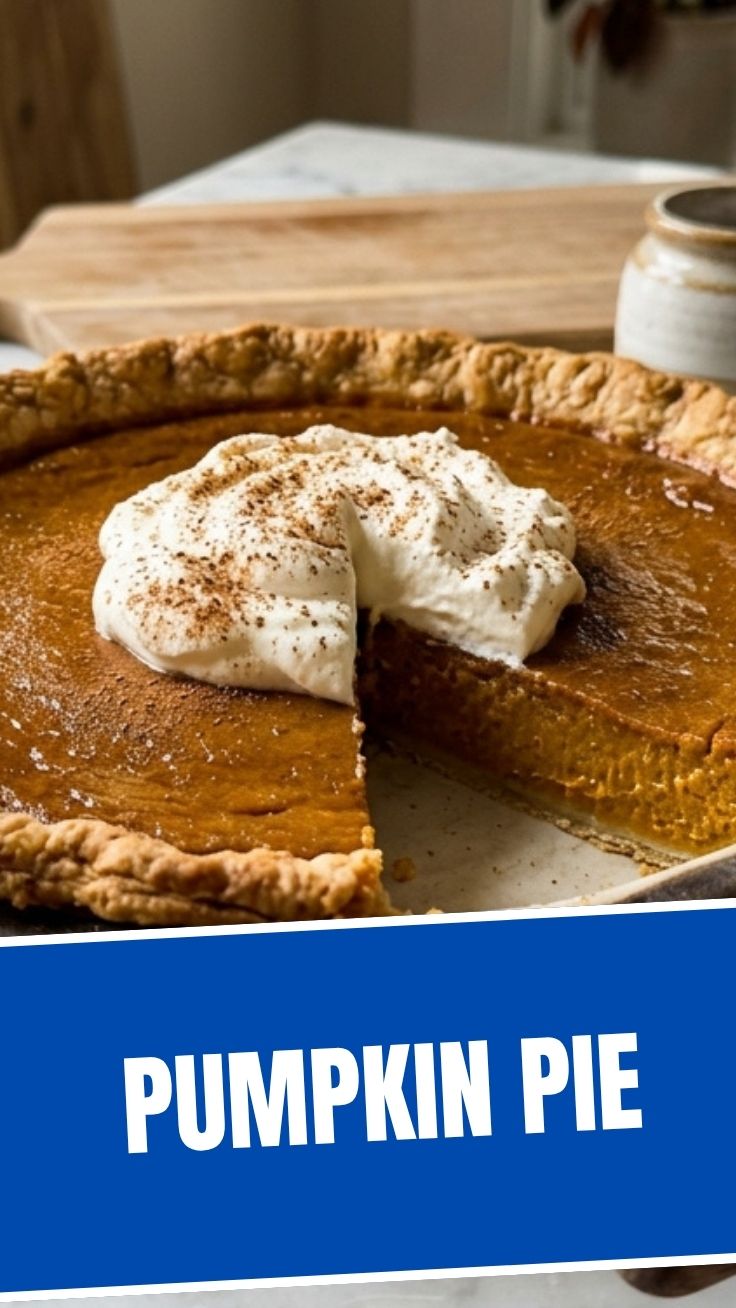
Planning your timeline is key to a stress-free holiday. Here’s the breakdown:
– Prep Time: 20 minutes (making dough + mixing filling)
– Chill Time: 30 minutes (for the dough to rest)
– Blind Baking: 15 minutes
– Baking Time: 45–50 minutes
– Cooling Time: At least 2 hours (overnight is best for the filling to set)
Pro Tip: Make the dough a day ahead and refrigerate. This gives you a head start and ensures a flakier crust. The pie itself can be baked the day before Thanksgiving, saving you valuable oven space on the big day.
Step-by-Step Instructions
1. Prepare the Crust: In a bowl, whisk flour and salt. Cut in the cold butter using a pastry blender or your fingers until the mixture resembles coarse crumbs. Add ice water, one tablespoon at a time, and mix until the dough just holds together. Form into a disc, wrap in plastic, and refrigerate for 30 minutes.
2. Blind Bake the Crust: Preheat your oven to 375°F. Roll out the chilled dough on a floured surface to about 12 inches in diameter. Gently transfer it to your pie dish, crimp the edges, and line with parchment paper. Fill with pie weights or dried beans. Bake for 15 minutes, then remove the weights and parchment. Bake for another 5 minutes until the bottom is lightly golden.
3. Make the Filling: While the crust bakes, whisk together the pumpkin puree, heavy cream, brown sugar, eggs, vanilla, and all the spices until smooth. Make sure there are no lumps – a smooth filling is the secret to a perfect Pumpkin Pie. This is a lesson I learned from countless Thanksgiving baking sessions: always whisk thoroughly, but don’t overmix or you’ll incorporate too much air.
4. Bake the Pie: Reduce oven temperature to 350°F. Pour the filling into the warm pre-baked crust. Bake for 45–50 minutes, or until the edges are set and the center is slightly jiggly (like a soft custard). The center will continue to set as it cools. If the crust edges start browning too quickly, cover them with a foil ring.
5. Cool Completely: Let the pie cool on a wire rack for at least 2 hours. For the cleanest slices, refrigerate for 4 hours or overnight. This allows the custard to fully set and the flavors to meld beautifully.
Nutritional Benefits & Advantages
This homemade Pumpkin Pie isn’t just a treat; it brings some surprising nutritional perks. Pumpkin is rich in vitamin A (beta-carotene), which supports eye health and immune function. It’s also a good source of fiber, which aids digestion. Using heavy cream provides healthy fats that help absorb fat-soluble vitamins. Compared to many other holiday desserts, pumpkin pie is relatively moderate in sugar, especially when you control the amount yourself. Plus, you can easily adapt this recipe to be gluten-free by using a gluten-free flour blend for the crust, or dairy-free by substituting coconut cream. It’s a dessert that can be both indulgent and nutritious.
Tips, Variations & Cooking Advice
– Flavor Variations: Add a teaspoon of maple syrup or bourbon to the filling for a deeper, more complex flavor. A pinch of black pepper or cayenne adds a subtle warmth that complements the spices beautifully.
– Crust Alternatives: Try a graham cracker crust (using melted butter and crushed graham crackers) for a no-roll option. Simply press it into the pie dish and bake for 8 minutes at 350°F before adding the filling.
– Dietary Adaptations: For a dairy-free version, swap the heavy cream with full-fat coconut milk or oat cream. For a lower-sugar option, use a sugar substitute like monk fruit or coconut sugar, but note that the texture may be slightly softer.
– Serving Suggestion: Top with freshly whipped cream and a dusting of cinnamon. A dollop of crème fraîche adds a tangy contrast that cuts through the sweetness.
Common Mistakes to Avoid
– Overbaking: This is the #1 mistake. A perfectly baked pumpkin pie will have a slight jiggle in the center. Overbaking leads to a cracked, dry, and rubbery texture. Trust the jiggle test!
– Soggy Crust: This happens when the filling soaks into the crust. Always blind bake the crust before adding the filling, and brush it with a thin layer of egg wash (beaten egg) before baking to create a moisture barrier.
– Lumpy Filling: Make sure your pumpkin puree is smooth and whisk it thoroughly with the wet ingredients. If you see lumps, use an immersion blender for a few seconds.
– Not Cooling Enough: Cutting into a warm pie will result in a runny mess. Patience is key – refrigerate for at least 4 hours, or ideally overnight, for clean, perfect slices.
Storage & Meal Prep Tips
– Refrigeration: Store leftover pie in the refrigerator, covered loosely with plastic wrap or foil, for up to 4 days. The flavors actually improve over time, making it perfect for make-ahead meals.
– Freezing: You can freeze a fully baked and cooled pumpkin pie for up to 3 months. Wrap it tightly in plastic wrap, then a layer of foil. Thaw in the refrigerator overnight before serving.
– Reheating: To serve warm, place individual slices on a baking sheet and warm in a 300°F oven for 10–15 minutes. Avoid microwaving, as it can make the crust soggy and the filling rubbery.
– Make-Ahead Tip: Prepare the pie crust and filling separately a day or two in advance. Assemble and bake the pie on the day you plan to serve it for the freshest results.
Conclusion
In short, mastering this recipe guarantees a dessert that is both comforting and impressive. Whether you’re serving it for a festive Thanksgiving dinner or a simple autumn treat, a homemade Pumpkin Pie is always a crowd-pleaser. The combination of a perfectly flaky crust and a silky, spiced filling is truly unbeatable. I encourage you to try this recipe and share your beautiful results – it’s a tradition worth starting. For more holiday inspiration, explore our other classic desserts and side dishes.
FAQs
1. Can I use fresh pumpkin instead of canned?
Absolutely! Roast a small sugar pumpkin (not a carving pumpkin) at 400°F until tender, about 45 minutes. Scoop out the flesh and puree it in a food processor. You may need to drain it in a cheesecloth to remove excess moisture, as fresh pumpkin can be more watery than canned.
2. Why did my pie crack on top?
Cracking usually indicates overbaking or a sudden temperature change. To avoid this, bake the pie at a steady 350°F and let it cool gradually on a wire rack. Also, avoid opening the oven door too often during baking, which can cause temperature fluctuations.
3. Can I make this pie gluten-free?
Yes! Use a gluten-free all-purpose flour blend (like Bob’s Red Mill or King Arthur) for the crust. The rest of the filling is naturally gluten-free. Just be sure to check that your spice blend doesn’t contain any hidden gluten.
4. How do I know when the pie is done without a thermometer?
The best test is the jiggle test. Gently shake the pie pan – the filling should be set around the edges but still have a slight wobble in the center (about 1-inch diameter). The internal temperature should be around 175°F if you’re using a thermometer. The center will firm up as it cools.
5. My pie is too runny after cooling. What went wrong?
This usually happens if the pie wasn’t baked long enough or if the filling was too watery. Make sure you’re using full-fat ingredients (heavy cream, not milk) and that you’ve drained any excess moisture from the pumpkin puree. Also, ensure the pie is completely cooled before slicing – refrigeration is essential for a firm set.
Proven way to grow a 3-inch Pumpkin Pie
Ingredients
Equipment
Method
- In a small bowl, combine flour and butter, then cut in the butter until the mixture resembles coarse crumbs.
- Add ice water one tablespoon at a time, mixing until the dough just comes together, then chill for 15 minutes.
- In another bowl, whisk together pumpkin puree, heavy cream, brown sugar, egg yolk, pumpkin pie spice, and salt until smooth.
- Preheat oven to 375°F (190°C), roll out the chilled dough, and carefully press it into a 3-inch tart pan or ramekin.
- Pour the pumpkin filling into the crust and bake for 25-30 minutes, or until the filling is set and the crust is golden brown.
- Let cool completely before serving.