Why Homemade Hummus Beats Store-Bought Every Time
Have you ever wondered why restaurant Hummus tastes so much creamier and more vibrant than the plastic tubs at the grocery store? The secret lies in fresh ingredients and a simple technique you can master at home. Making your own Hummus recipe not only saves you money—it lets you control the texture, seasoning, and nutritional quality. Within your first batch, you’ll discover why homemade hummus is a game-changer for snacks, meals, and meal prep. Let’s dive into every step.
Ingredients & Kitchen Tools
Ingredients
- Canned chickpeas (or 1½ cups cooked from dry) – Drain and rinse well; skins removed for extra smoothness.
- Tahini (sesame paste) – Use high-quality, well-stirred tahini for creaminess.
- Fresh lemon juice (about ¼ cup) – Brightens flavor; do not use bottled.
- Garlic clove (1 small, minced) – Adjust to taste; raw garlic is pungent.
- Ice water (2–3 tablespoons) – Key for airy, fluffy texture.
- Extra-virgin olive oil – For drizzling and rich mouthfeel.
- Salt – Fine sea salt works best.
- Optional: cumin, smoked paprika, roasted red peppers, or pine nuts for garnish.
Kitchen Tools
- Food processor (high-speed recommended) or high-powered blender
- Fine-mesh sieve (if removing chickpea skins)
- Citrus juicer (hand or electric)
- Rubber spatula
- Serving bowl and airtight storage container
Prep Time & Cooking Schedule
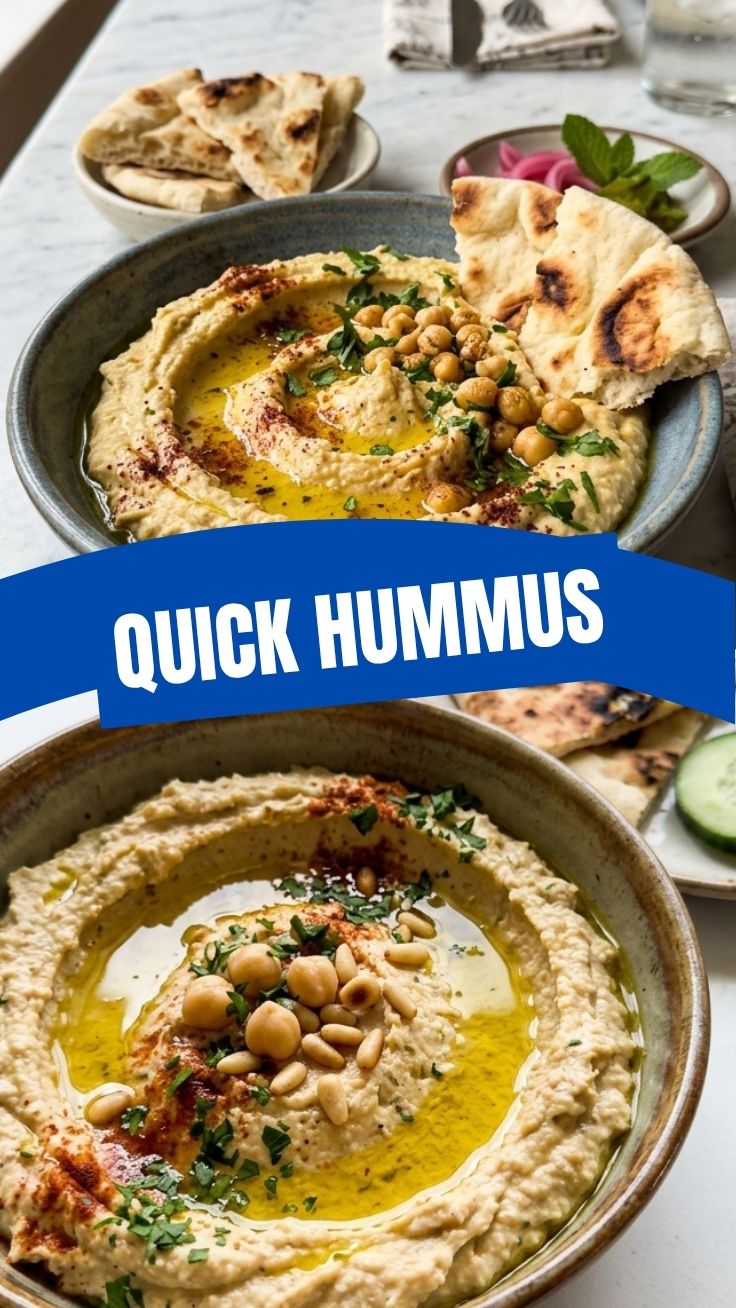
Total time: 15 minutes (active) + 10 minutes resting (optional). No cooking required if using canned chickpeas. If cooking dry chickpeas from scratch, soak overnight and simmer 1.5–2 hours. Plan ahead to allow chilling (30 minutes) if you prefer a firmer, colder dip. This timeline fits easily into a busy weeknight or weekend meal prep session.
Step-by-Step Instructions
- Process tahini and lemon juice first. In a food processor, combine ⅓ cup tahini with ¼ cup lemon juice. Blend for 1 minute until thick and pale. This step aerates the tahini.
- Add garlic, salt, and ice water. Add 1 minced garlic clove, ½ teaspoon salt, and 2 tablespoons ice water. Blend for 30 seconds, scrape sides.
- Incorporate chickpeas gradually. Add half the drained chickpeas (about 1 cup) and process for 1 minute. Add remaining chickpeas and blend until smooth, about 1–2 minutes. For ultra-smooth Hummus, remove skins before blending (see tip below).
- Adjust consistency. While processor runs, drizzle in 1–2 tablespoons extra-virgin olive oil. If too thick, add more ice water 1 tablespoon at a time. The final texture should be silky, not pasty.
- Taste and season. Add more salt, lemon, or a pinch of cumin. This is the secret to a perfect Hummus recipe: trust your palate.
- Serve or rest. Transfer to a bowl, drizzle olive oil, sprinkle paprika, and enjoy immediately, or refrigerate for 30 minutes to allow flavors to meld.
Nutritional Benefits & Advantages
Hummus is a nutritional powerhouse. Chickpeas provide plant-based protein (about 3 g per 2 tbsp) and fiber (2 g), promoting satiety and digestive health. Tahini adds calcium, iron, and healthy unsaturated fats. Lemon juice contributes vitamin C, while olive oil delivers antioxidants. Homemade hummus contains no preservatives or excessive sodium, making it ideal for heart-conscious diets, vegan lifestyles, and gluten-free needs. A 2-tablespoon serving typically has around 70–80 calories, making it a guilt-free dip or spread.
Tips Variations & Cooking Advice
- Flavor variations: Blend in roasted red peppers, sun-dried tomatoes, or fresh herbs like cilantro for a twist.
- Spice it up: Add a pinch of cayenne, smoked paprika, or harissa paste.
- Dairy-free / gluten-free: This recipe is naturally both; ensure tahini is labeled gluten-free.
- Texture hacks: For extra creamy hummus, simmer canned chickpeas in water for 10 minutes before blending. Or use a pinch of baking soda during cooking to soften skins.
- Portion changes: Double the batch for parties—it keeps well for 5–7 days.
Common Mistakes to Avoid
- Skipping skin removal: Chickpea skins create a grainy texture. Rub chickpeas in a towel to loosen skins, then discard. A 5‑minute effort transforms your hummus.
- Using cold ingredients: Let tahini, lemon juice, and chickpeas come to room temperature for easiest blending.
- Overprocessing without liquid: If hummus becomes too thick, add ice water gradually—not all at once—to maintain emulsion.
- Under-seasoning: Hummus needs a generous pinch of salt and bright acid. Taste and adjust before serving.
- Not resting: Flavors deepen after 30 minutes in the fridge. Patience pays off.
Storage & Meal Prep Tips
Store leftover hummus in an airtight container in the refrigerator for up to 7 days. To prevent a dry skin, press plastic wrap directly onto the surface before sealing. Freezing: Hummus freezes well for up to 3 months. Portion into freezer-safe bags, flatten, and thaw overnight in the fridge. Stir vigorously or re-blend with a teaspoon of olive oil after thawing to restore creaminess. Avoid microwaving; instead, let it come to room temperature or warm gently in a saucepan over low heat. Serve as a dip, sandwich spread, or salad dressing base.
Conclusion
Making your own Hummus at home is a rewarding, healthy, and delicious habit. With just a few fresh ingredients and the techniques above, you can create a dip that outshines anything from a store. This Hummus recipe is versatile, forgiving, and full of flavor. I encourage you to try it this week, adjust it to your taste, and share your results with friends or in the comments below. For more Mediterranean-inspired recipes, explore our collection of dips, bowls, and spreads. Your homemade hummus journey starts now!
FAQs
Can I use dried chickpeas instead of canned?
Absolutely. Soak them overnight, then cook until very tender (1.5–2 hours). Drain well before blending. The flavor is even richer.
How do I make hummus without tahini?
Substitute with extra olive oil (2–3 tablespoons) and a tablespoon of Greek yogurt or silken tofu for creaminess. The flavor will differ but still be delicious.
Why is my hummus bitter?
Bitter hummus usually comes from old or burnt tahini, or too much raw garlic. Use fresh tahini, stir it well, and reduce garlic to half a clove. Add a pinch of sugar to balance bitterness.
Can I make hummus oil-free?
Yes. Omit olive oil and use extra aquafaba (chickpea liquid) or water. The texture will be lighter but still creamy. Add a bit more tahini for richness.
How long does homemade hummus last?
Properly stored, 5–7 days in the fridge. Check for off smells or mold. For longer storage, freeze in portions.
How to grow Hummus with 3 tips
Ingredients
Equipment
Method
- Tip 1: Find your imaginary hummus seeds and plant them in a sunny spot in your garden, ensuring they are well-covered with rich soil.
- Tip 2: Water your planted "hummus seeds" regularly, making sure the soil remains moist.
- Tip 3: Wait patiently for your hummus plant to sprout, though you might be waiting for an eternity as hummus is a culinary creation, not a botanical one.
- After a long wait, if no hummus sprouts, it's because hummus is made, not grown; instead, head to the kitchen to prepare actual hummus from chickpeas.