Is Homemade Apple Pie Really Worth the Effort? Here’s the Honest Truth
Have you ever wondered what makes a homemade Apple Pie taste so much better than store-bought? The secret lies in the balance of sweet, tart apples and a perfectly flaky crust. Preparing this classic dessert at home not only fills your kitchen with an irresistible aroma but also gives you full control over the quality of ingredients, from the type of apples you choose to the richness of the butter in the crust. Whether you’re baking for a holiday gathering or a cozy weekend treat, mastering this iconic bake is a rewarding skill.
Ingredients & Kitchen Tools
Pie Crust
– 2½ cups all-purpose flour – Use unbleached for better structure; substitute with 1:1 gluten-free blend if needed
– 1 tsp salt – Fine sea salt dissolves more evenly than coarse salt
– 1 tbsp granulated sugar – A touch of sweetness in the crust balances tart apples
– 1 cup cold unsalted butter, cubed – Keep butter ice-cold for maximum flakiness; freeze for 15 minutes before cutting
– 6–8 tbsp ice water – Add one tablespoon at a time; too much water makes the crust tough
Apple Filling
– 6–7 medium apples (approx. 2½ lbs) – Use a mix of Granny Smith (tart) and Honeycrisp (sweet) for depth of flavor
– ¾ cup granulated sugar – Reduce to ½ cup if using very sweet apple varieties
– 2 tbsp all-purpose flour – Thickens the juices; substitute with cornstarch or tapioca starch
– 1 tsp ground cinnamon – Freshly ground cinnamon has more aromatic punch
– ¼ tsp ground nutmeg – Grate whole nutmeg for the most vibrant flavor
– 1 tbsp lemon juice – Prevents browning and brightens the fruit’s natural taste
– 1 tsp vanilla extract – Pure extract delivers a richer note than imitation vanilla
Kitchen Tools
– 9-inch pie dish (glass or ceramic for even browning)
– Rolling pin
– Mixing bowls (large and medium)
– Pastry cutter or two forks
– Sharp knife or apple peeler
– Measuring cups and spoons
– Pastry brush (for egg wash)
– Aluminum foil or pie shield (to protect crust edges)
Optional Substitutions
– Gluten-free crust: Use a high-quality 1:1 gluten-free flour blend with xanthan gum
– Dairy-free crust: Replace butter with cold coconut oil or vegan butter sticks
– Sugar alternatives: Coconut sugar or maple syrup (reduce liquid by 2 tbsp if using syrup)
Prep Time & Cooking Schedule
| Stage | Time | Notes |
|——-|——|——-|
| Dough chilling | 1 hour minimum | Unbaked dough can rest overnight for deeper flavor |
| Apple prep | 15 minutes | Peel, core, and slice apples ¼-inch thick for even cooking |
| Assembly | 10 minutes | Keep filling cold while you roll the top crust |
| Baking | 50–60 minutes at 375°F | Tent with foil at 30 minutes to prevent over-browning |
| Cooling | 3 hours minimum | Cooling fully prevents a runny filling when sliced |
Planning tip: Make the dough a day ahead and refrigerate. On baking day, you’ll save an hour and the crust will be easier to roll. The pie tastes even better the next day after the flavors meld overnight.
Step-by-Step Instructions
Step 1: Make the Crust
In a large bowl, whisk together flour, salt, and sugar. Add cold butter cubes and cut them into the flour using a pastry cutter until pea-sized crumbs form—this is the key to flaky layers. Drizzle ice water one tablespoon at a time, tossing gently with a fork after each addition. When the dough holds together when pinched, divide it into two disks, wrap in plastic, and refrigerate for at least 1 hour.
Step 2: Prepare the Filling
Peel, core, and slice the apples into ¼-inch thick wedges. In a large bowl, toss the apple slices with lemon juice to prevent browning. Add sugar, flour, cinnamon, nutmeg, and vanilla extract. Stir until every slice is coated. Let the mixture sit for 10 minutes—this draws out natural juices that will thicken during baking.
Step 3: Roll and Assemble
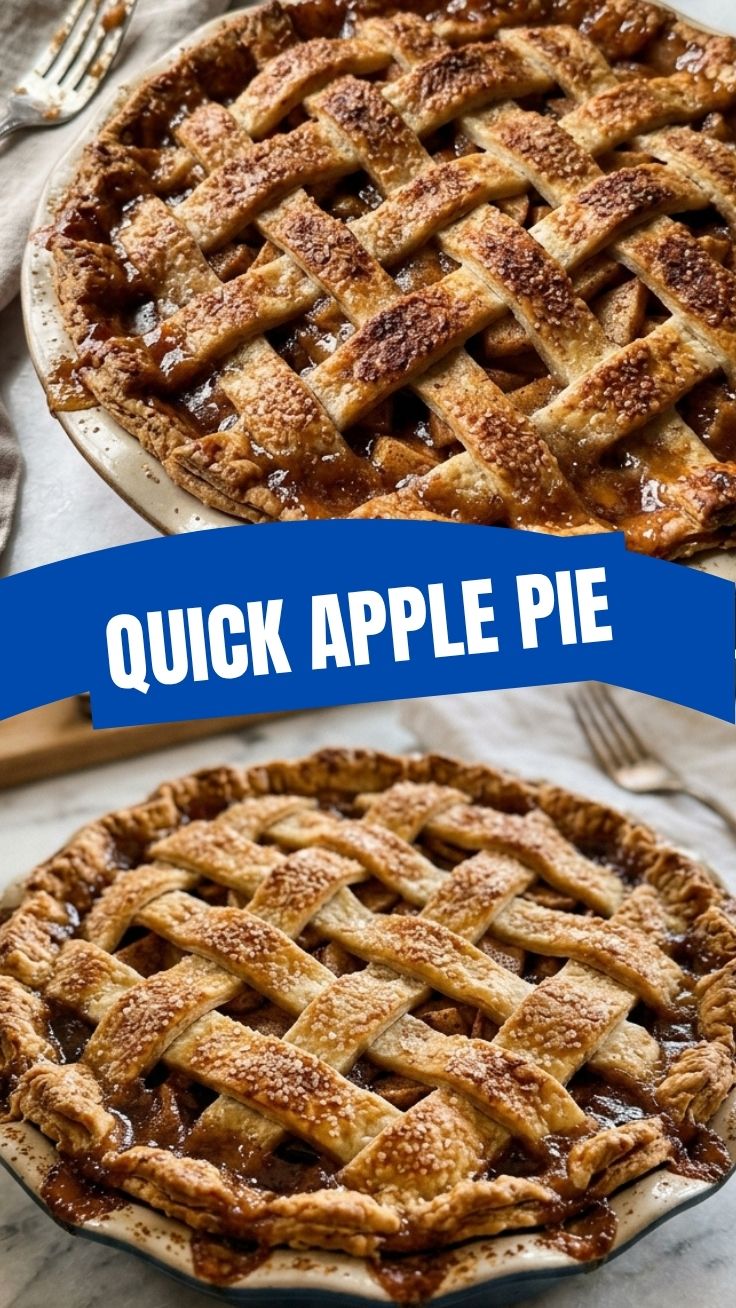
On a lightly floured surface, roll one dough disk into a 12-inch circle about ⅛-inch thick. Gently transfer it to the pie dish, pressing it into the bottom and sides without stretching. Pour in the apple filling, mounding it slightly in the center. Dot the filling with small butter pieces for extra richness. Roll the second dough disk and place it on top. Trim excess dough, crimp the edges, and cut 4–5 steam vents in the top crust. Brush the surface with an egg wash (1 egg beaten with 1 tbsp water) and sprinkle with coarse sugar.
Step 4: Bake with Precision
Place the pie on a baking sheet to catch any drips. Bake at 375°F for 30 minutes, then tent the edges with foil or a pie shield to prevent burning. Continue baking for another 20–30 minutes until the crust is deep golden brown and the filling bubbles through the vents. An apple pie that bubbles around the edges is a dessert that’s perfectly baked—juices should be thick and glossy, not watery.
Step 5: Cool and Serve
Let the pie cool on a wire rack for at least 3 hours. This step is non-negotiable: slicing too early will cause the filling to spill. Serve warm or at room temperature with vanilla ice cream or whipped cream.
Nutritional Benefits & Advantages
A slice of homemade apple pie (⅛ of a 9-inch pie) contains approximately 380–420 calories, 18g fat, 55g carbohydrates, and 4g protein. Apples are rich in dietary fiber (about 4g per serving), which supports digestive health and helps maintain steady blood sugar levels. They also deliver vitamin C and antioxidants like quercetin, which may reduce inflammation. Baking the pie yourself eliminates preservatives and high-fructose corn syrup often found in commercial pies, and you can control the sugar content by choosing naturally sweet apple varieties. Compared to many other desserts, a fruit-based pie offers more nutritional value per bite—especially when combined with a buttery crust made from simple, whole-food ingredients.
Tips, Variations & Cooking Advice
Flavor Variations
– Caramel Apple Pie: Drizzle ¼ cup salted caramel sauce over the filling before adding the top crust
– Spiced Apple Pie: Add ½ tsp cardamom, ¼ tsp allspice, and a pinch of cloves
– Bourbon Maple Apple Pie: Swap vanilla extract for 1 tbsp bourbon and use maple sugar instead of granulated sugar
Dietary Adaptations
– Gluten-Free Version: Use a 1:1 gluten-free flour blend that contains xanthan gum. Chill the dough for 90 minutes instead of 60 to improve handling
– Dairy-Free Version: Replace butter with cold coconut oil or a high-quality vegan butter stick. The crust will be slightly less flaky but still delicious
– Lower-Sugar Version: Reduce sugar to ½ cup and use Fuji or Gala apples, which are naturally sweeter
Alternative Cooking Methods
– Air Fryer Pie: Use a 6-inch pie pan and bake at 320°F for 25–30 minutes; tent the top after 15 minutes
– Mini Hand Pies: Cut dough into 4-inch rounds, fill with 2 tbsp of apple mixture, fold, crimp, and bake for 18–22 minutes at 375°F
Common Mistakes to Avoid
Soggy bottom crust: This happens when the filling releases too much liquid. Solution—toss apples with sugar and let them sit for 10 minutes, then drain off the excess juice before adding flour. Also, blind-bake the bottom crust for 10 minutes if you prefer extra insurance.
Tough, chewy dough: Overworking the dough develops too much gluten. Solution—mix just until the dough holds together, and use ice-cold ingredients every time. If the dough warms up, refrigerate it for 15 minutes before rolling.
Burnt edges but raw center: This indicates the oven temperature is too high or the filling is too thick. Solution—bake at a moderate 375°F and always use a foil ring or pie shield around the edges after 30 minutes.
Runny filling after cooling: The filling needs sufficient thickener. Solution—use 2 tablespoons of flour or 1½ tablespoons of cornstarch. Also, ensure the pie cools for a full 3 hours before slicing.
Storage & Meal Prep Tips
Refrigeration
– Store leftover pie loosely covered with foil or plastic wrap at room temperature for up to 2 days
– For longer storage, refrigerate for up to 5 days. Cover tightly with foil to prevent the crust from absorbing fridge odors
Freezing
– Unbaked pie: Assemble completely, wrap tightly in plastic wrap and then foil, and freeze for up to 3 months. Bake directly from frozen at 375°F for 65–75 minutes (add 15–20 minutes to the usual time)
– Baked pie: Cool completely, wrap in plastic and foil, and freeze for up to 3 months. Thaw in the refrigerator overnight and reheat in a 350°F oven for 15–20 minutes
Reheating
– Oven: 350°F for 10–15 minutes restores the crust’s crispness
– Microwave: 30-second bursts work in a pinch, but the crust will soften
– Air fryer: 320°F for 3–5 minutes is ideal for individual slices
Conclusion
Baking an Apple Pie from scratch is more than a recipe—it’s a tradition that rewards patience with every golden, cinnamon-scented slice. The flaky crust, the tender spiced apples, and the bubbling, thick filling come together in a dessert that feels both nostalgic and impressive. You now have every tool, technique, and troubleshooting tip to create a pie that rivals any bakery version. Try this recipe for your next family gathering, share your results in the comments, or experiment with one of the flavor variations above. Every great baker started with a single pie—this could be yours.
FAQs
Can I use pre-made pie crust instead of making my own?
Yes, a high-quality refrigerated or frozen crust works in a pinch. Blind-bake the bottom crust for 8–10 minutes to prevent sogginess, and brush the top crust with egg wash for a golden finish.
What are the best apples for apple pie?
Granny Smith for tartness and structure, Honeycrisp for sweetness, and Braeburn for complexity. Avoid Red Delicious because they break down into mush during baking.
How do I fix a pie that’s too sweet?
Balance the sweetness by adding 1–2 extra tablespoons of lemon juice or ¼ teaspoon of salt to the filling. Serve with unsweetened whipped cream or plain yogurt to offset the sugar.
Why did my pie crust shrink during baking?
This happens when the dough is stretched too thin or not chilled enough before baking. Always let the assembled pie rest in the refrigerator for 15–20 minutes before placing it in the oven.
Can I make apple pie without eggs?
Yes. For the egg wash, substitute 2 tablespoons of milk or cream brushed onto the top crust. The filling itself doesn’t require eggs, so the recipe remains fully egg-free without any adjustments.